GooseMan
Well-Known Member
Hi everyone, here is my DS80 Build or maybe more like a rebuild I guess, anyway here is what I have done:
***8226; Replaced bottom end bearings
***8226; Did some port work on it
***8226; Stripped the frame down to nothing and repainted most of the bike
***8226; Greased all bearings
***8226; Restored the plastics
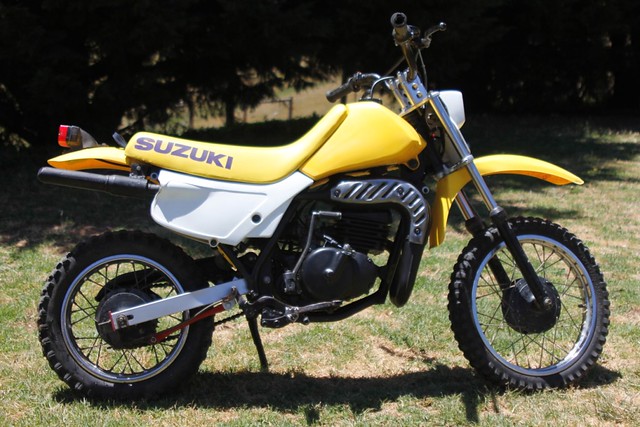
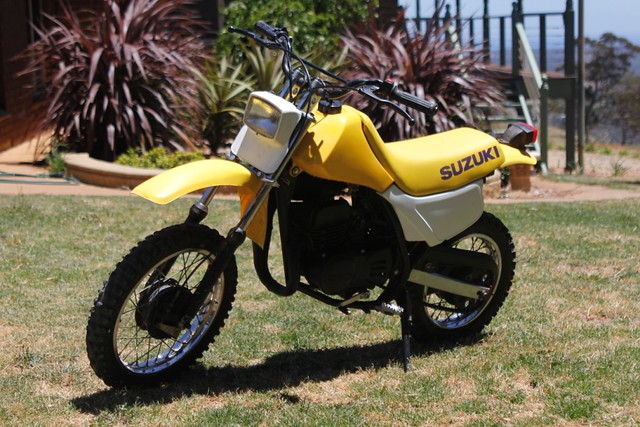
The photos tell the story,
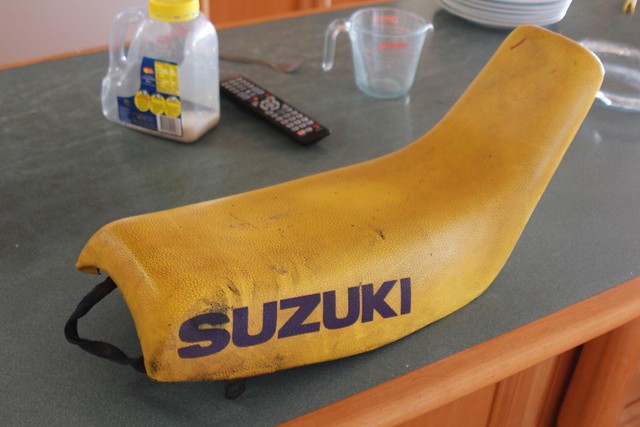
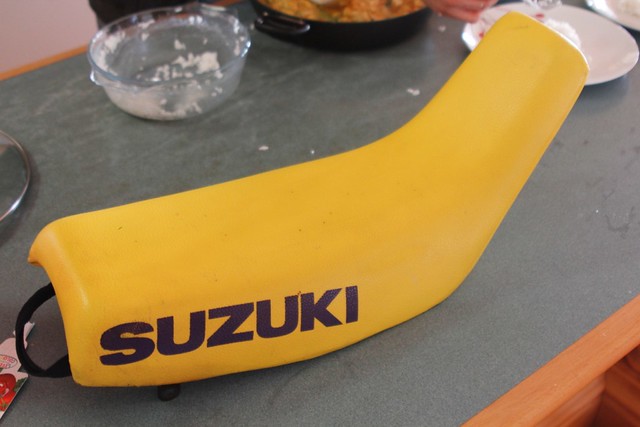
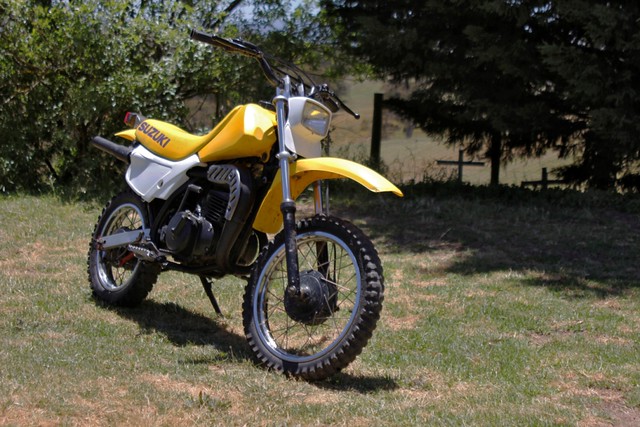
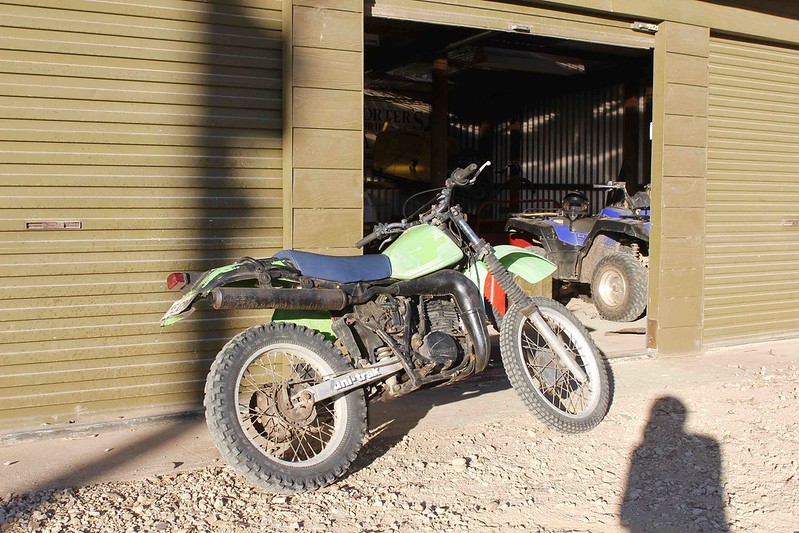
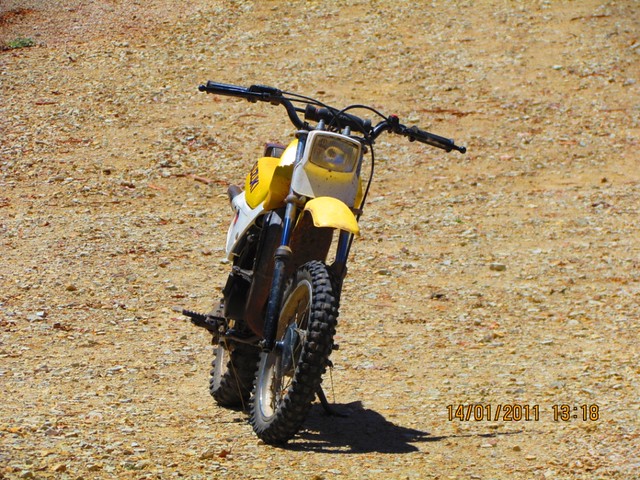
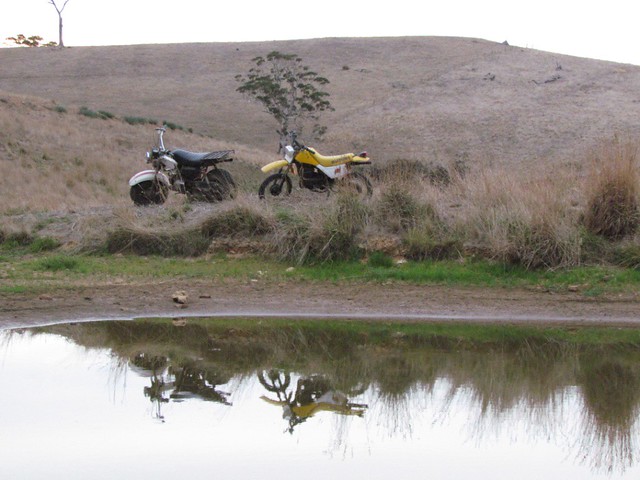
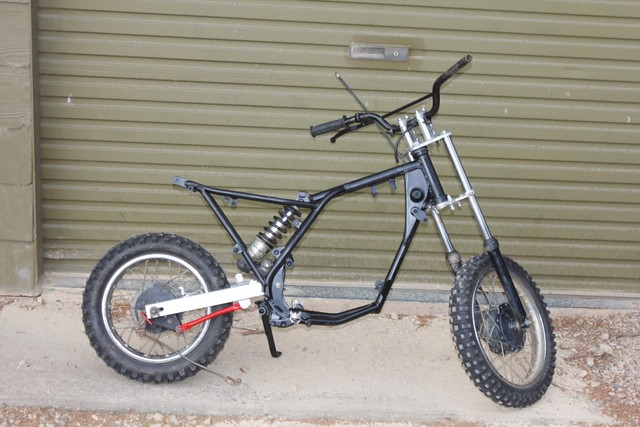
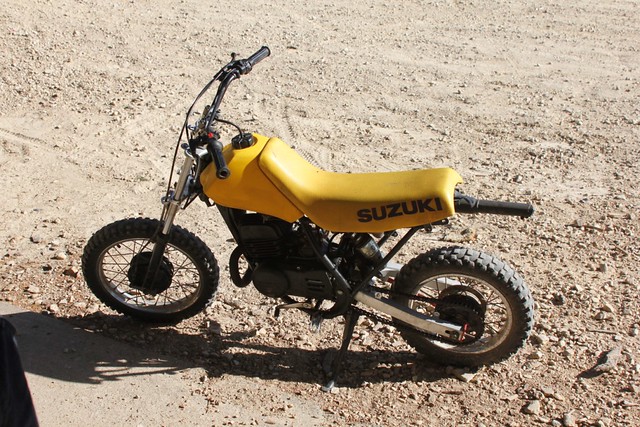
These are the only photo's I got of it before, Sorry
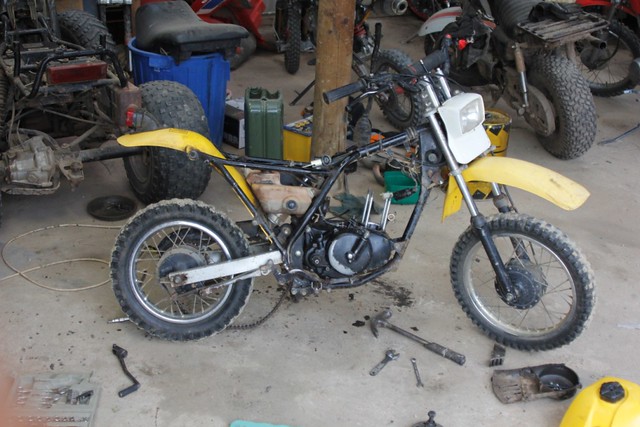
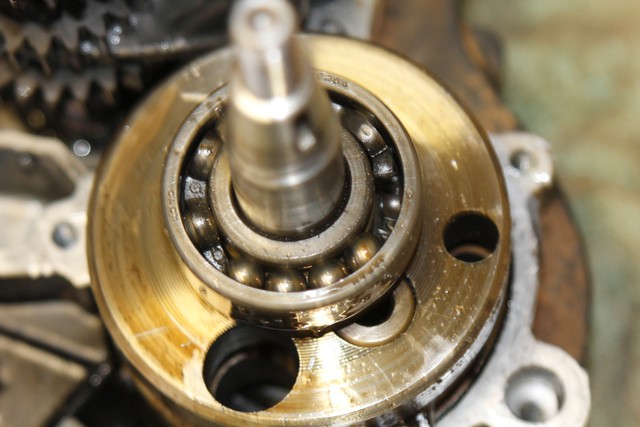
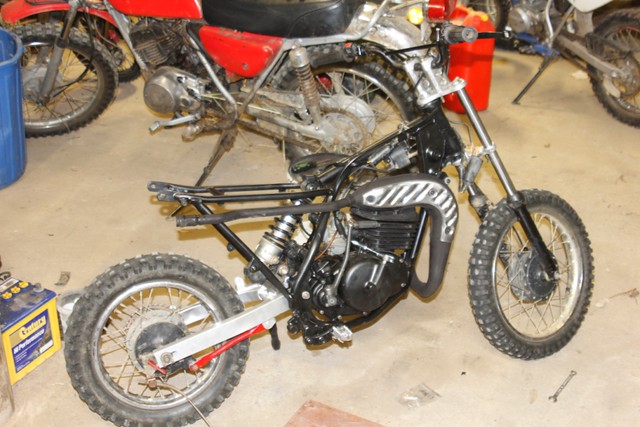
And then the project begun, engine was pulled out and pulled apart

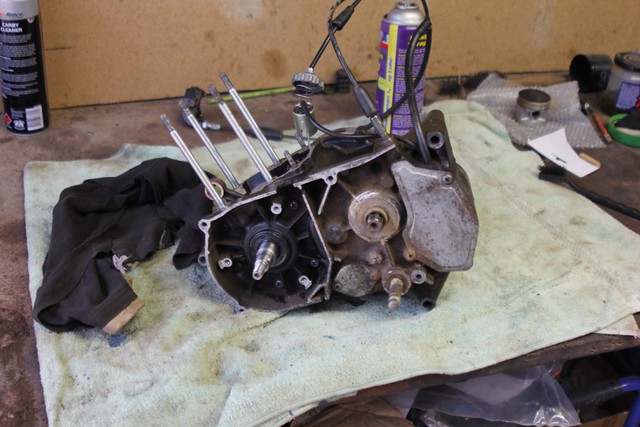
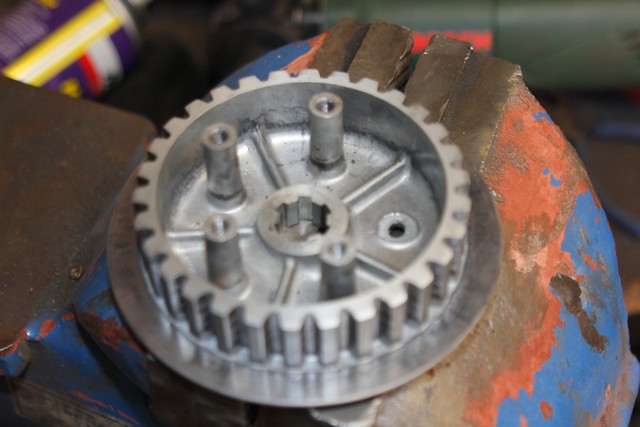
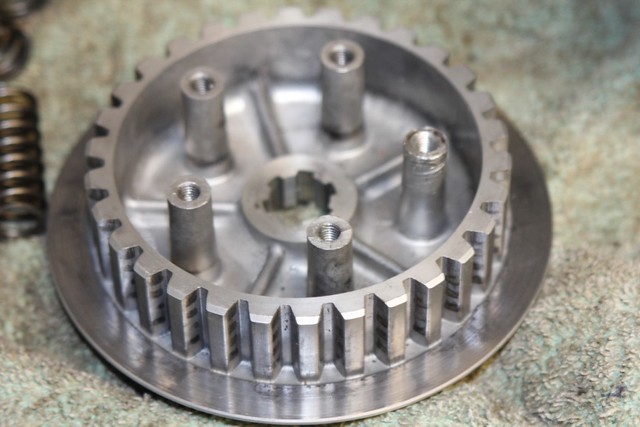
and here was the cause of the rattle which was why I started dimantling in the first place.
New bearing were installed and the engine was put back together, well almost, this is what happens when you have the wrong tools for the job
So I had a chat to a motorcycle mechanic who just happened to have the same problem with a mates rm80. He told me a way to fix it to save myself some money.
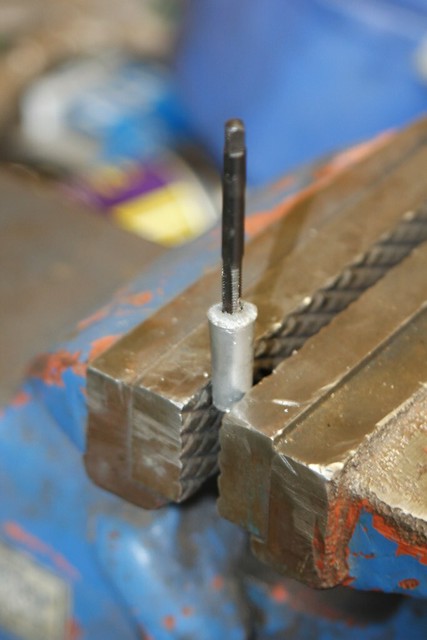
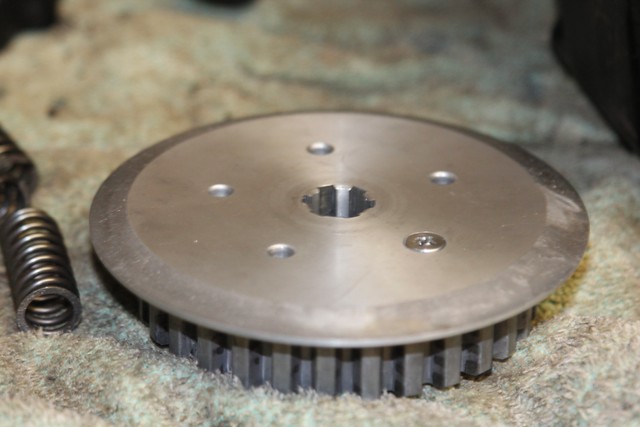
Firstly the prong thing that broke off had a hole which went all the way through to the back side of the clutch and only half of this had a thread in it, so I tapped the original thread all the way through. Like so.
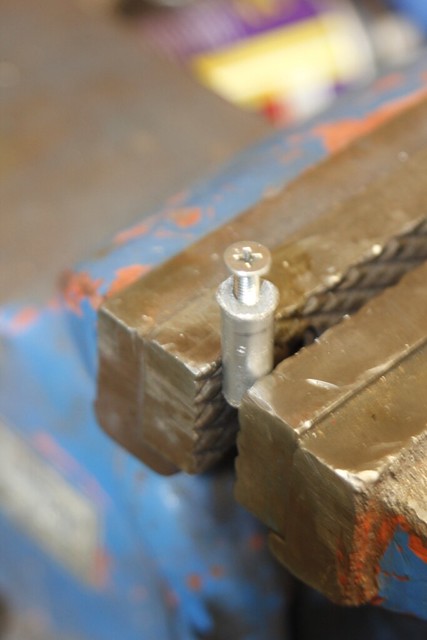
This was done so that a counter sunk screw could be screwed through from the back into the prong and this would hold it in place.
The back then needed to be counter sunk with a large drill bit, like so.

and here it is all back together, and next time I'll just get the right tool, it would be much easier, lol.
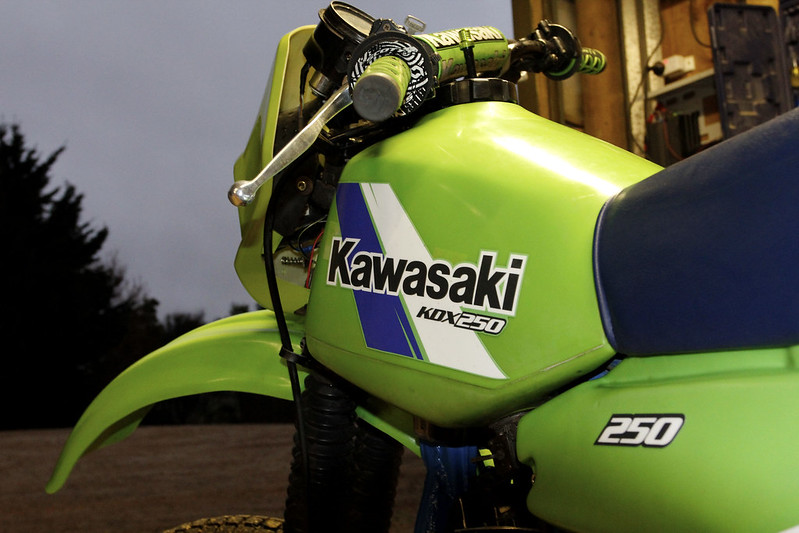
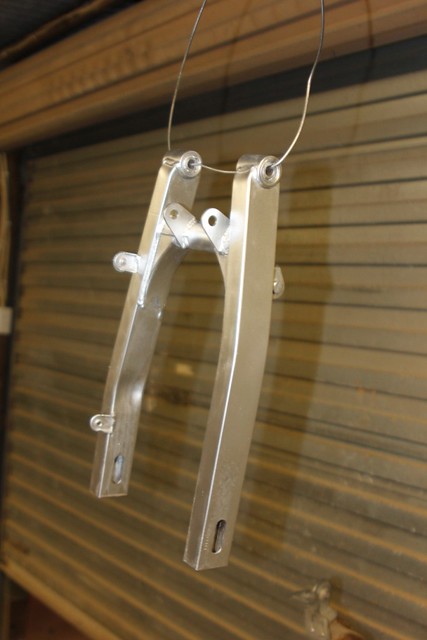
Next I re-painted the side covers, cylinder and head, frame, triple clamps and swingarm.
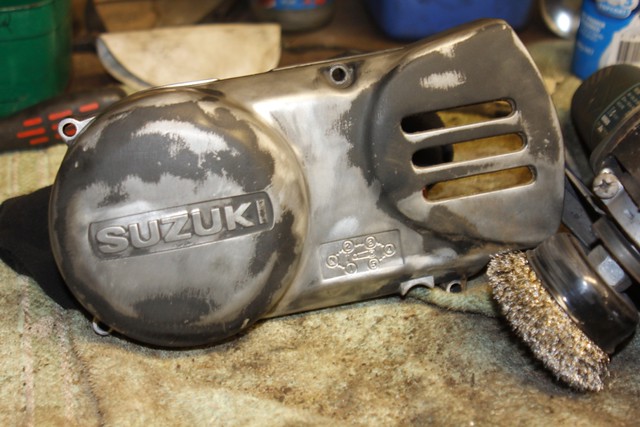
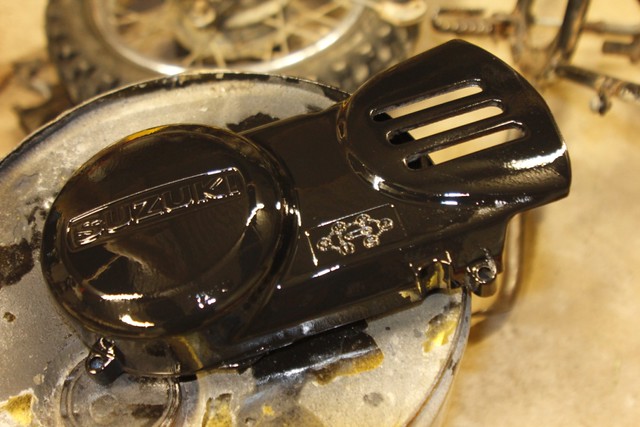
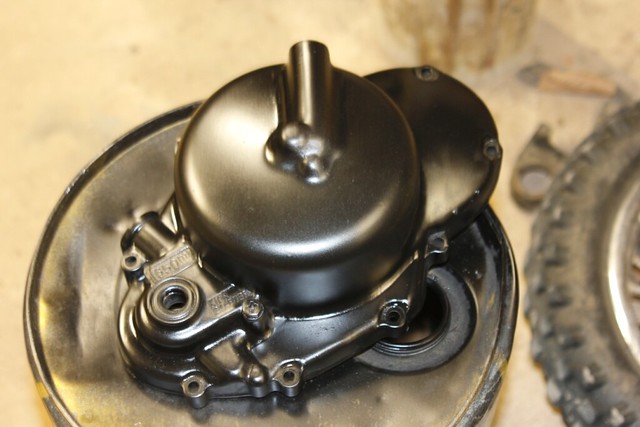
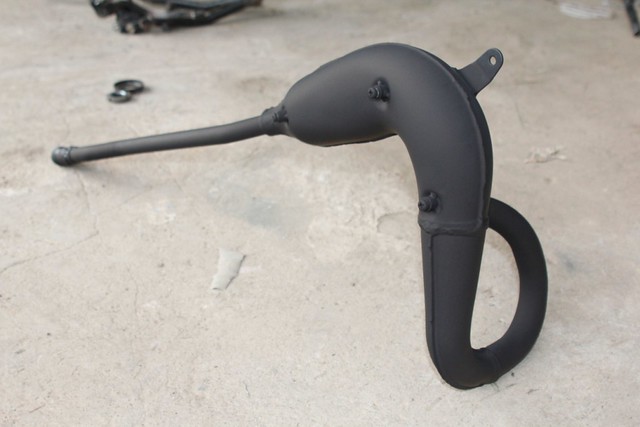
Side Covers are satin black as well as the frame and exhaust pipe, swing arm was painted silver.
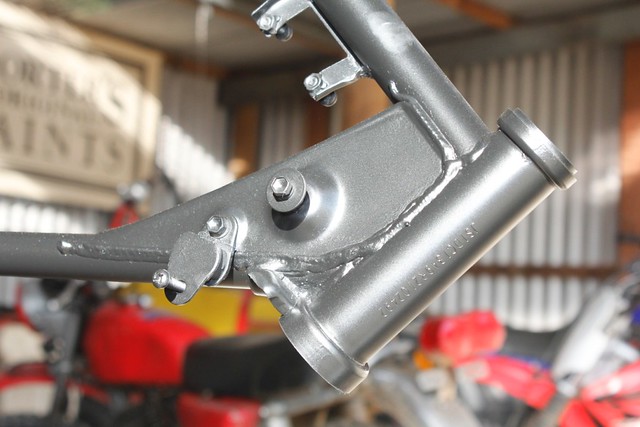
The exhaust heat shield was taken back to bare steel and given a coat of KBS Diamond finish (which is clear). The frame was put back together.
Engine was installed and started up to make sure it still ran, lol.
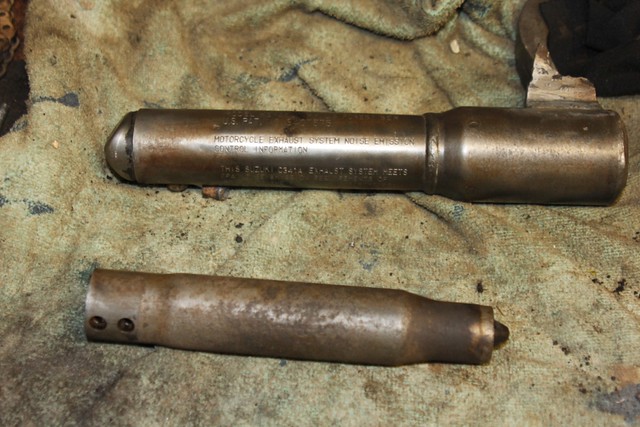
Muffler was pulled apart and clean, then repainted. Note: the exhaust and muffler and also the cylinder and head were painted with satin black heat proof paint.
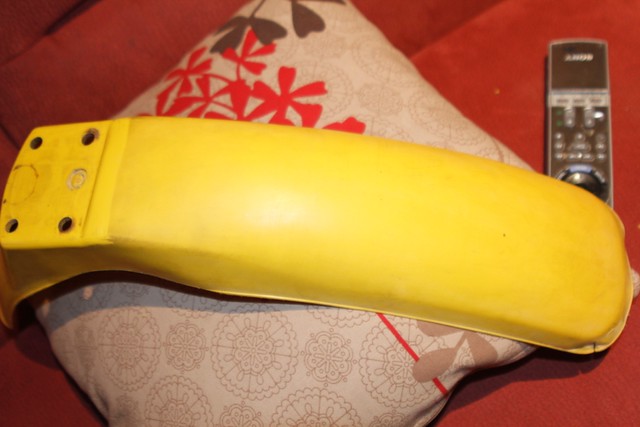
The plastics were looking pretty worn and old so I have scraped the plastic back with a razor blade to bring out its original colour, then sanded with 300 wet n dry, then 1500 then 2000, making sure not to press too hard other wise deep scratches will form and be hard to get out. After the wet and dry I will buf it with an electric buffer and cut and polish to make it shine. Will pick the buffer up from my uncle tomorrow and see how it goes. Here is the front fender, you can see were I have started to scrape the plastic back.
While Waiting for the buffer I will I put the seat and fuel tank on and took it for a spin, it is amazing how much difference a broken bearing will do to your performance. The tuning had changed a little from the port work, but a few clicks leaner and she hummed beautifully.
The funny thing is that I have stacked it before I have even finished it, lol. Its all good though, just a scratched exhaust. As soon as I get them plastics finished and installed I will get some more photo's up.
***8226; Replaced bottom end bearings
***8226; Did some port work on it
***8226; Stripped the frame down to nothing and repainted most of the bike
***8226; Greased all bearings
***8226; Restored the plastics
The photos tell the story,
These are the only photo's I got of it before, Sorry
And then the project begun, engine was pulled out and pulled apart
and here was the cause of the rattle which was why I started dimantling in the first place.
New bearing were installed and the engine was put back together, well almost, this is what happens when you have the wrong tools for the job
So I had a chat to a motorcycle mechanic who just happened to have the same problem with a mates rm80. He told me a way to fix it to save myself some money.
Firstly the prong thing that broke off had a hole which went all the way through to the back side of the clutch and only half of this had a thread in it, so I tapped the original thread all the way through. Like so.
This was done so that a counter sunk screw could be screwed through from the back into the prong and this would hold it in place.
The back then needed to be counter sunk with a large drill bit, like so.
and here it is all back together, and next time I'll just get the right tool, it would be much easier, lol.
Next I re-painted the side covers, cylinder and head, frame, triple clamps and swingarm.
Side Covers are satin black as well as the frame and exhaust pipe, swing arm was painted silver.
The exhaust heat shield was taken back to bare steel and given a coat of KBS Diamond finish (which is clear). The frame was put back together.
Engine was installed and started up to make sure it still ran, lol.
Muffler was pulled apart and clean, then repainted. Note: the exhaust and muffler and also the cylinder and head were painted with satin black heat proof paint.
The plastics were looking pretty worn and old so I have scraped the plastic back with a razor blade to bring out its original colour, then sanded with 300 wet n dry, then 1500 then 2000, making sure not to press too hard other wise deep scratches will form and be hard to get out. After the wet and dry I will buf it with an electric buffer and cut and polish to make it shine. Will pick the buffer up from my uncle tomorrow and see how it goes. Here is the front fender, you can see were I have started to scrape the plastic back.
While Waiting for the buffer I will I put the seat and fuel tank on and took it for a spin, it is amazing how much difference a broken bearing will do to your performance. The tuning had changed a little from the port work, but a few clicks leaner and she hummed beautifully.
The funny thing is that I have stacked it before I have even finished it, lol. Its all good though, just a scratched exhaust. As soon as I get them plastics finished and installed I will get some more photo's up.
Last edited: