


have had suggestions to post this as a how to, so here it is.
I will be upgrading the suspension on my CRF50 with the following parts.
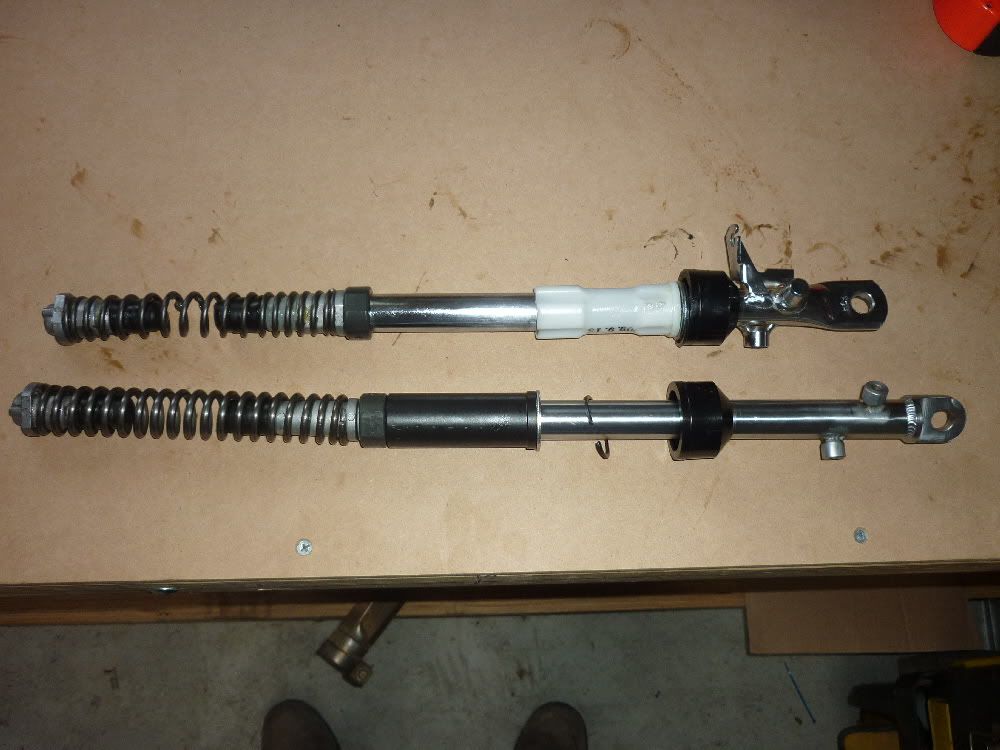
Sik 50s +1 fork legs
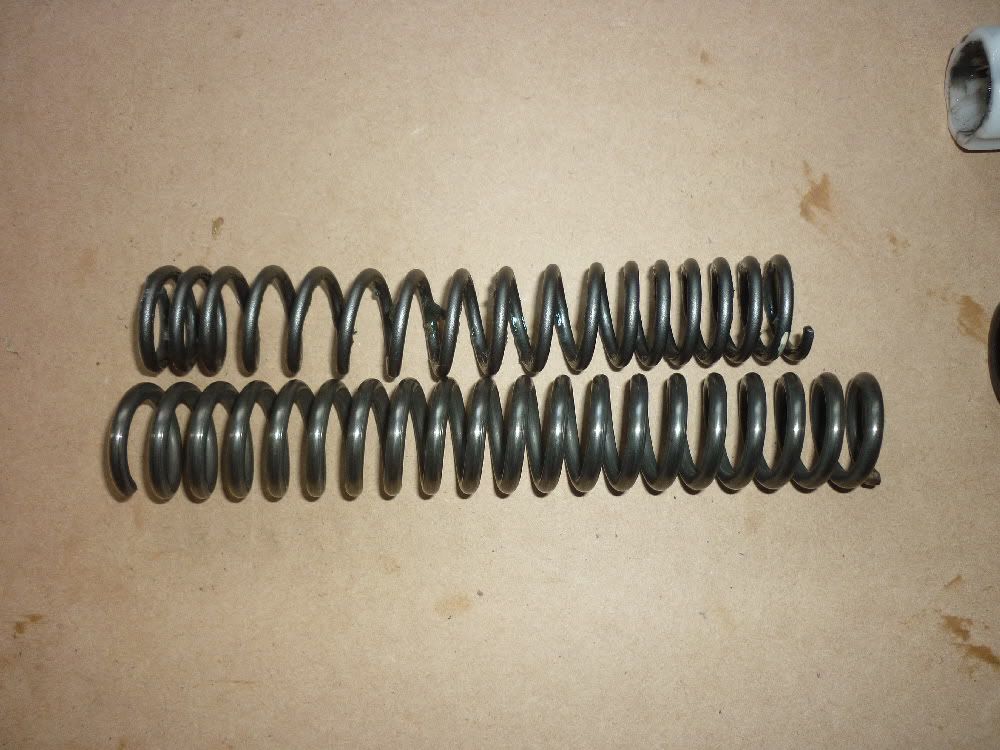
sik 50s HD fork springs
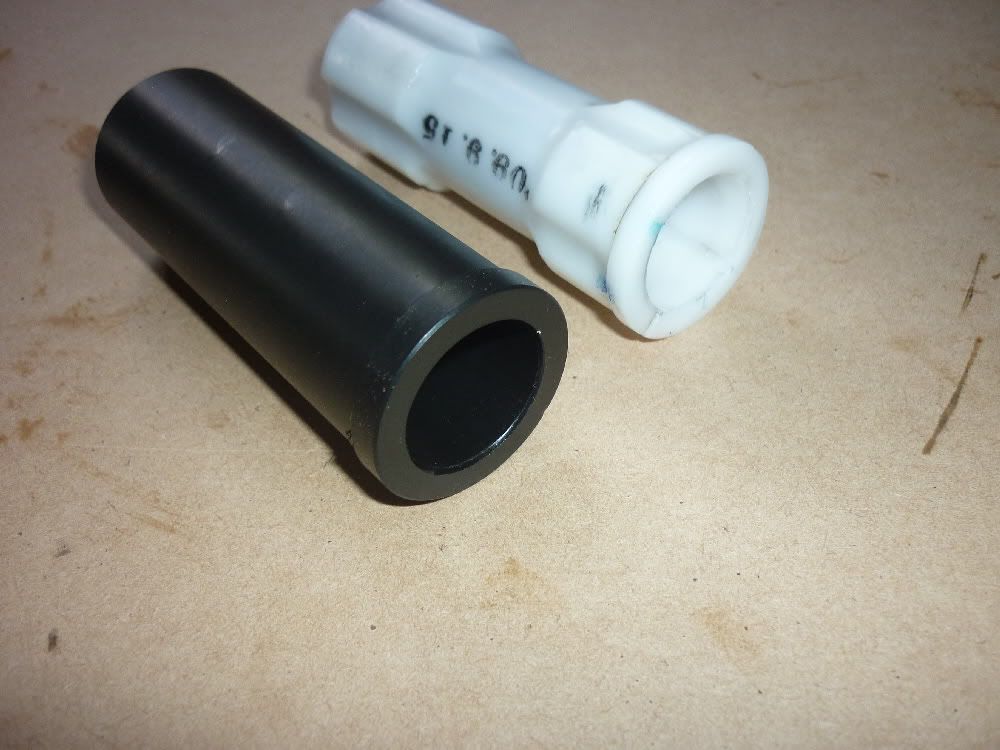
Sik 50s HD fork leg bushes
IShock M1A6
Now while I did not find the forks hard to dismantle, they will require a certain degree of mechanical ability. so if you are a novice be incredibly careful. there ae sone componants that could be damaged if not handled correctly. i will point them out when I come to it
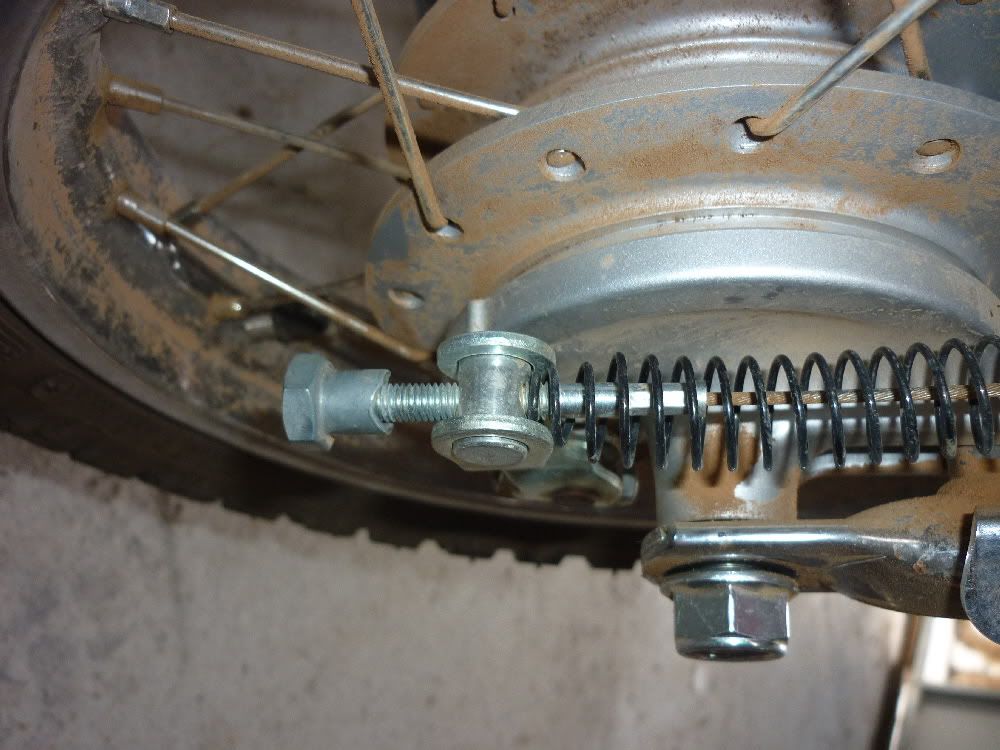
remove the fork leg guards, then spin off the brake slack adjuster, and remove the axle. put the spring and the adjuster nut back on the cable because i always lose that shit.
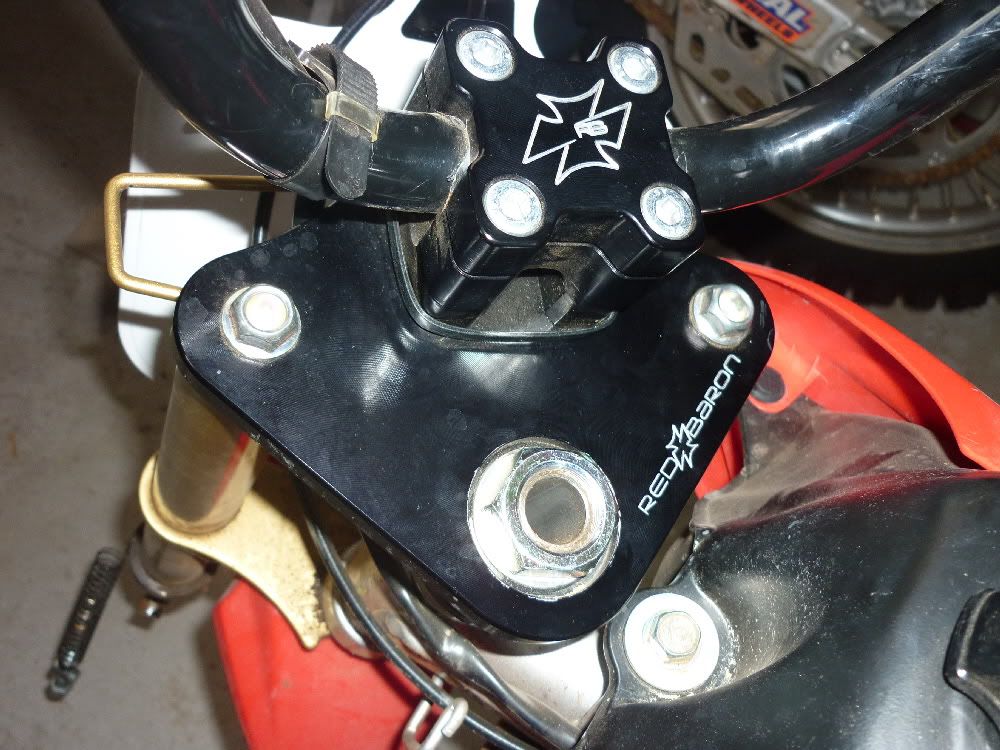
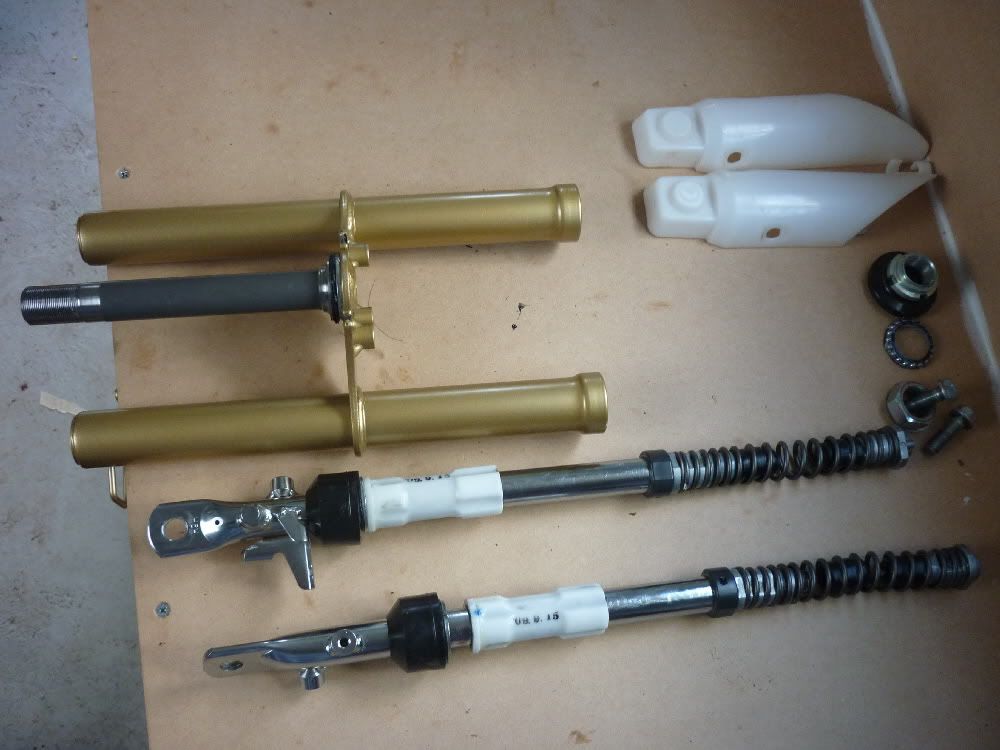
remove the two 14mm screws, and remove the 32mm stem nut. then with a screwdriver and a hammer gently loosen off the castle nut and you will be able to remove the front end. be careful with the little bearing cages.
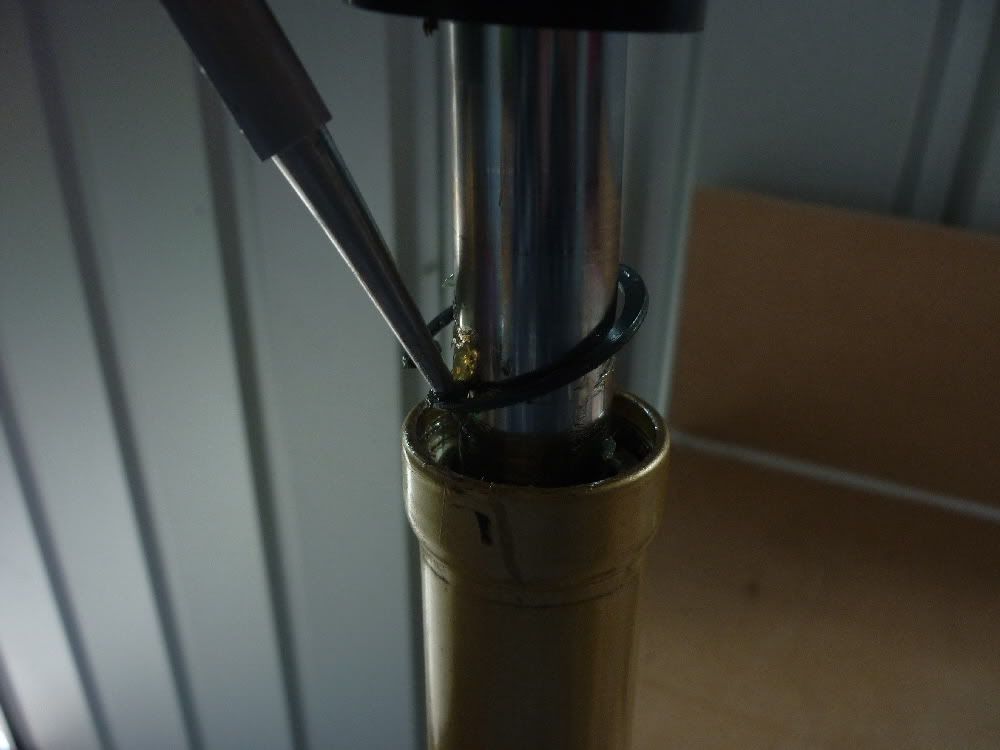
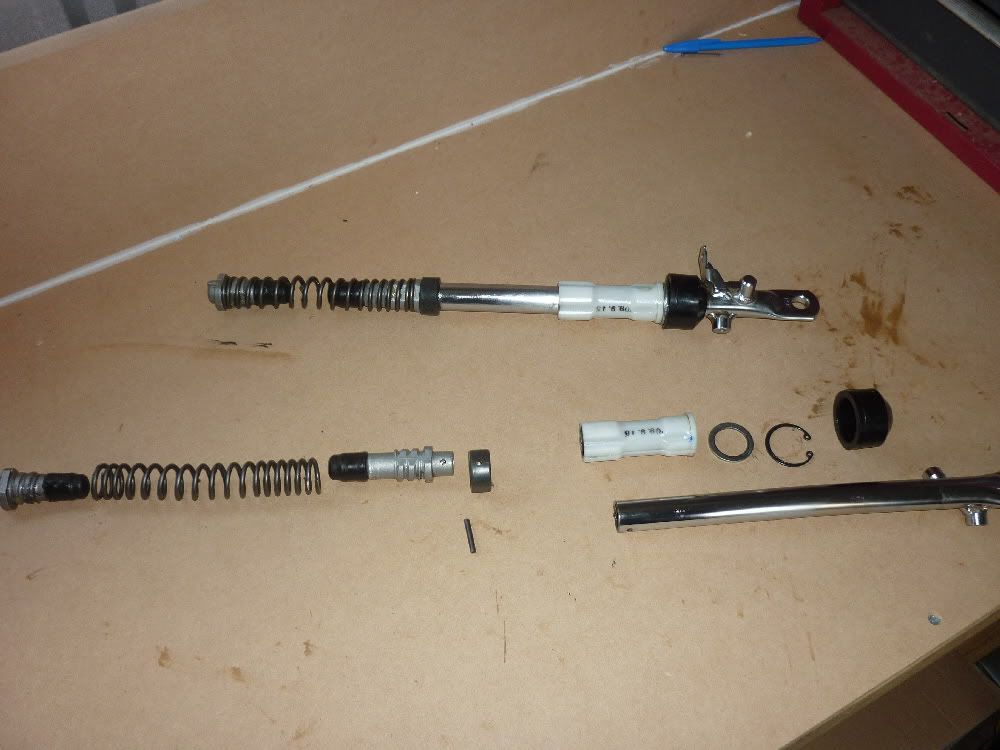
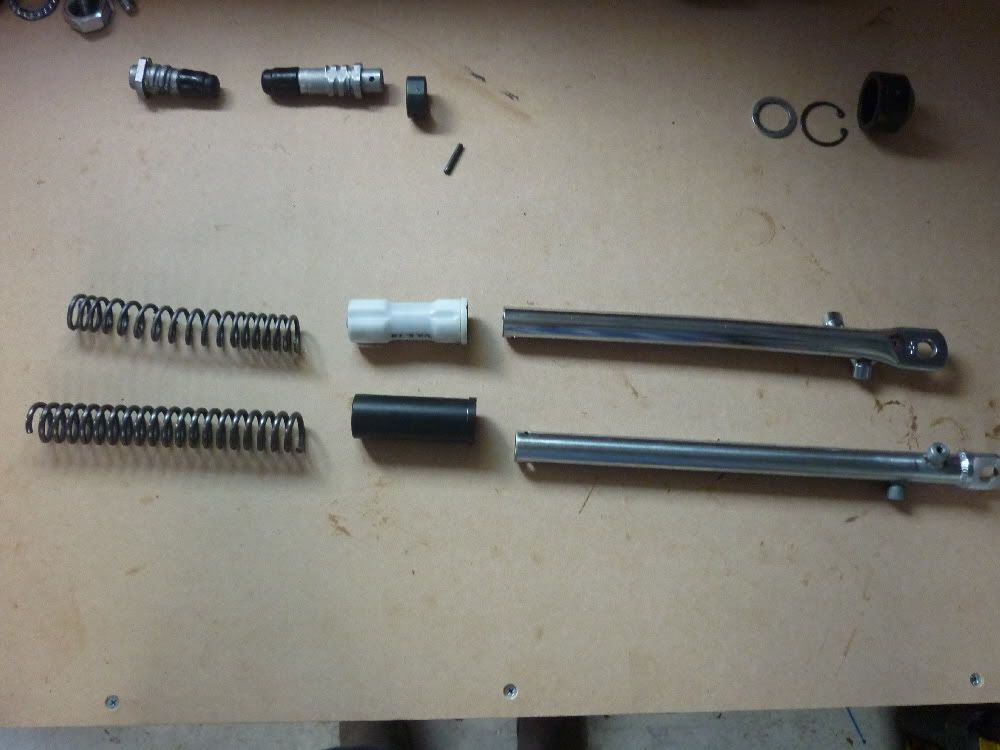
flip the forks upside down and with your thumbs slide up the rubber dust covers. then you got access to the circlips that hold the legs in. remove. there is a heap of grease around the spring, so have your wifes best sunday dress handy to clean it up.
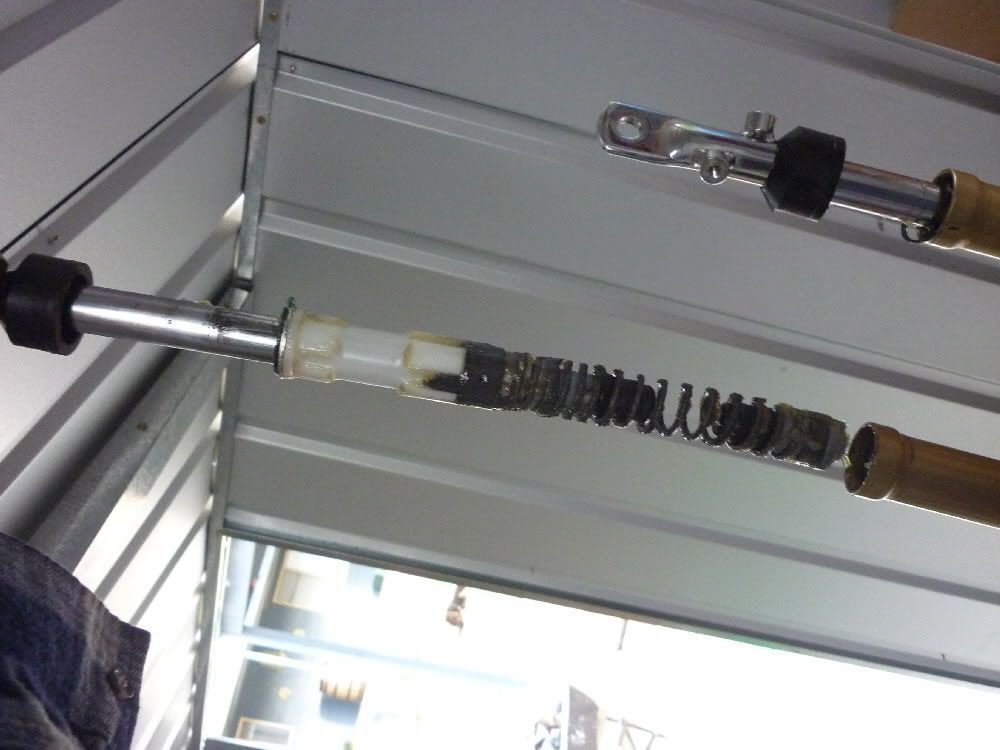
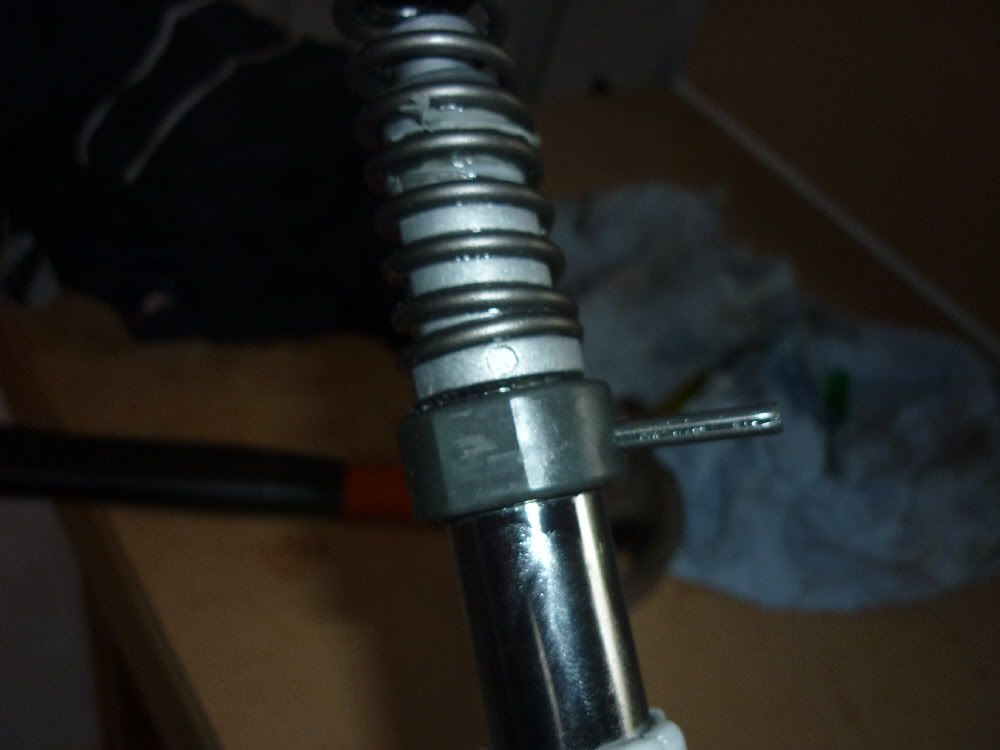
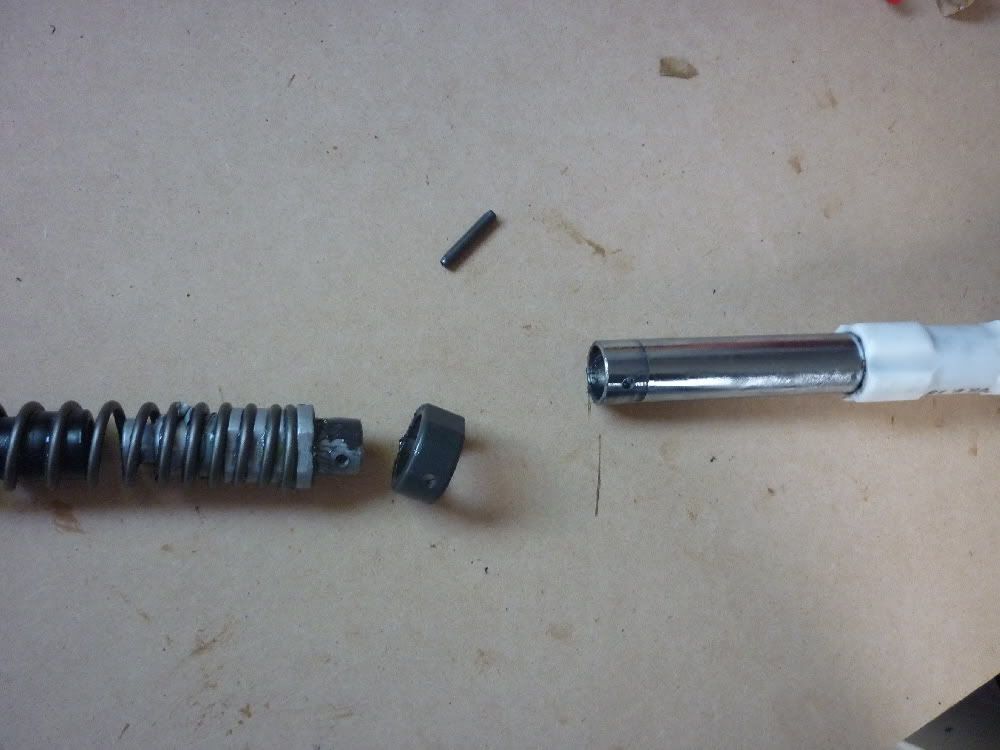
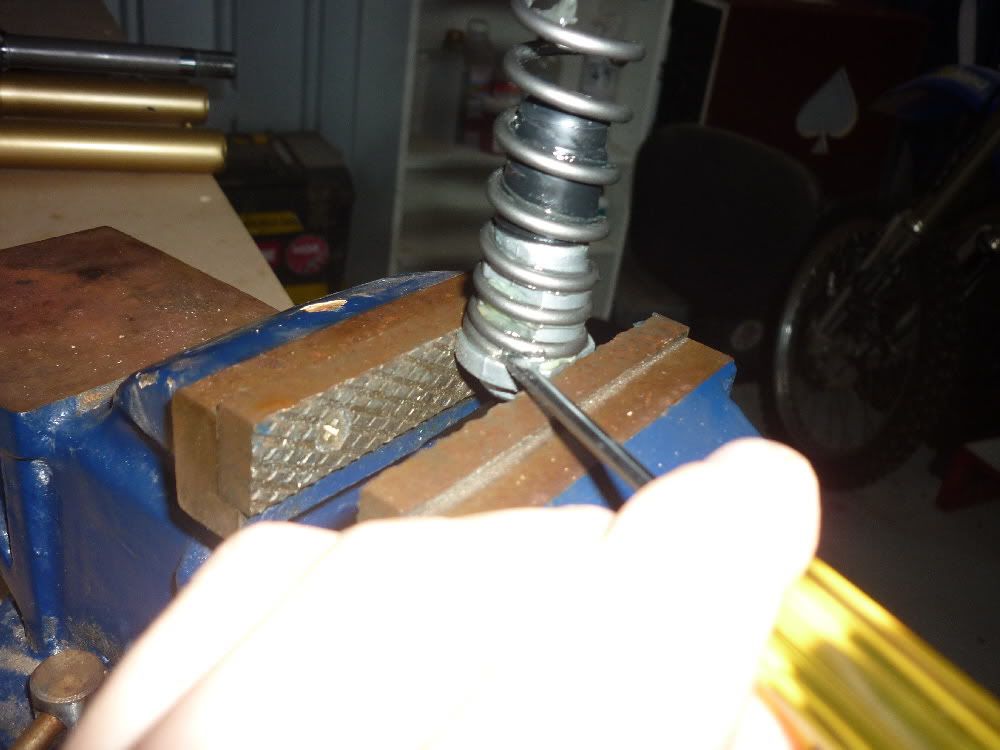
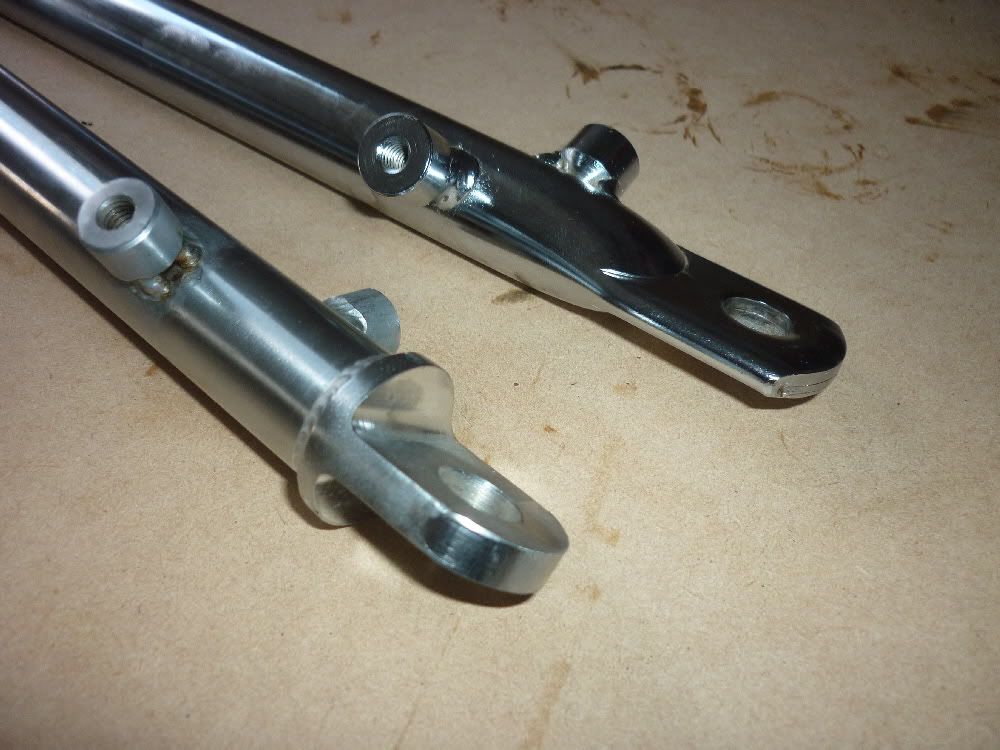
push out the roll pin that holds the leg to the spring carrier. a hammer and a pin punch is the best tool. be careful here, that collar is made of incredibly soft metal, almost of lead consistency. it is very malleable. dont hammer this piece or place it in the a vice.
I will be upgrading the suspension on my CRF50 with the following parts.
Sik 50s +1 fork legs
sik 50s HD fork springs
Sik 50s HD fork leg bushes
IShock M1A6
Now while I did not find the forks hard to dismantle, they will require a certain degree of mechanical ability. so if you are a novice be incredibly careful. there ae sone componants that could be damaged if not handled correctly. i will point them out when I come to it
remove the fork leg guards, then spin off the brake slack adjuster, and remove the axle. put the spring and the adjuster nut back on the cable because i always lose that shit.
remove the two 14mm screws, and remove the 32mm stem nut. then with a screwdriver and a hammer gently loosen off the castle nut and you will be able to remove the front end. be careful with the little bearing cages.
flip the forks upside down and with your thumbs slide up the rubber dust covers. then you got access to the circlips that hold the legs in. remove. there is a heap of grease around the spring, so have your wifes best sunday dress handy to clean it up.
push out the roll pin that holds the leg to the spring carrier. a hammer and a pin punch is the best tool. be careful here, that collar is made of incredibly soft metal, almost of lead consistency. it is very malleable. dont hammer this piece or place it in the a vice.
Last edited:
") . + Reps
. + Reps