bournie
Well-Known Member
I have seen a phew posts about this, I have made a how to that only focuses on the internal of the carb not the external
Ok so you havent kept your air filter maintained or just used dirt fuel, bike not running 100%?
So it probably a dirty carby
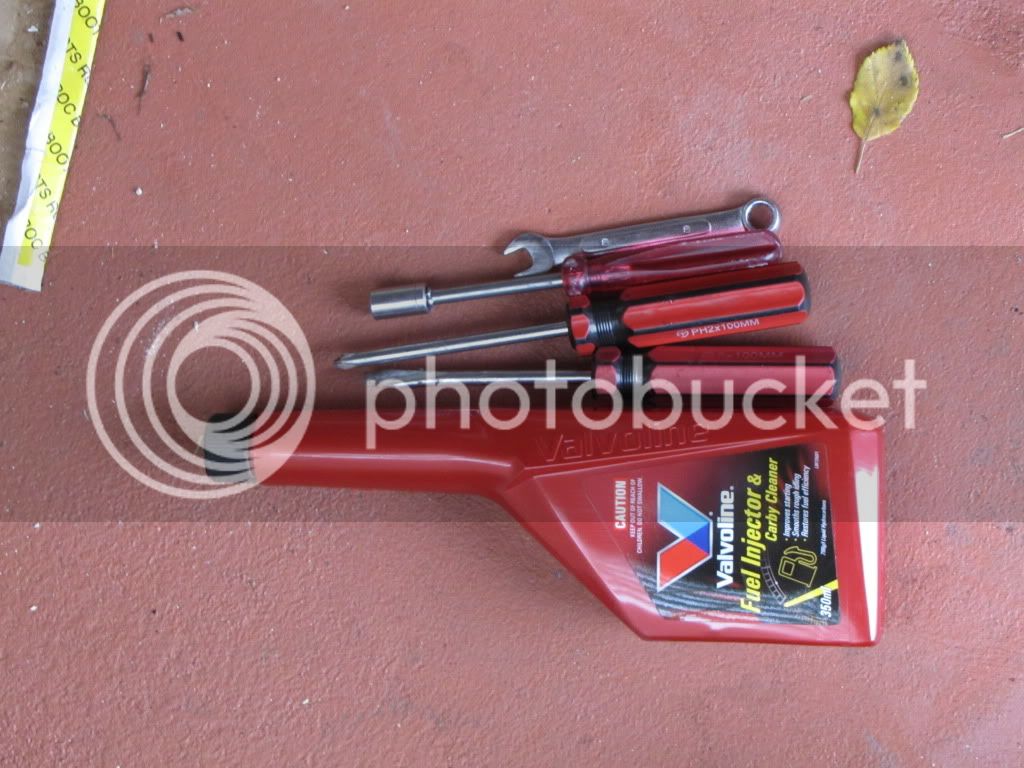
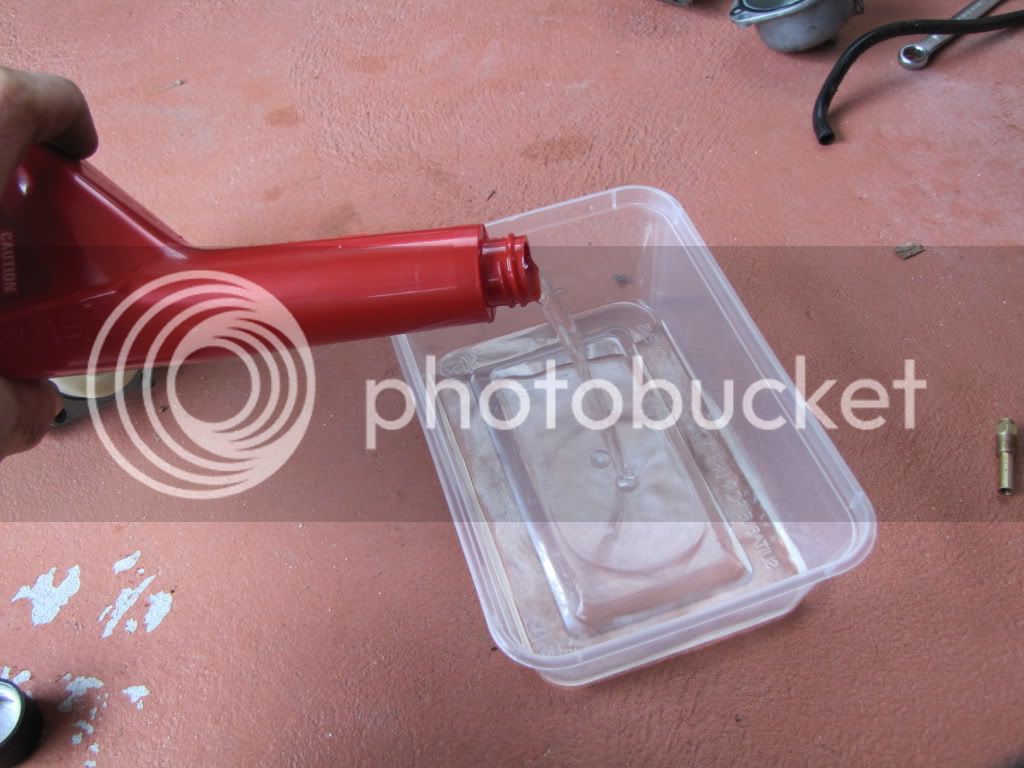
You will need a phillips head,flat head,and 8mm spanner and preferably and 8mm socket driver and carby cleaner of some sort
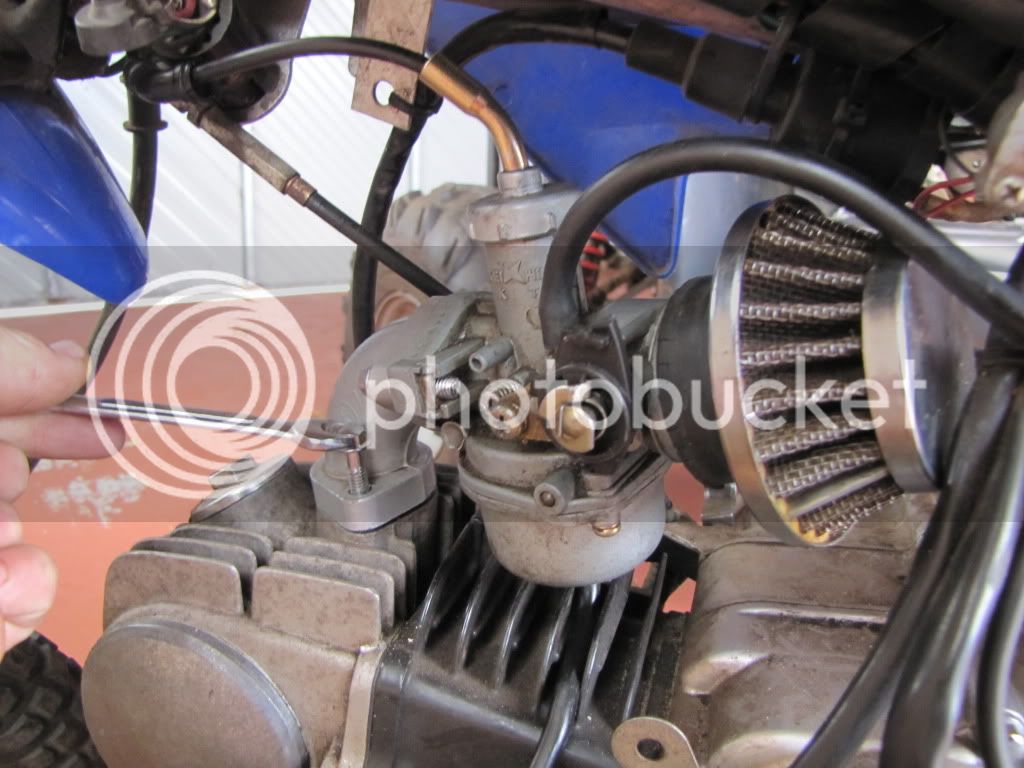
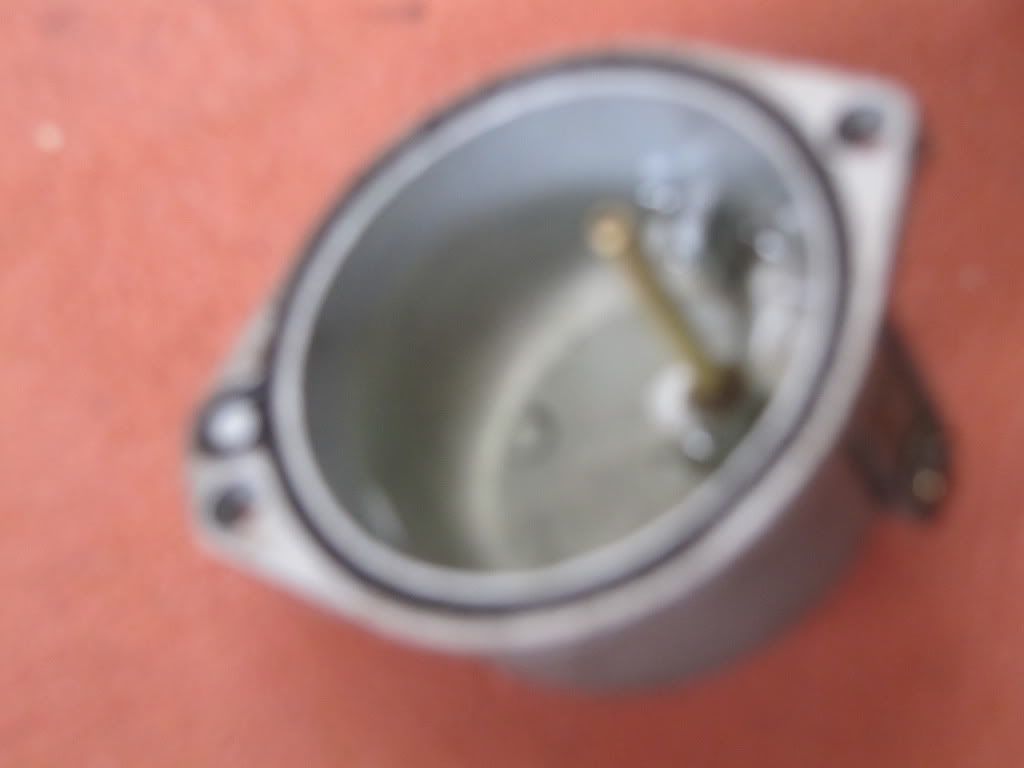
remove the carby from the bike
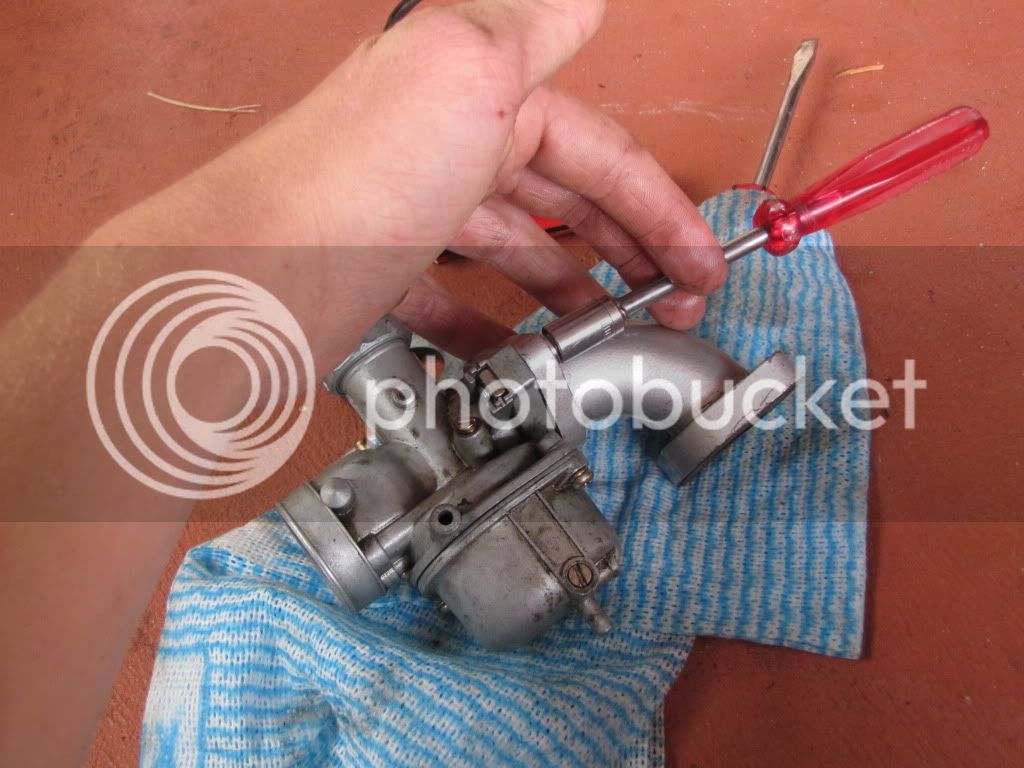
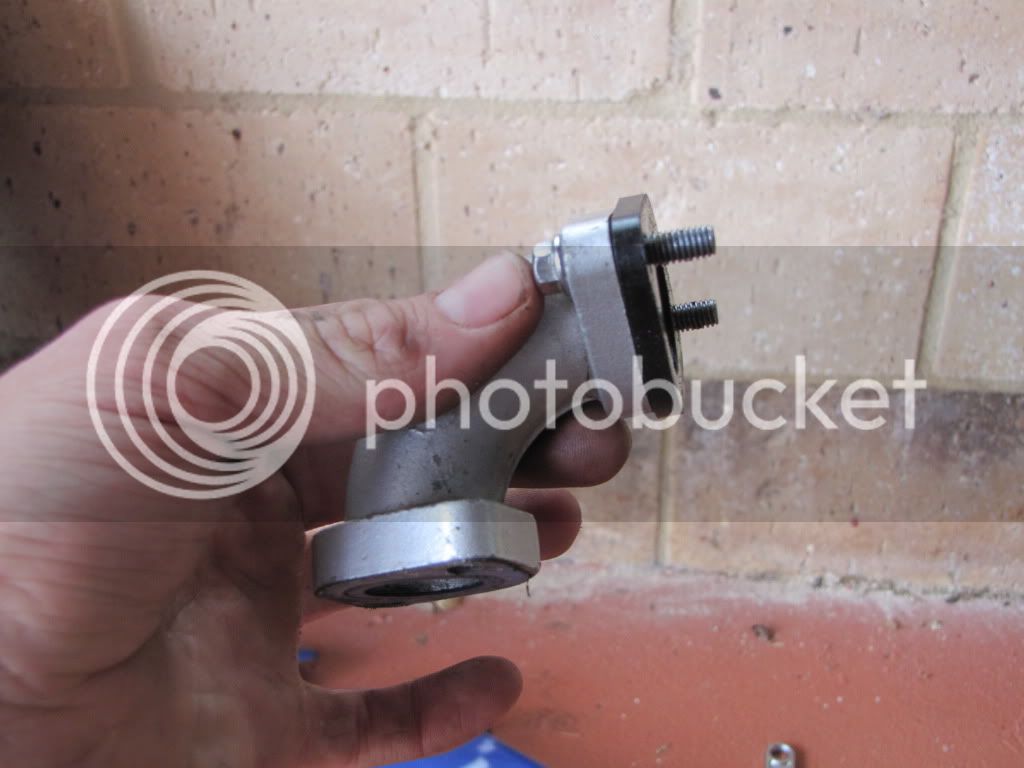
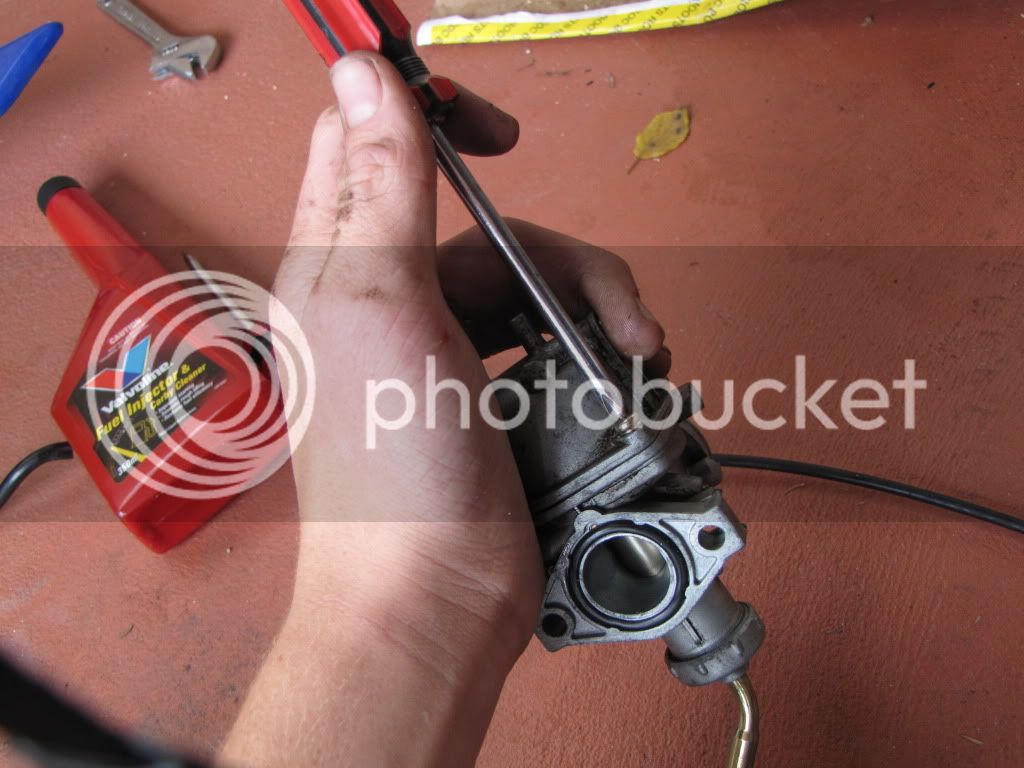
remove the tunnel? that connect the carby to the bike
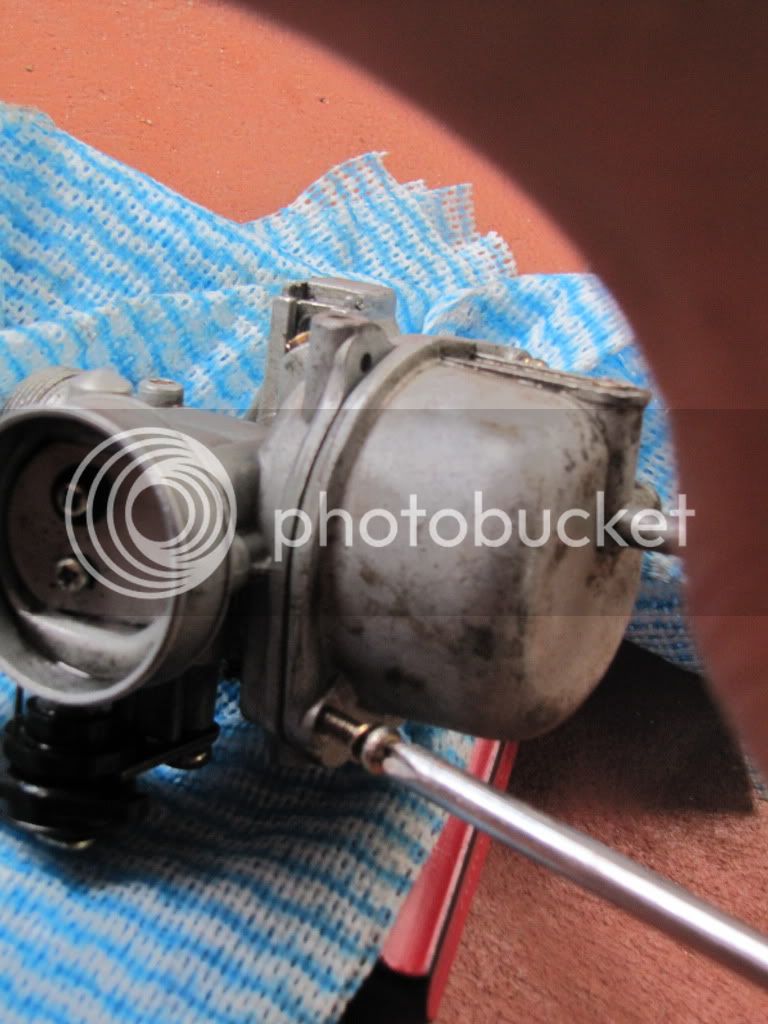
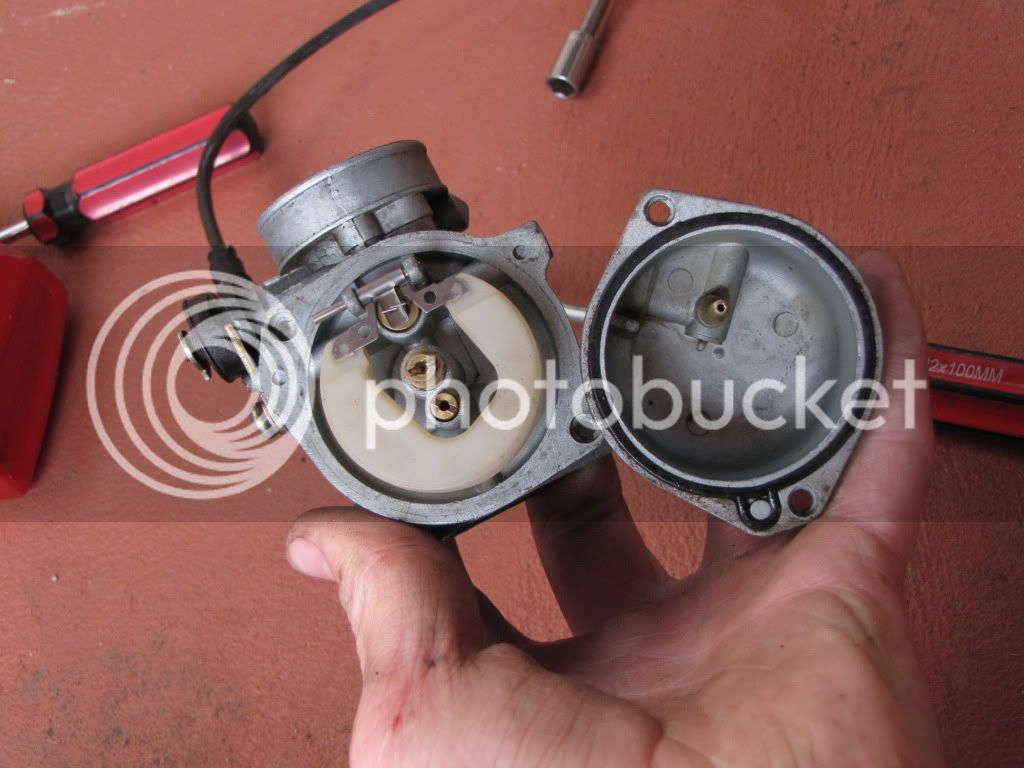
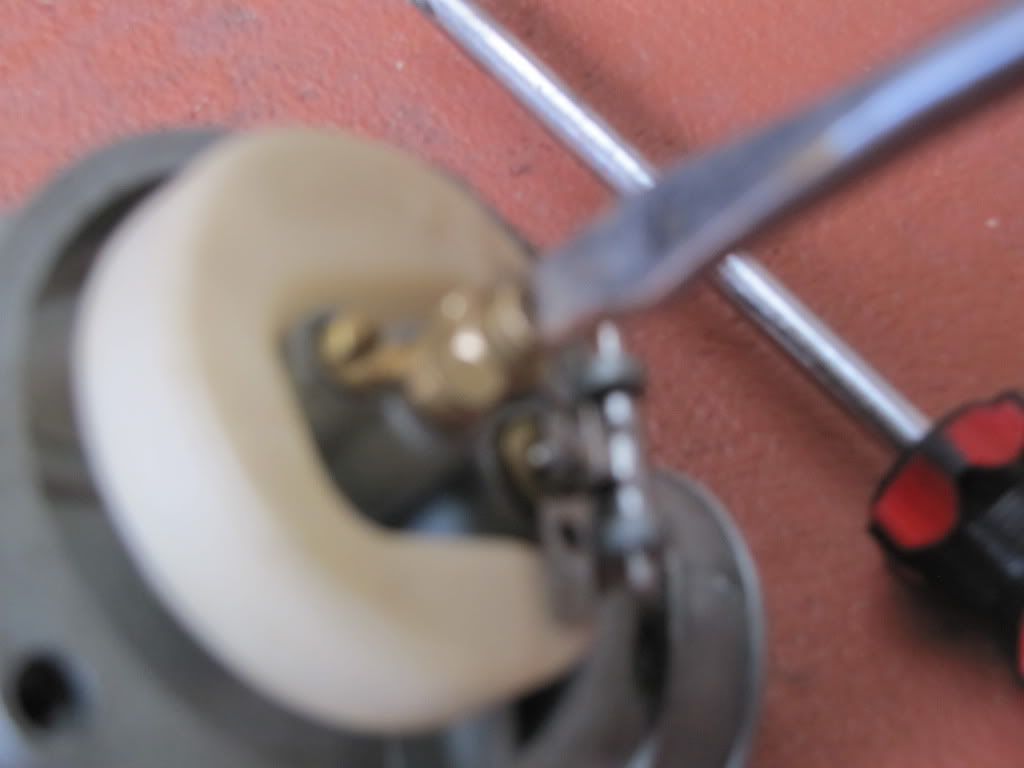
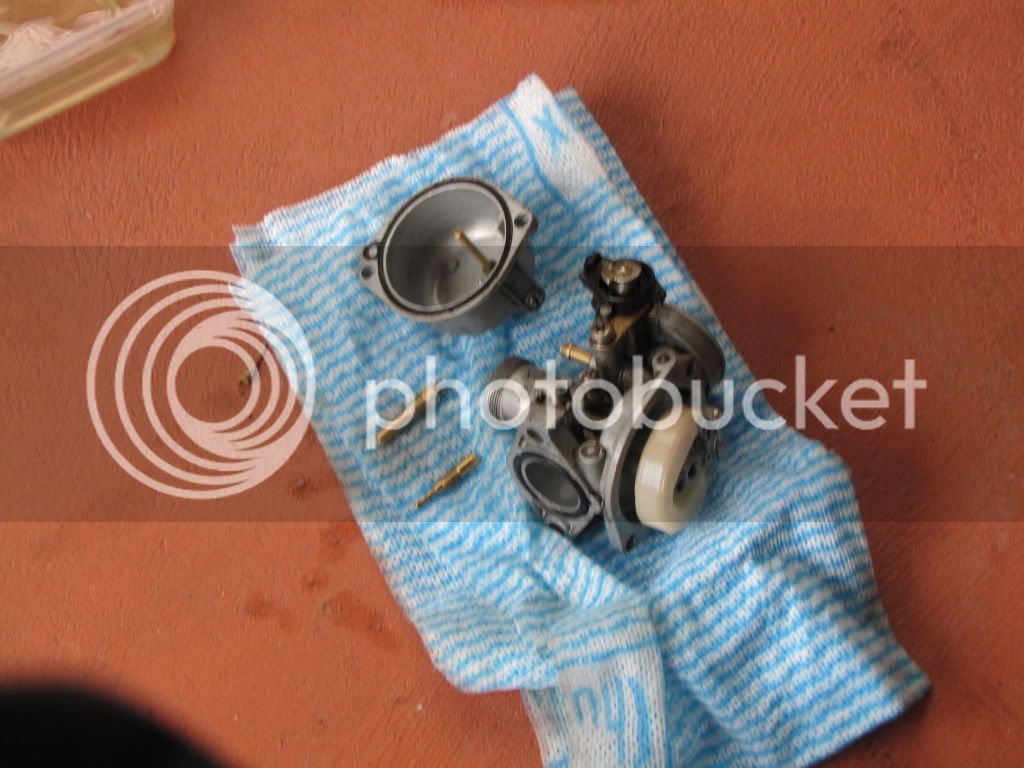
Undo the bolts on the float bowl and remove it
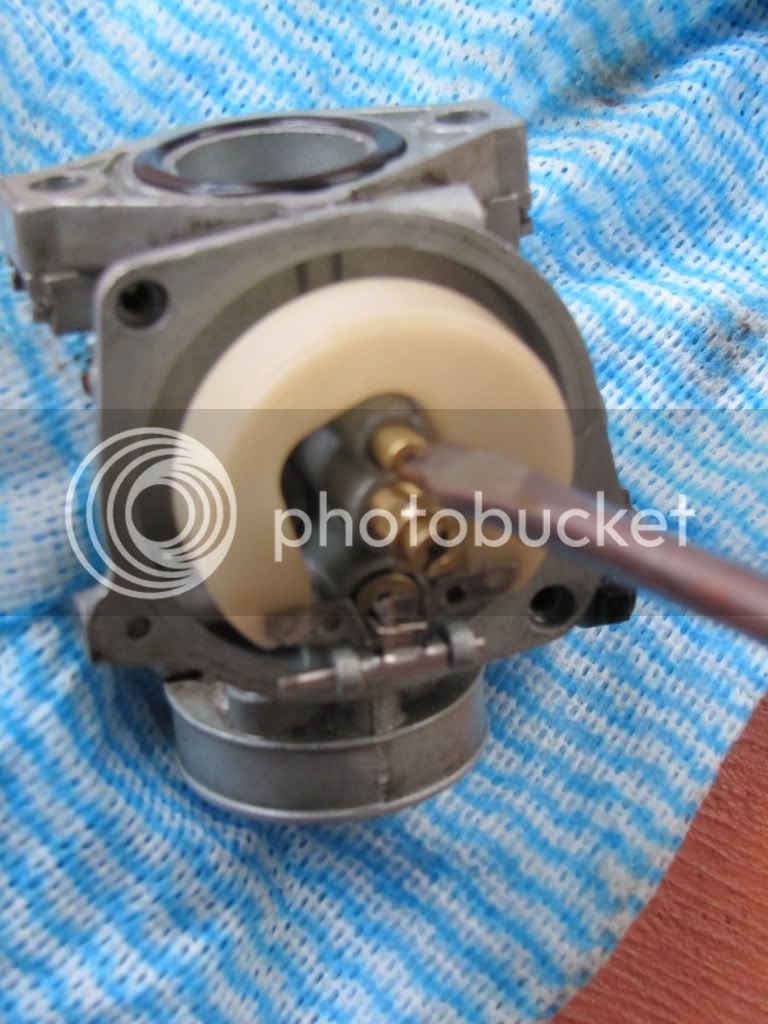
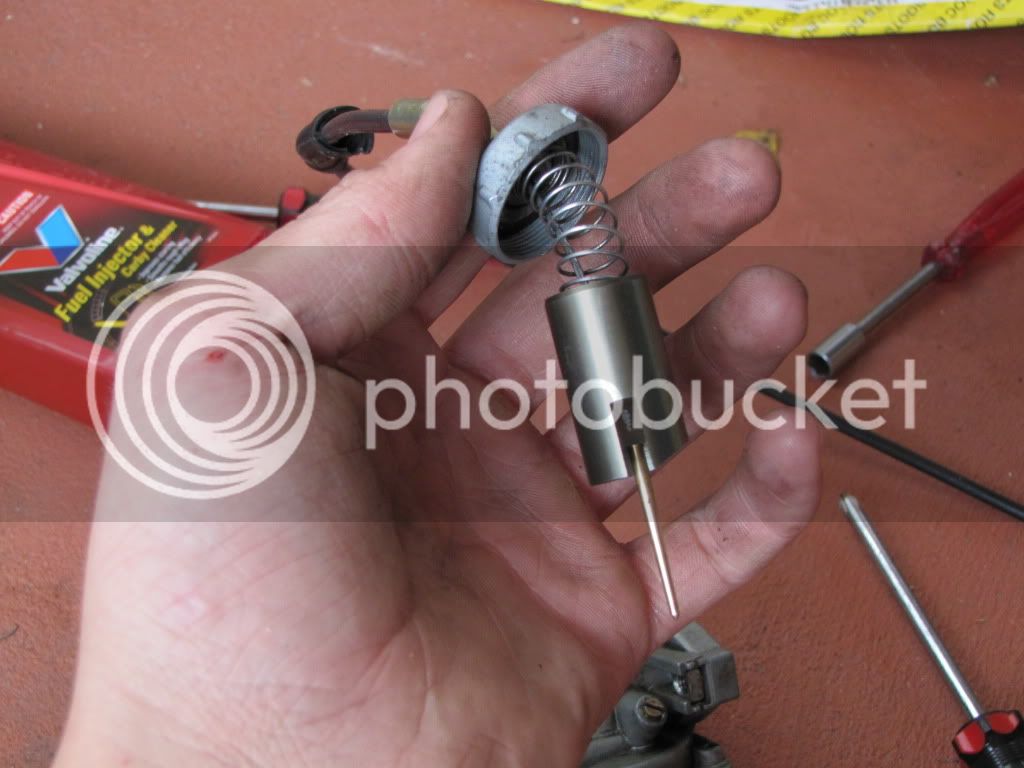
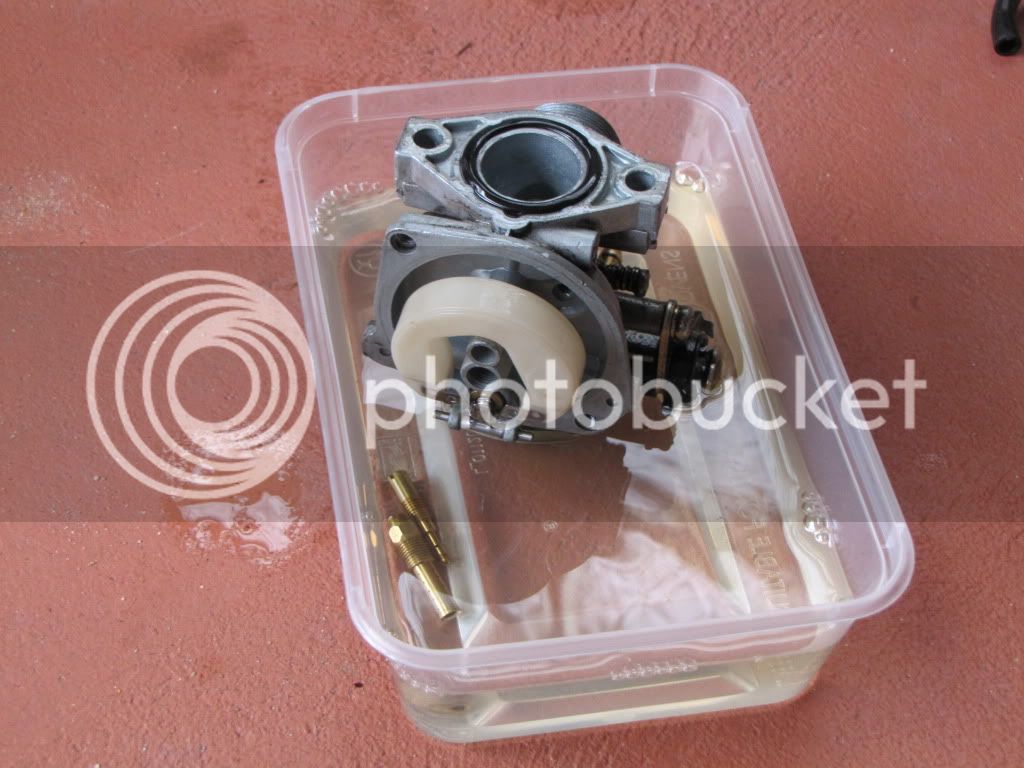
Now for carby noobs the large golden circuler object in the middle is the main jet and hte smaller one of to the side is the pilot jet and the small golden object in the bowl is called a leak jet
The largw white object is the float, you can adjust the level of the float if your bike is getting to much or not enough fuel in its mix
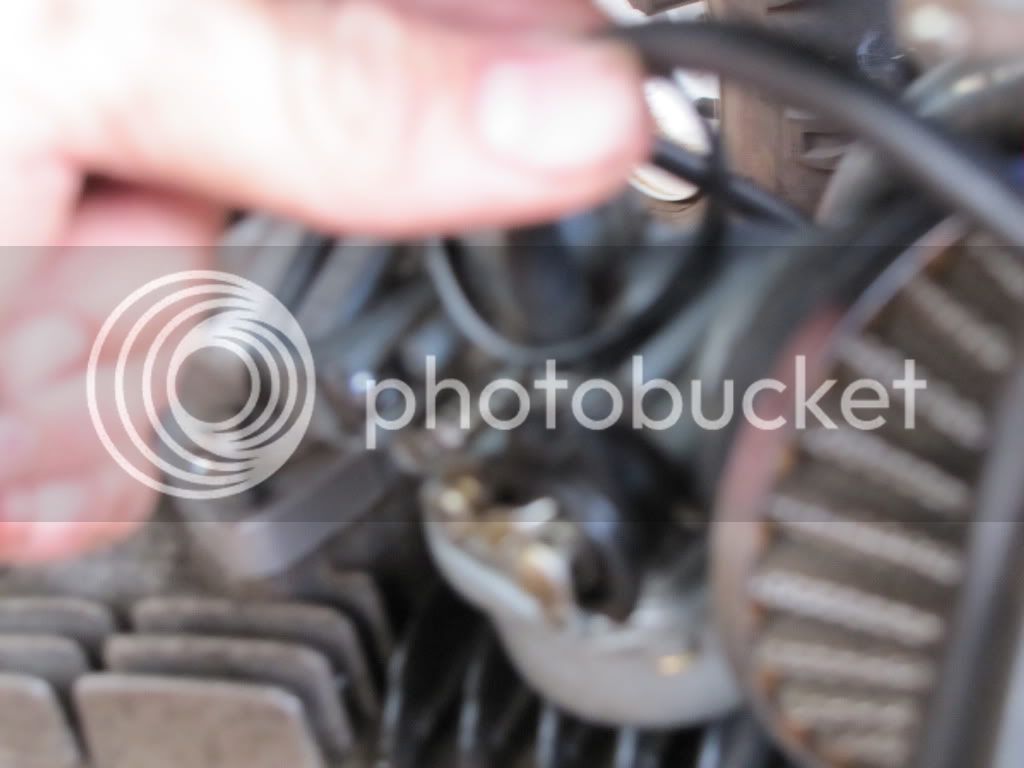
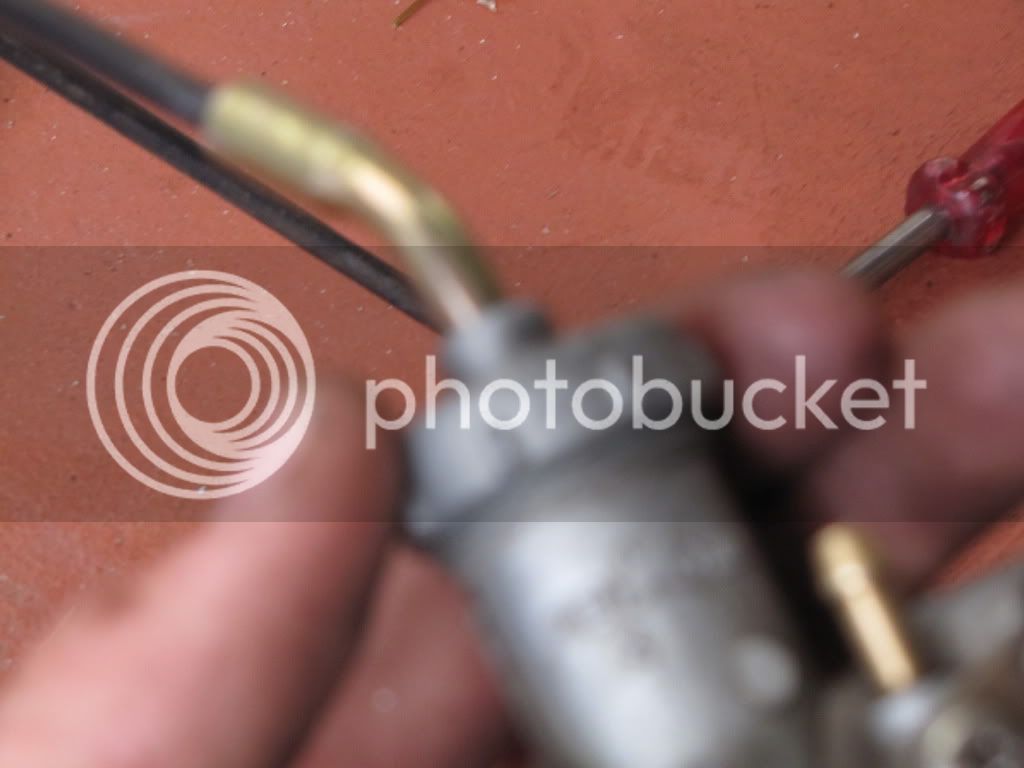
remove the throtle cable from carb
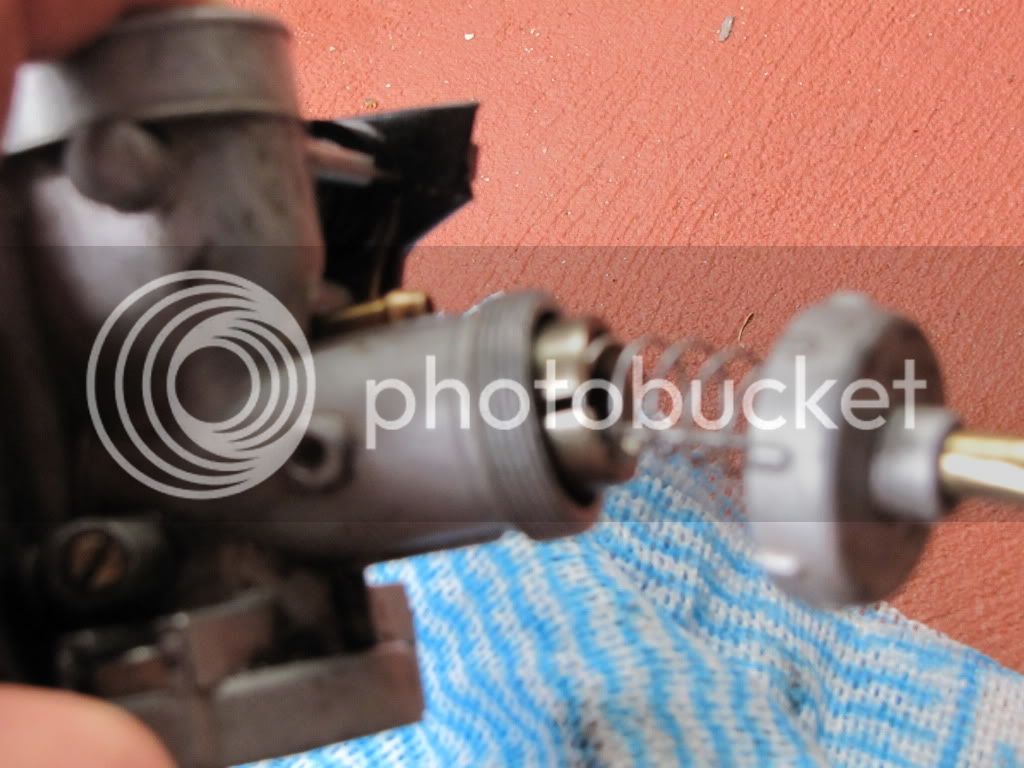
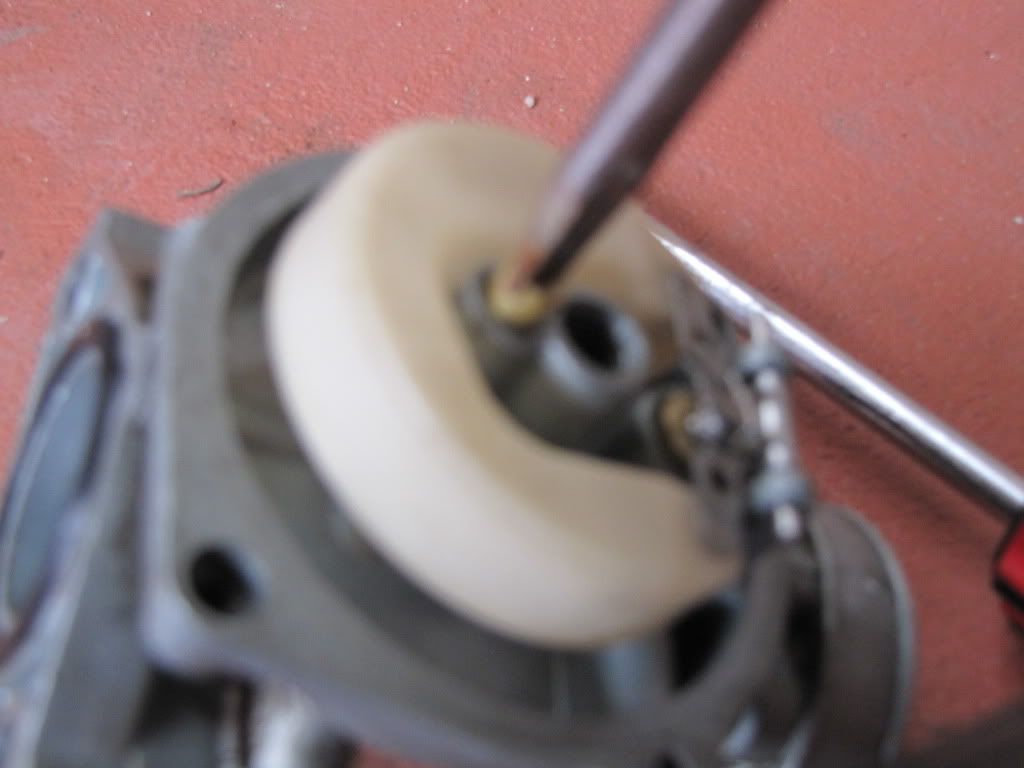
Remove the needle jet
Ok so you havent kept your air filter maintained or just used dirt fuel, bike not running 100%?
So it probably a dirty carby
You will need a phillips head,flat head,and 8mm spanner and preferably and 8mm socket driver and carby cleaner of some sort
remove the carby from the bike
remove the tunnel? that connect the carby to the bike
Undo the bolts on the float bowl and remove it
Now for carby noobs the large golden circuler object in the middle is the main jet and hte smaller one of to the side is the pilot jet and the small golden object in the bowl is called a leak jet
The largw white object is the float, you can adjust the level of the float if your bike is getting to much or not enough fuel in its mix
remove the throtle cable from carb
Remove the needle jet
Last edited:
")