First project PitPro 110

Mini Dirt Bikes & Pit Bikes Forum

Help Support Mini Dirt Bikes & Pit Bikes Forum:

This site may earn a commission from merchant affiliate links, including eBay, Amazon, and others.

shr0om666

Member
Joined
Jan 11, 2016
Messages
10
Reaction score
0
7a43a3a0ffb3e7e8eaacf8ebb765e421.jpg


Picked this up a few days ago, its a PitPro 110 semi auto. As you can see its in dire need of some tlc but seemed to be running okay.

Thought I'd make a thread to document my journey as I fix it up and probably sell it. Who knows might learn a few things and make some money along the way!

Paid 200 for it as is, front brake lever is snapped off, rear brake is unresponsive, exhaust is held on by wire and it runs oddly, revving off its head in neutral, taking off in first without throttle.
Also the bike was victim to pink grips and woeful stickers peeling and dirty.

Clearly some work to be done but there's life in the little thing yet!


Sent from my iPhone using Tapatalk
 
411a12b5ba054c54c158340c01734490.jpg


First things first was to take the plastics off and clean them up a bit.
Peeled them off without much trouble and took the glue residue off with a little patience picking at it with a tiny flathead screwdriver.

Then it was onto the rusty exhaust, steel wool and Jif degreaser in hot water make light work of it.
Unfortunately had to leave it wired to the frame while waiting for a replacement ordered from Pit Bike Parts

Then removed the carby with a little assistance from YouTube and cleaned it out though it wasn't all that bad.
Adjusted the air/fuel to 2.25 turns out and replaced the carb.
Then adjusted the idle speed down to suit.
At this point I found some good info on these forums to adjust the semi auto clutch which rectified the problem of a very goey first gear.


Sent from my iPhone using Tapatalk
 
48800a1b2f923844aa47b911f749ea97.jpg


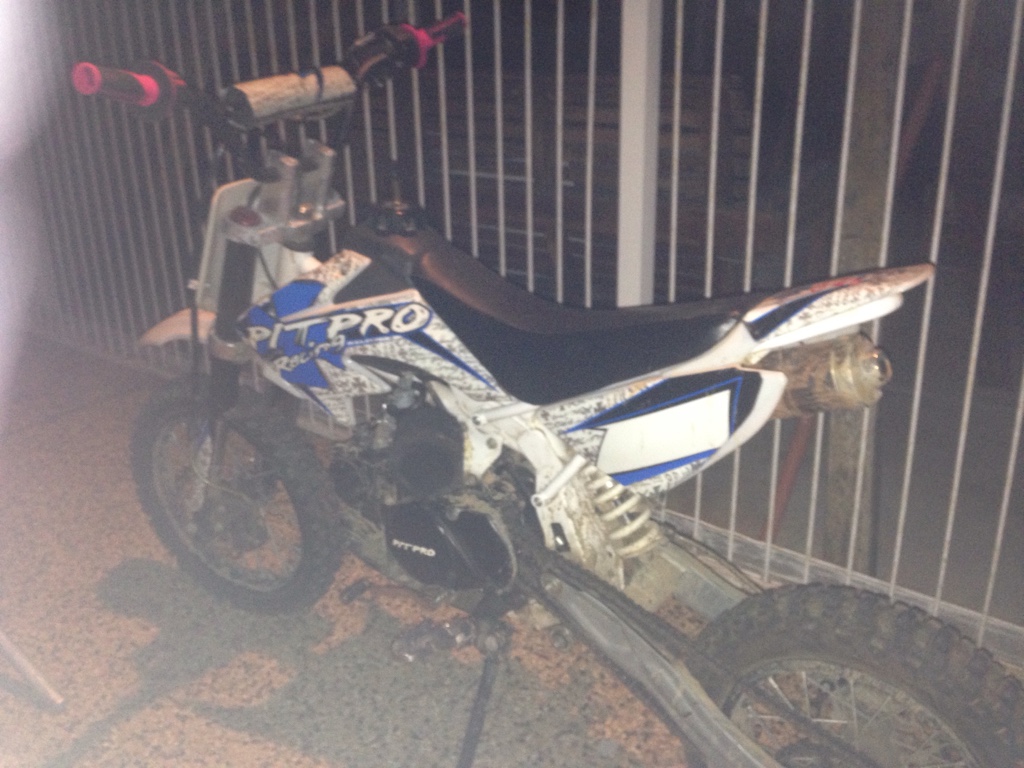
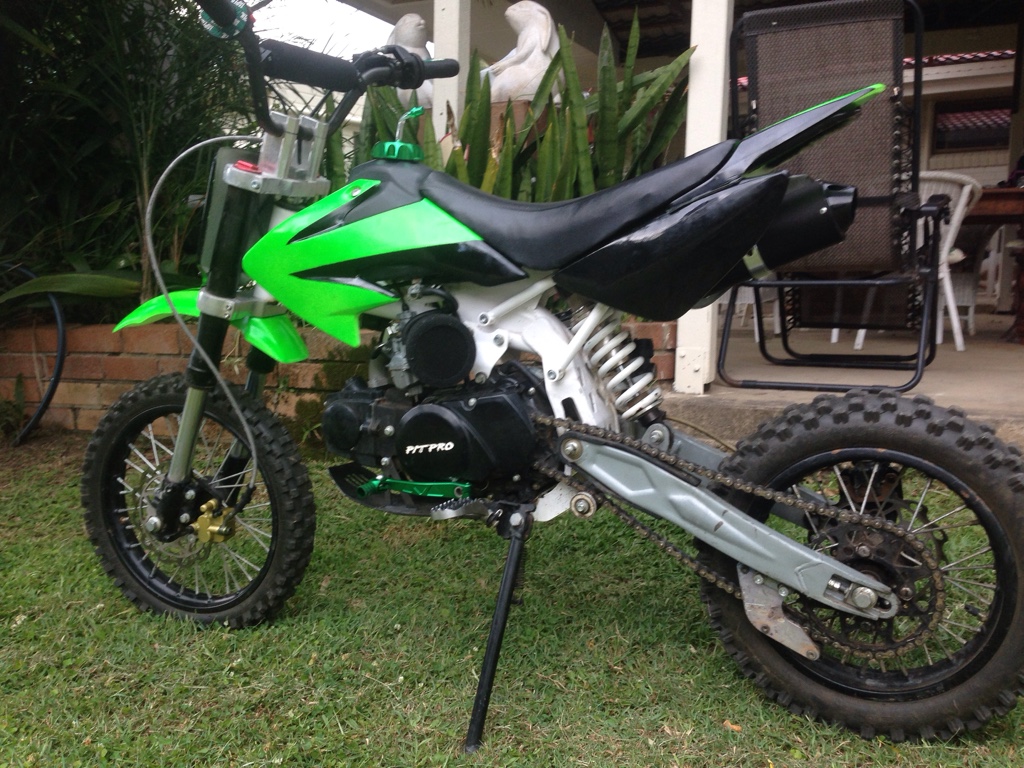
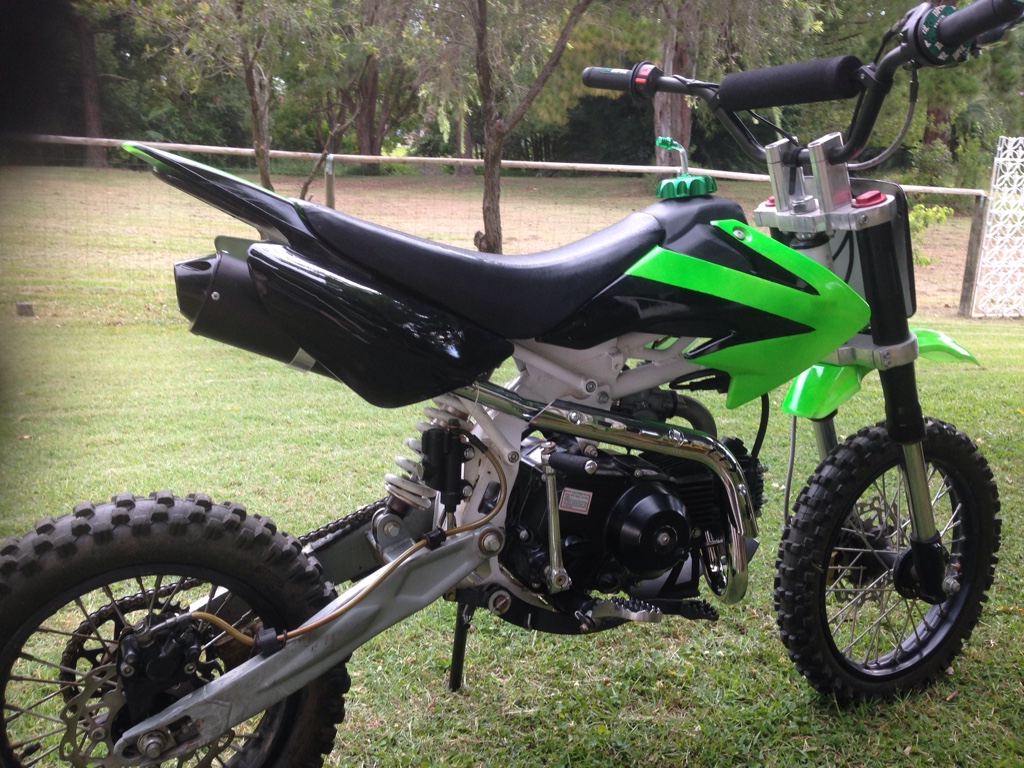
And that brings us to today.
Was very keen to repaint those plain plastics and always loved the green and black of the first bike I ever rode, a KX80 way back when.

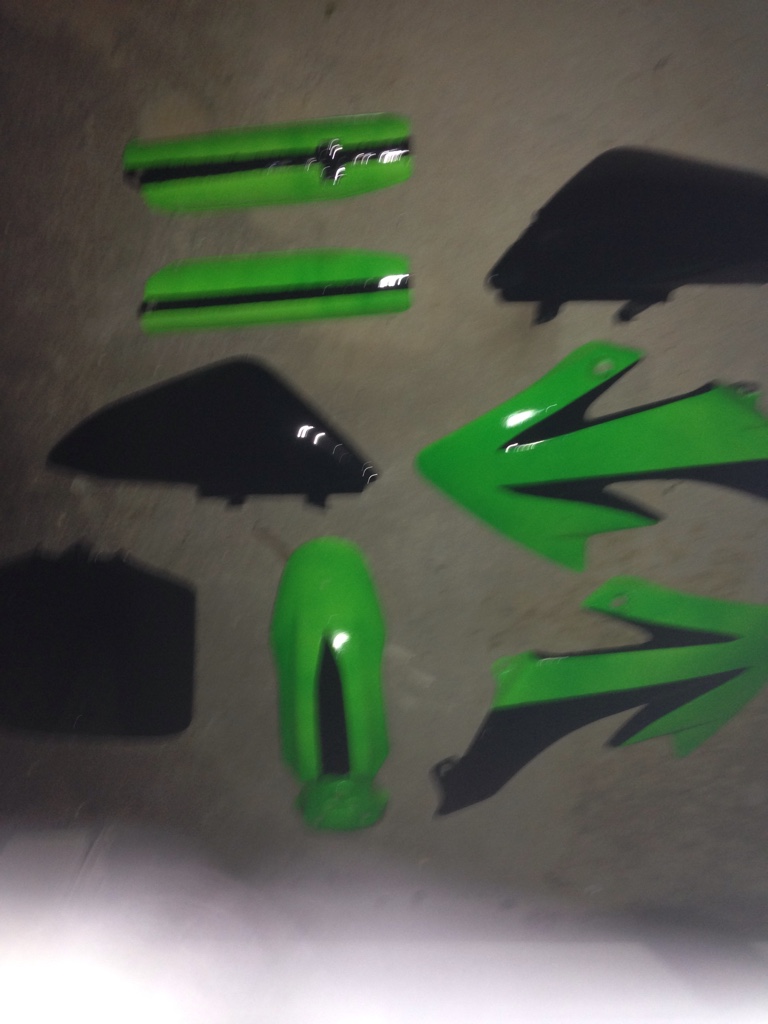
Decided against sanding the plastic and instead used 3 coats of spray on undercoat, 40 minutes apart as it was hot and dried quickly.
Followed that with 2 coats of 'Neon Green' which was a flat color to begin with. Left for 2 hours after second coat.
The black was a standard gloss, took a good half hour to mask everything first.
One coat was applied and let to dry for a hour before applying two coats of clear gloss which really made the neon green shine, very happy with that.


Amongst all this I decided to remove the broken front gear lever and bleed the rear brake and replace with a nice new fluid.


Can I just say.. What a b***h of a task this was. For someone who has no mechanical experience and am relying on forums and YouTube, it was not fun.

Started bleeding the brake and seemed to be going fine, liquid comes out, top up cylinder and repeat.. Well it took a while and wasn't more than a drop at a time.
So I depressed the brake and let it push the fluid out, then tightened the outlet before releasing the brake to keep it from drawing air in. (took me a while to figure this out!)
Finally got all the old fluid out and it was clear with dark streaks in it.

With fresh fluid in I pressed the brake and presto we have pressure!
But this also caused a whole lot of fluid to come spurting out from the caliper somewhere.

Removed that to take a look and it seemed to fall apart in my hands.
Couldn't find a diagram online so spent an hour trying to piece the pads back together with an annoying little metal bracket piece that works as a spring.

Got the caliper back together and called it a day.


Sent from my iPhone using Tapatalk
 
Have now just ordered some parts, an exhaust and muffler, front brake master cylinder/ lever and caliper with new brake pads and already filled with fluid.
(because screw ever having to do that again!! Haha)

Also just because I felt like it a new green gear lever, green grips, green fuel cap and a new air filter because I prefer the pod filter look to the black blob of foam style lol.

The total for all this was around 170 delivered from Pit Bike Parts
On this note I should say Dave was very helpful with figuring out what parts I needed and explaining that a banjo isn't only an instrument!

Tomorrow I'm picking up some engine oil and doing an oil change and reapplying the plastics which are drying overnight.

Peace out for now folks!


Sent from my iPhone using Tapatalk
 
If anyone has any nuggets of info on these things or the engines in em (Lifan, Mikuni carb) I'd love to hear it, any tips or comments are welcome to.


Sent from my iPhone using Tapatalk
 
By pod filter do you mean the steel mesh done shaped filters? They aren't the best at keeping the dust out of your engine. While the foam filters aren't the most pleasing to the eye, they work a lot better, you just need to oil them with filter oil.

Sent from my SM-T110 using Tapatalk
 
Fair enough, well see how they go. Perhaps I can rig something up to fix that.


Sent from my iPhone using Tapatalk
 
Looking good so far.

Did you use plastic adhesion primer on the plastic's before priming them ?


Get a pod style foam Uni Filter for it, they are one of the better one's around, and some spray on filter oil like the Castrol stuff or similar

UP4200G+GN.jpg


castrol-luftfilter-foam-air-filter-oil_oel_spray.jpg


Fit an NGK C7HSA spark plug, and get some dielectric grease onto all the wiring connection's too to stop corrosion
And check the valve to rocker clearance's are set right to give you the best power/performance
Inlet set to .003" and the exhaust set to .004", done at TDC on the compression stroke

[video=youtube;QJciyJRJh8Q]https://www.youtube.com/watch?v=QJciyJRJh8Q[/video]
 
I used a fast drying enamel undercoat which so far is working a treat but time will tell. I'm happy to buy new plastics if it doesnt, just wanted to give it a shot first.
I like that filter a lot will definitely pick one up.

Gonna have to read up on valve clearances a bit more before I attempt that I think.


Got my parts in the mail today (overnight ftw).
Sounds nice with the new pipe and muffler, and the few little green accents make me happy.
New brake installed and took it for a little burl, was nice and responsive.

Need a tall seat though.
1664a13623bb51ed9fc16843f94af2b1.jpg


f2dc3c4411bfb48a824386a23978c58e.jpg


Sent from my iPhone using Tapatalk
 
Looks pretty good :) valve clearances sounds harder than it is, so long as you line the timing marks up on the stator and cam gear you can't really go wrong ;)

Sent from my SM-T110 using Tapatalk
 

Latest posts

Back
Top