Nuts 4 50s
Well-Known Member
- Joined
- Aug 2, 2010
- Messages
- 390
- Reaction score
- 10
So,
You have currently decided that your engine is looking a bit worse for wear and it can do with a brand new look or are you looking for a bit more bling factor?
Its time to polish your engine.
Things you will need.
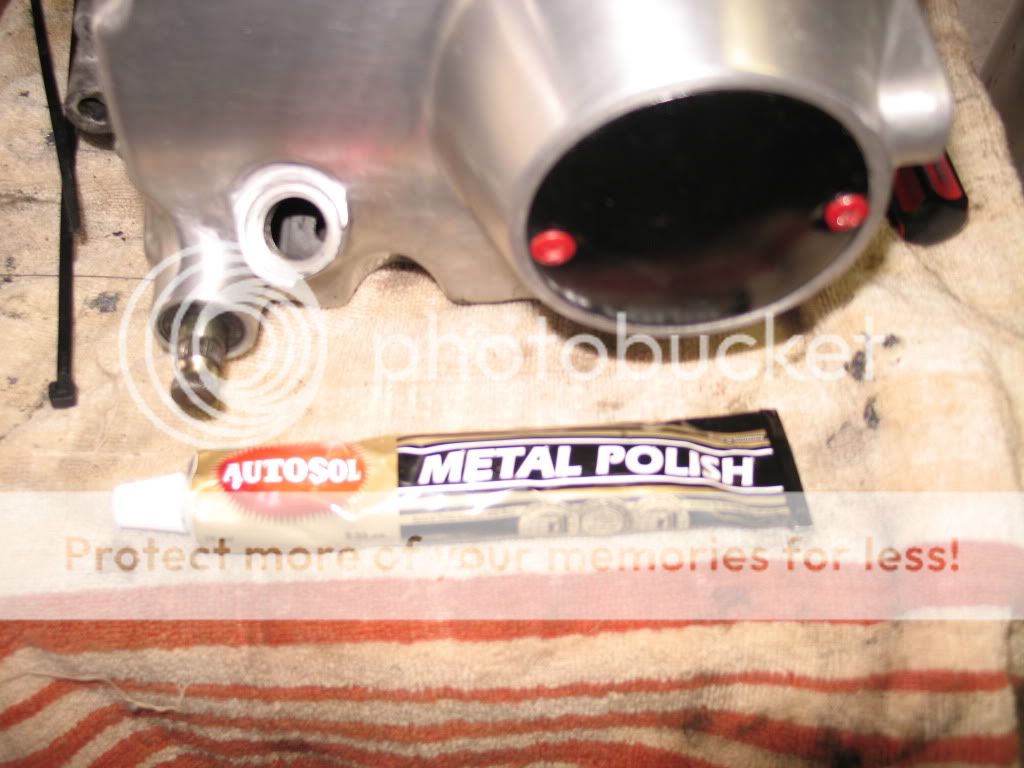
1.Autosol or other polishing cream or block. (I used autosol, works well)
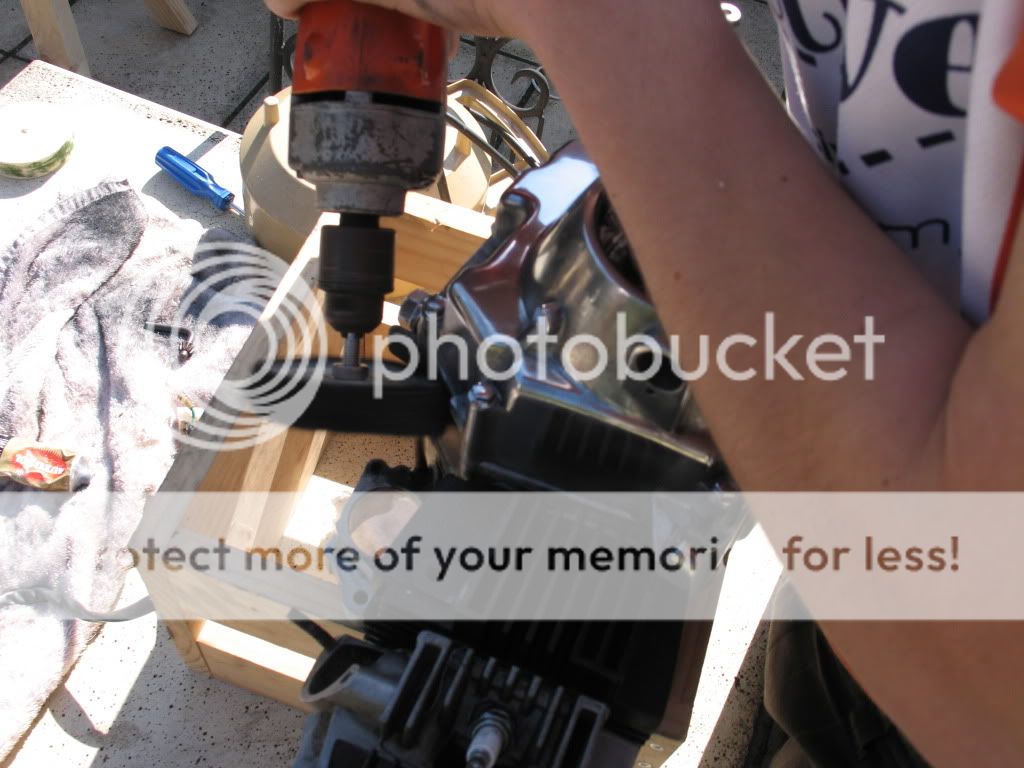
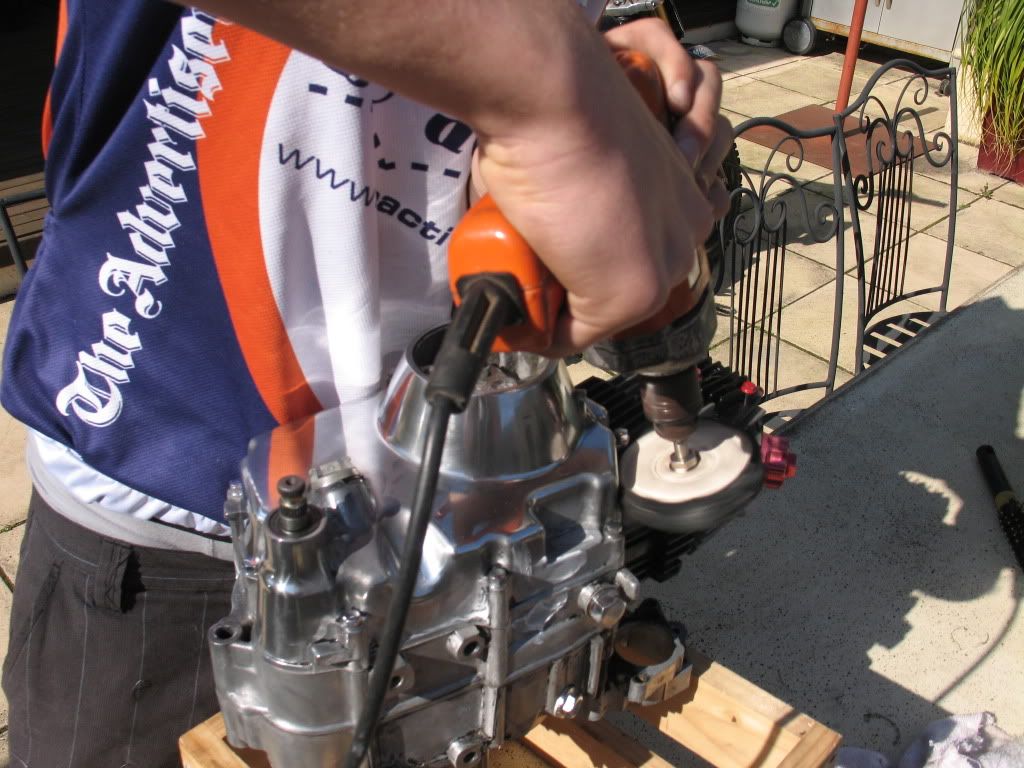
2.Polishing wheel, comes in a drill bit attachment or if your lucky enough to have a bench grinder make a trip to your local bunnings and grab yourself a felt buffing wheel.
3.Rag, to clean off ...... autosol
4.A drill, only needed if useing a buffing drill attchment.
5. Paint stripper, comes in either a gel/jelly (i used this) or a aerosol can (Less messy). There are also other method of stripping your engine such as a heat gun, but depends on the strength of your paint it might take a while. ##NOTE## You only need paint stripper if you have a painted engine.
6. Sand paper, this is to make all imperfection smooth to allow for greater shiney-ness. And to take any stuborn bits of paint off.
##Important##
7. When using paint stripper, be very cautious as paint stripper is dangerous and may burn skin and eyes. Use eye protection, long sleave shirt, pants and gloves.
Prep for Paint stripper.
Step 1:
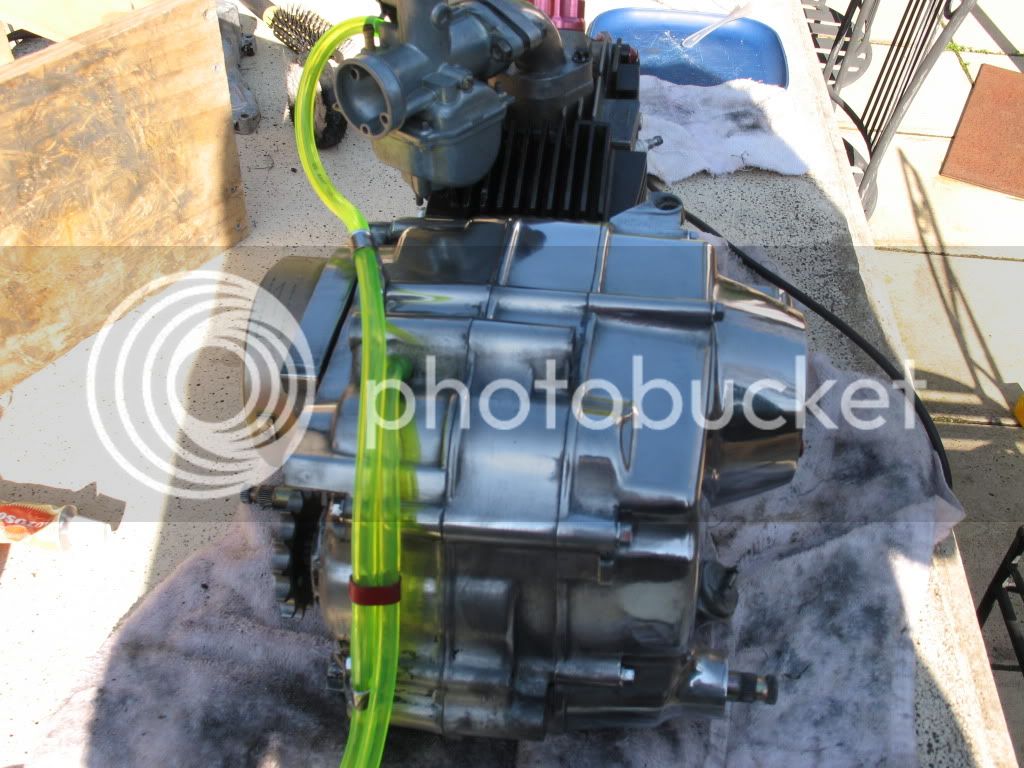
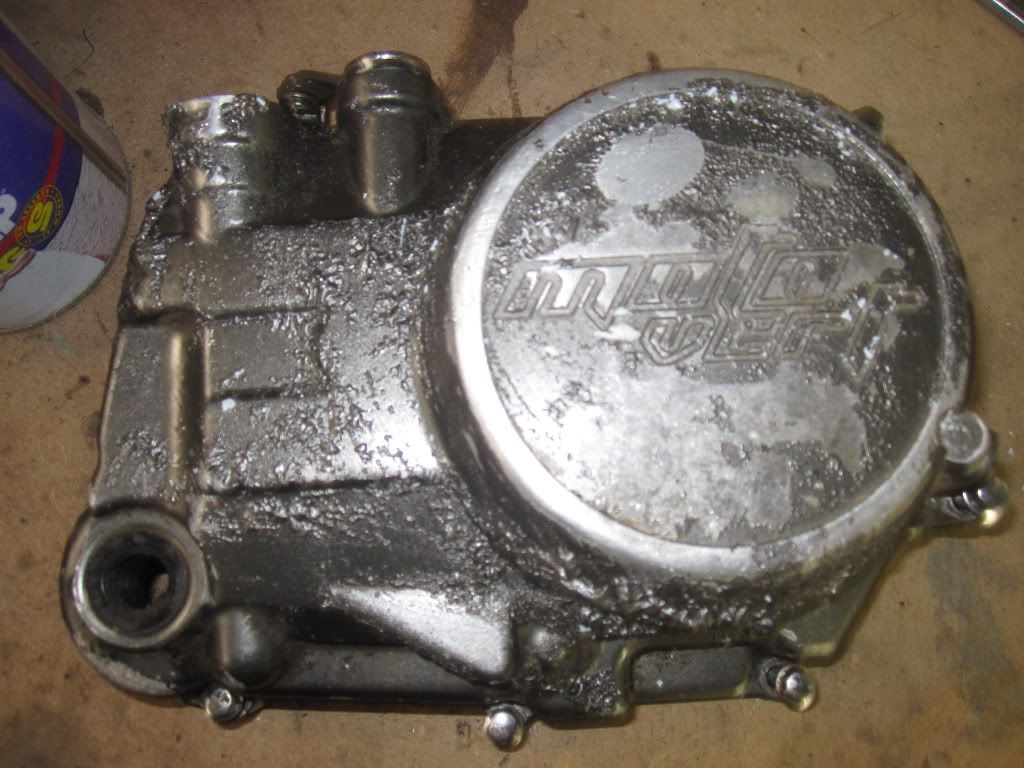
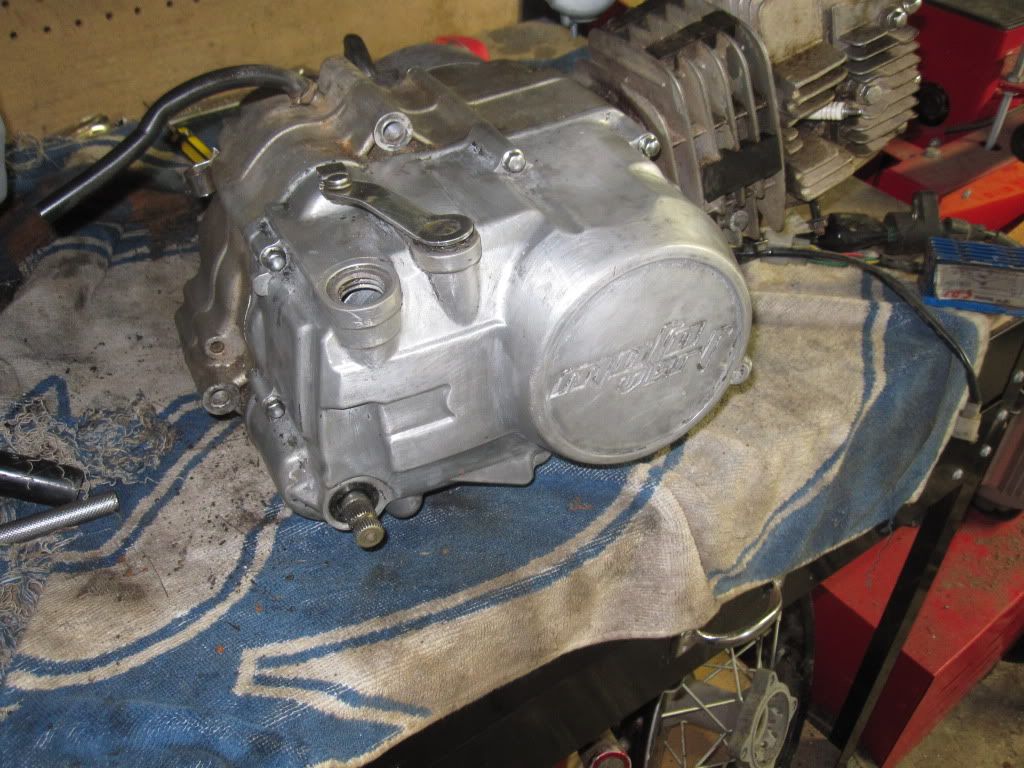
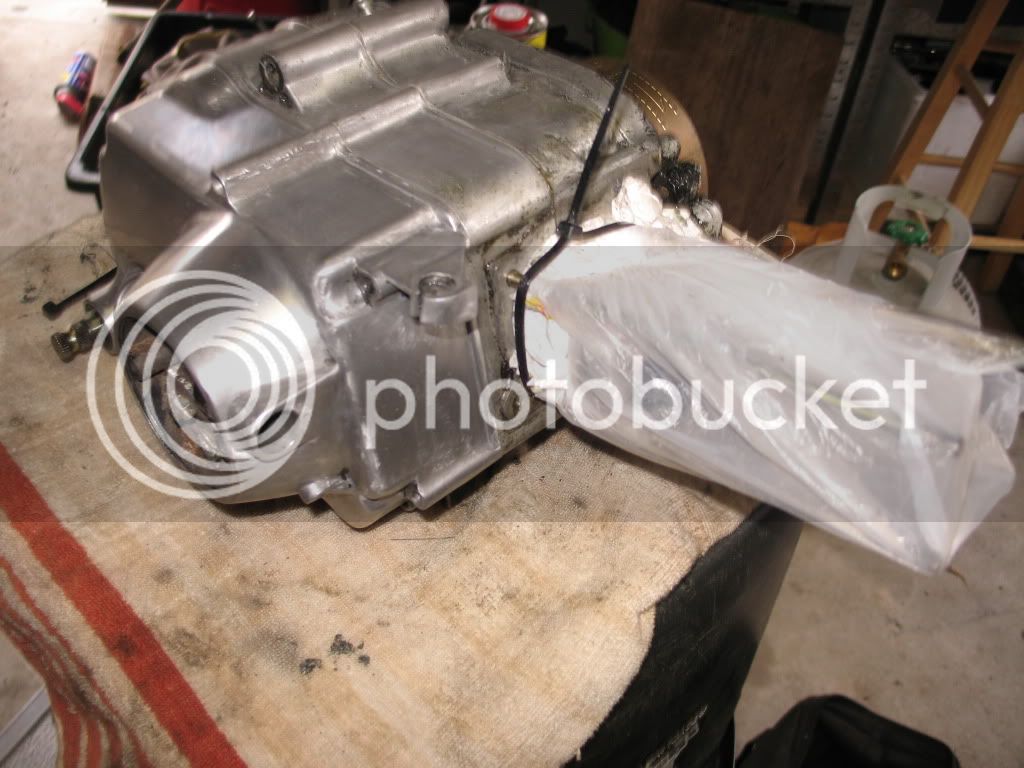
Remove your motor from frame, this makes it alot easier as you can now move your motor around to polish every part of your motor. Also make sure you have a clean engine, as the Paint stripper can now take to the paint better and its more enjoyable working with a clean engine.
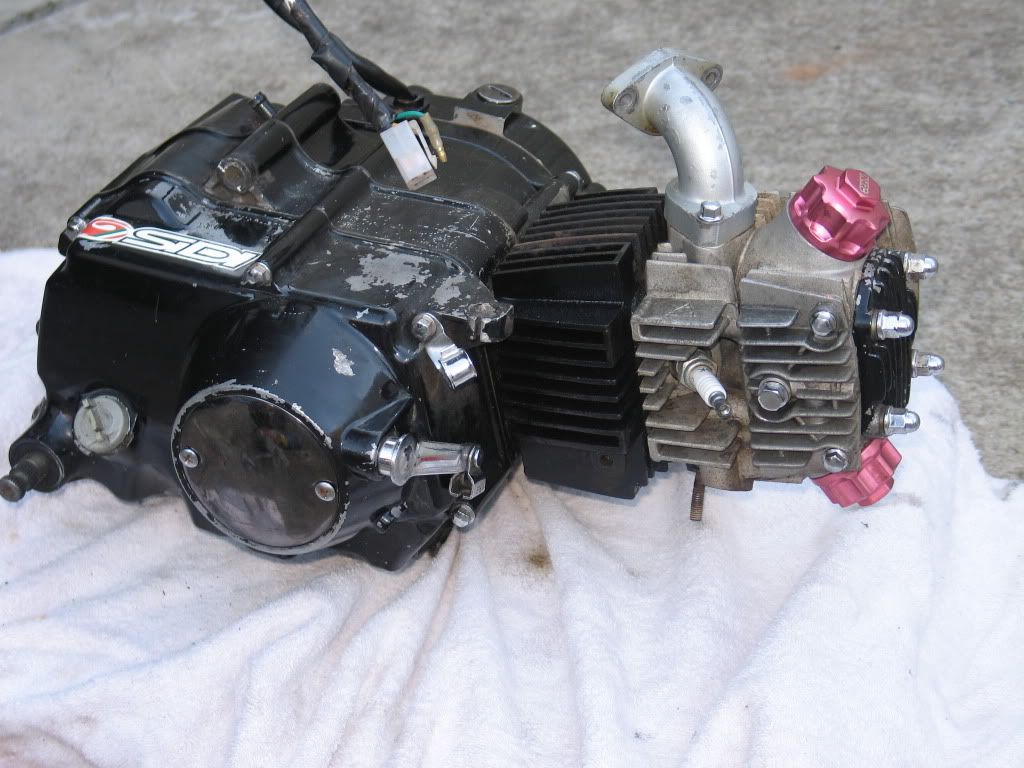
Stripping the engine.
Step 2:
Set your engine up on a bench, and get to work, use a brush to apply the paint stripper all over the engine. Open every door of your shed, as some of these paint strippers can have toxic fumes, and you may have to use a fan or do this step in a more ventilated area. Read packaging on your purchased can of paint stripper for warnings and follow them.
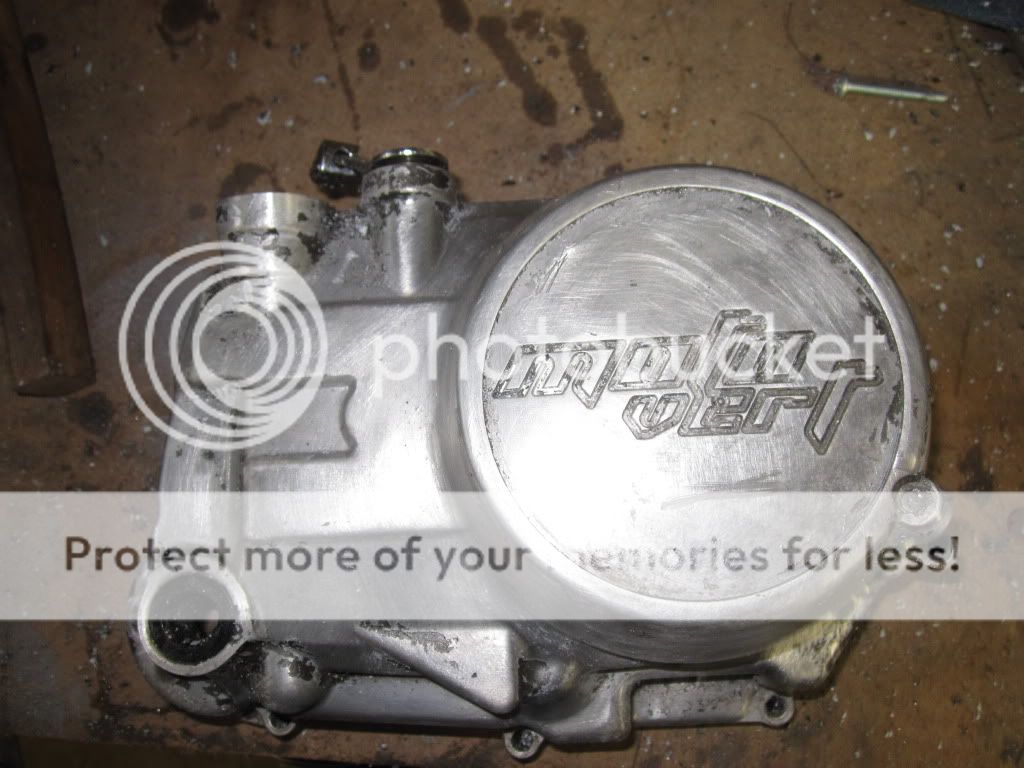
Apply a thin consistant coat over your engine cases, leave this paint stripper on your engine for around 15-20mins and allow the paint stripper to do its thing. Once all paint is loose rub off with a towel or rag.
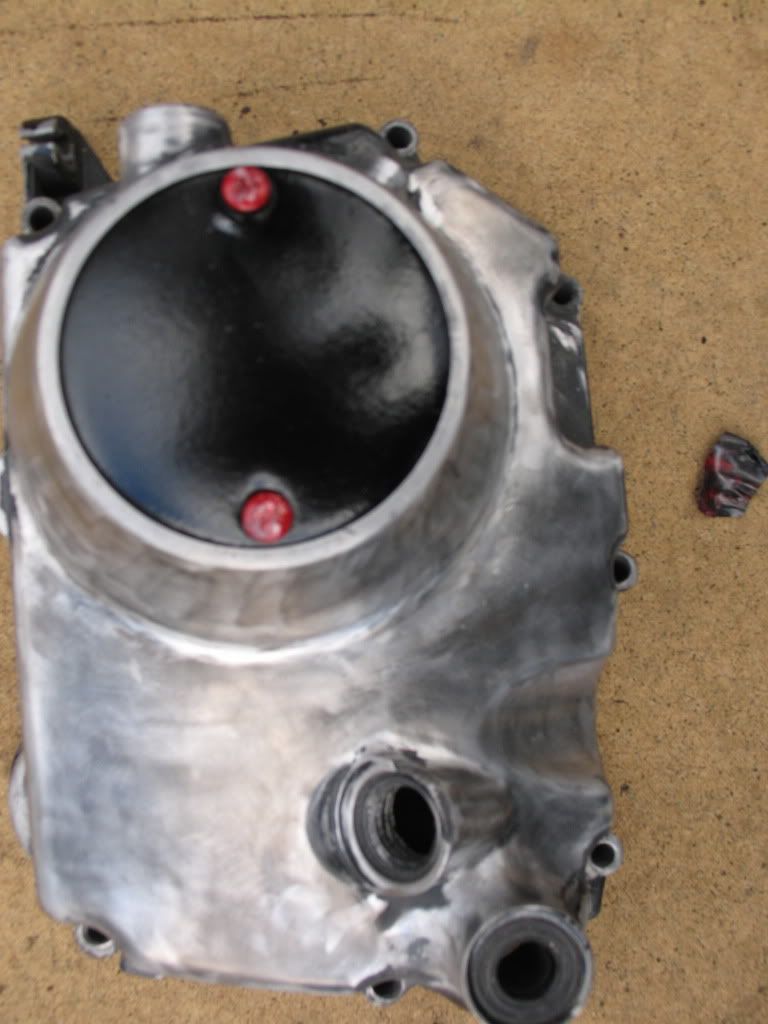
This step may need to be done a number of times depending on your engine.
Now with a fine grit wet and dry rub all imperfections till smooth for the best results.
Prep for polishing
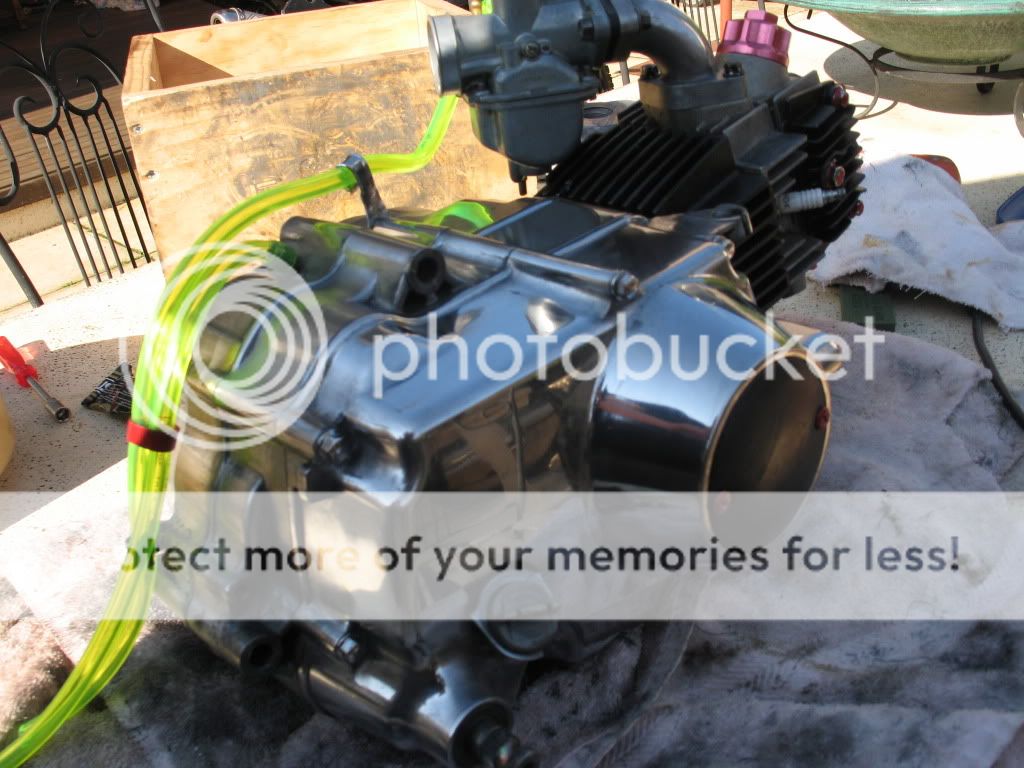
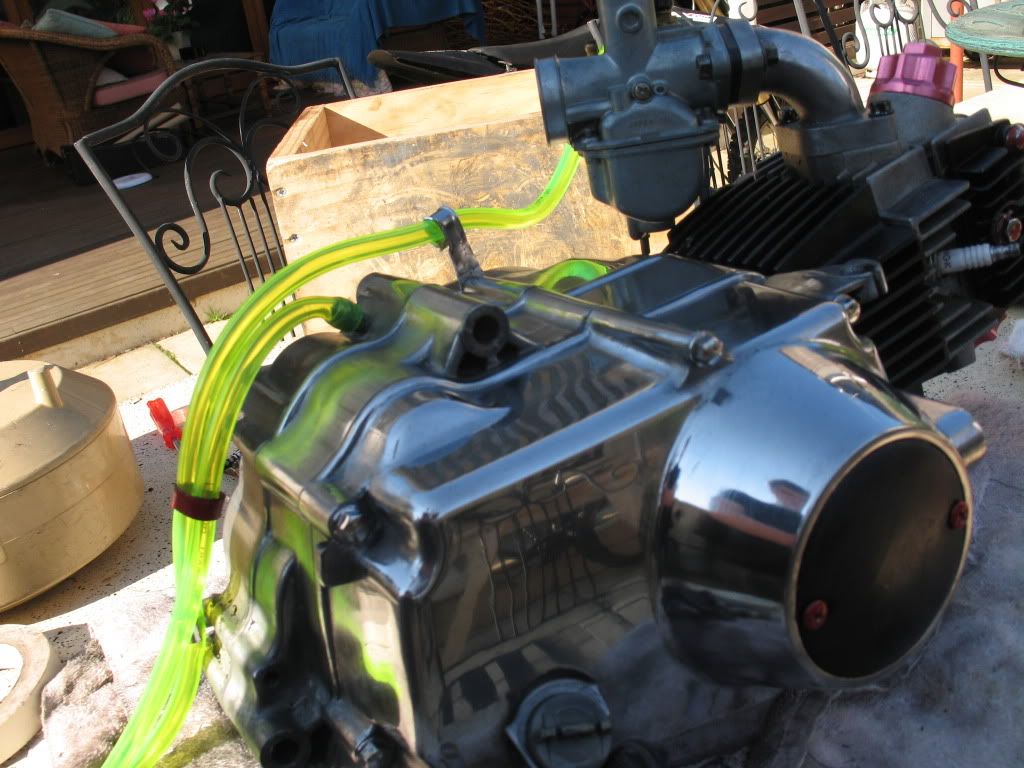
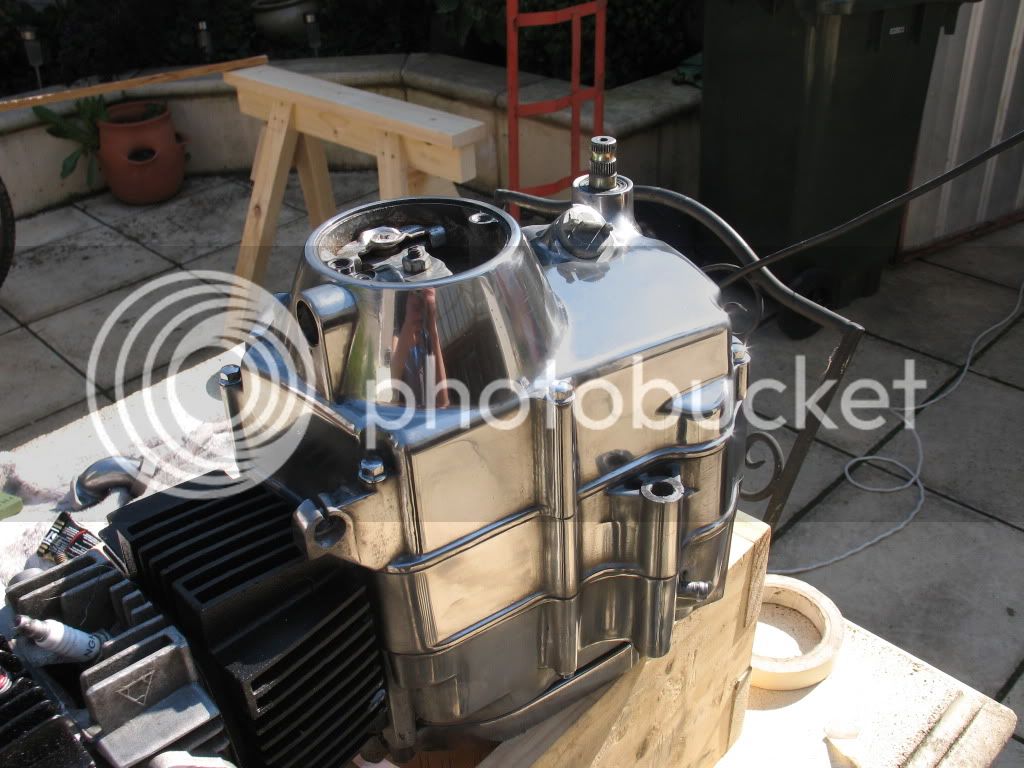
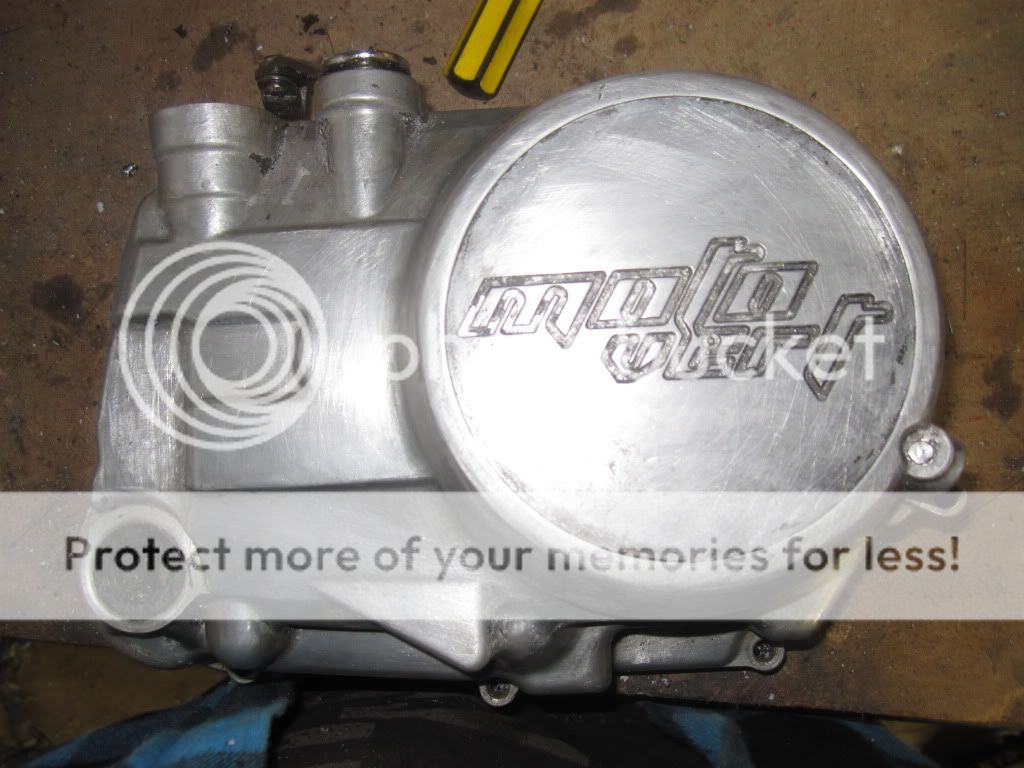
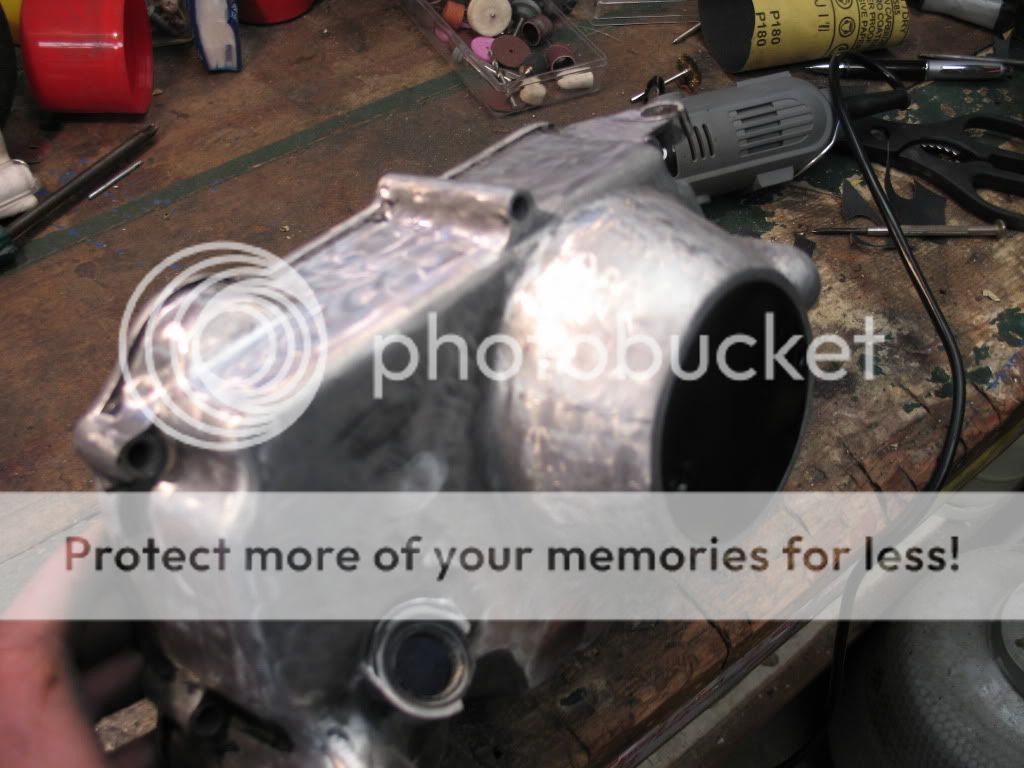
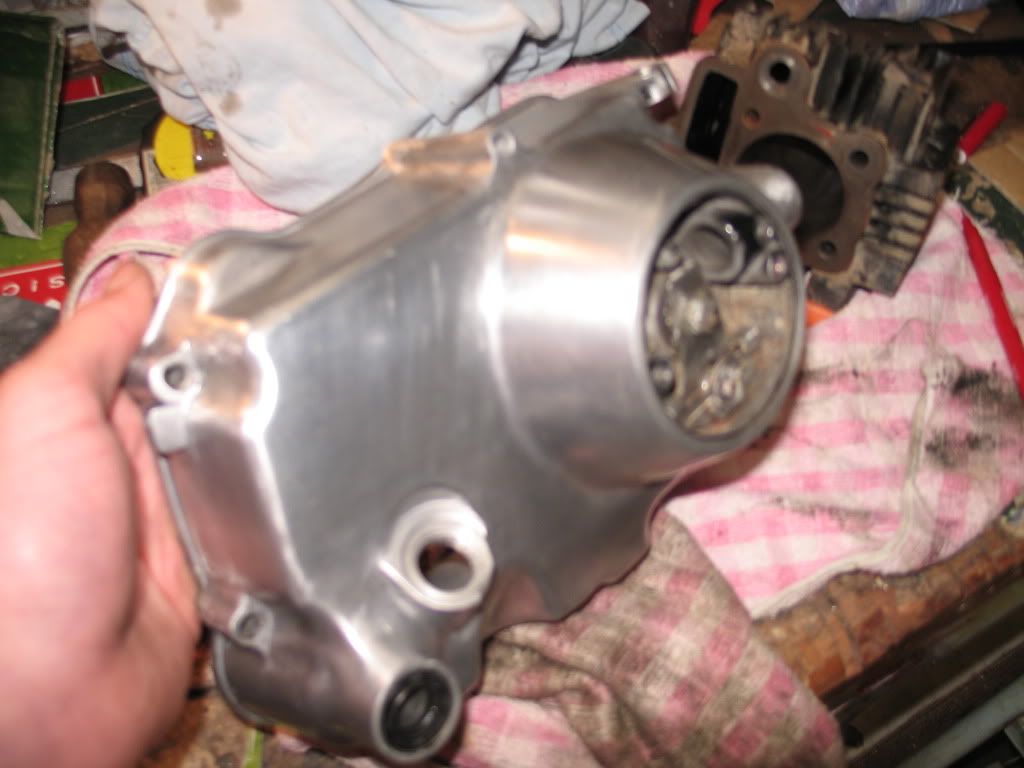
Step 3: Clean all paint stipper off your engine and sand your engine with 1200 grit wet and dry to achieve a brushed metal look, when this is achieved over the whole surface of engine its now time for the polishing stage.
You have currently decided that your engine is looking a bit worse for wear and it can do with a brand new look or are you looking for a bit more bling factor?
Its time to polish your engine.
Things you will need.
1.Autosol or other polishing cream or block. (I used autosol, works well)
2.Polishing wheel, comes in a drill bit attachment or if your lucky enough to have a bench grinder make a trip to your local bunnings and grab yourself a felt buffing wheel.
3.Rag, to clean off ...... autosol
4.A drill, only needed if useing a buffing drill attchment.
5. Paint stripper, comes in either a gel/jelly (i used this) or a aerosol can (Less messy). There are also other method of stripping your engine such as a heat gun, but depends on the strength of your paint it might take a while. ##NOTE## You only need paint stripper if you have a painted engine.
6. Sand paper, this is to make all imperfection smooth to allow for greater shiney-ness. And to take any stuborn bits of paint off.
##Important##
7. When using paint stripper, be very cautious as paint stripper is dangerous and may burn skin and eyes. Use eye protection, long sleave shirt, pants and gloves.
Prep for Paint stripper.
Step 1:
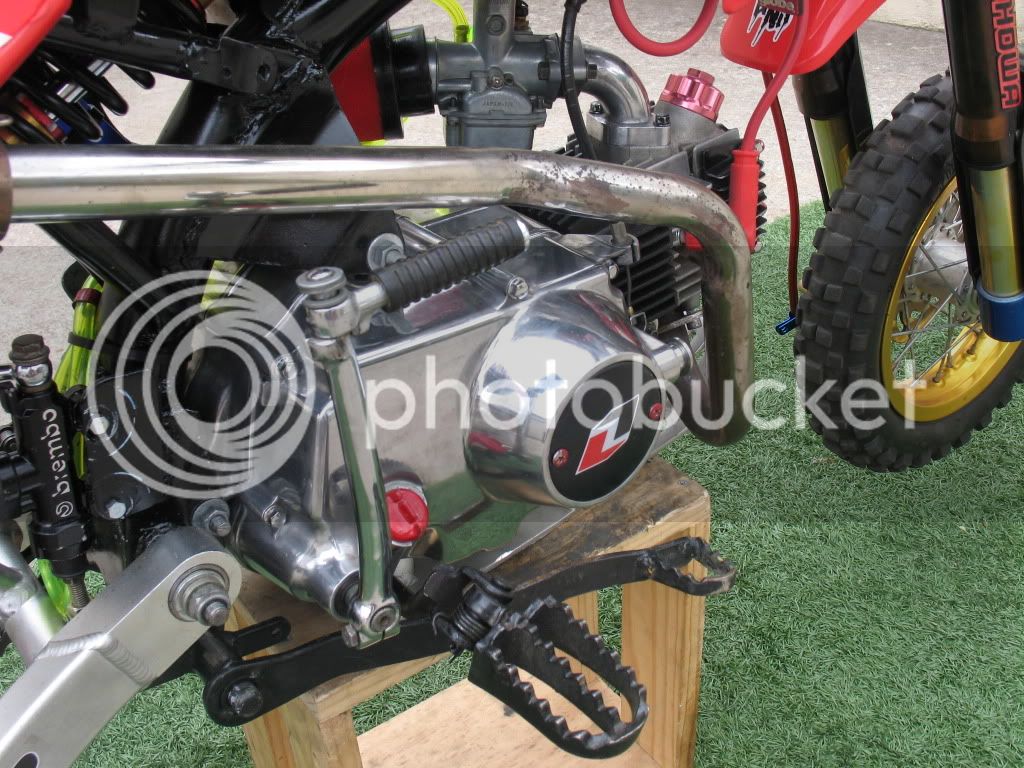
Remove your motor from frame, this makes it alot easier as you can now move your motor around to polish every part of your motor. Also make sure you have a clean engine, as the Paint stripper can now take to the paint better and its more enjoyable working with a clean engine.
Stripping the engine.
Step 2:
Set your engine up on a bench, and get to work, use a brush to apply the paint stripper all over the engine. Open every door of your shed, as some of these paint strippers can have toxic fumes, and you may have to use a fan or do this step in a more ventilated area. Read packaging on your purchased can of paint stripper for warnings and follow them.
Apply a thin consistant coat over your engine cases, leave this paint stripper on your engine for around 15-20mins and allow the paint stripper to do its thing. Once all paint is loose rub off with a towel or rag.
This step may need to be done a number of times depending on your engine.
Now with a fine grit wet and dry rub all imperfections till smooth for the best results.
Prep for polishing
Step 3: Clean all paint stipper off your engine and sand your engine with 1200 grit wet and dry to achieve a brushed metal look, when this is achieved over the whole surface of engine its now time for the polishing stage.