Mini-quad 50cc 2 stroke to 110cc Lifan!

Mini Dirt Bikes & Pit Bikes Forum

Help Support Mini Dirt Bikes & Pit Bikes Forum:

This site may earn a commission from merchant affiliate links, including eBay, Amazon, and others.
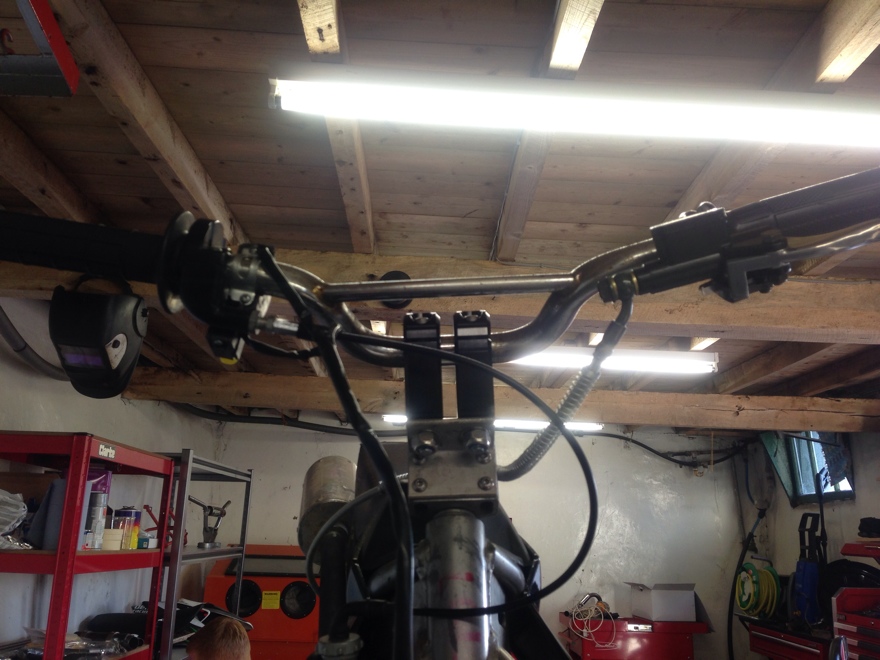
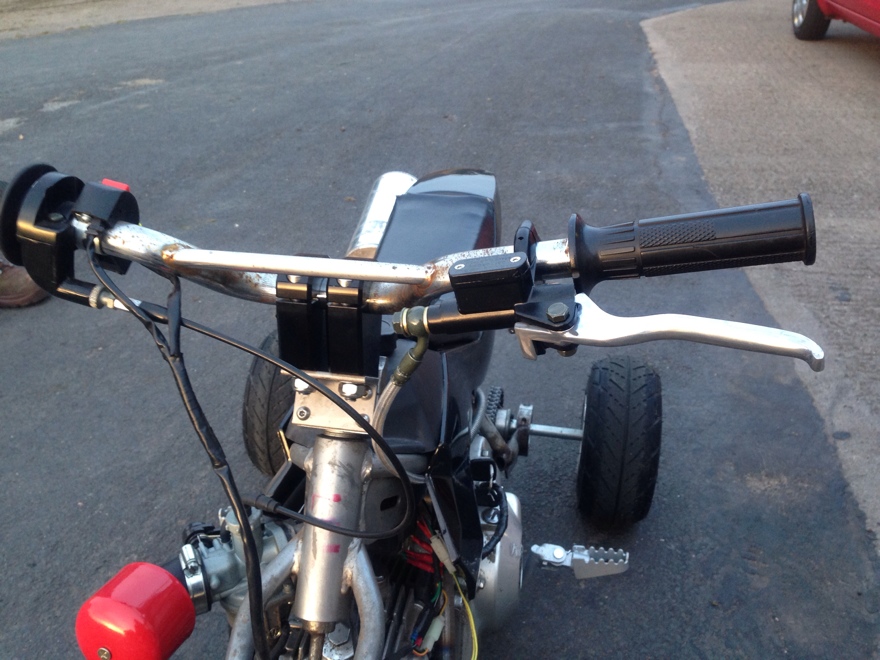
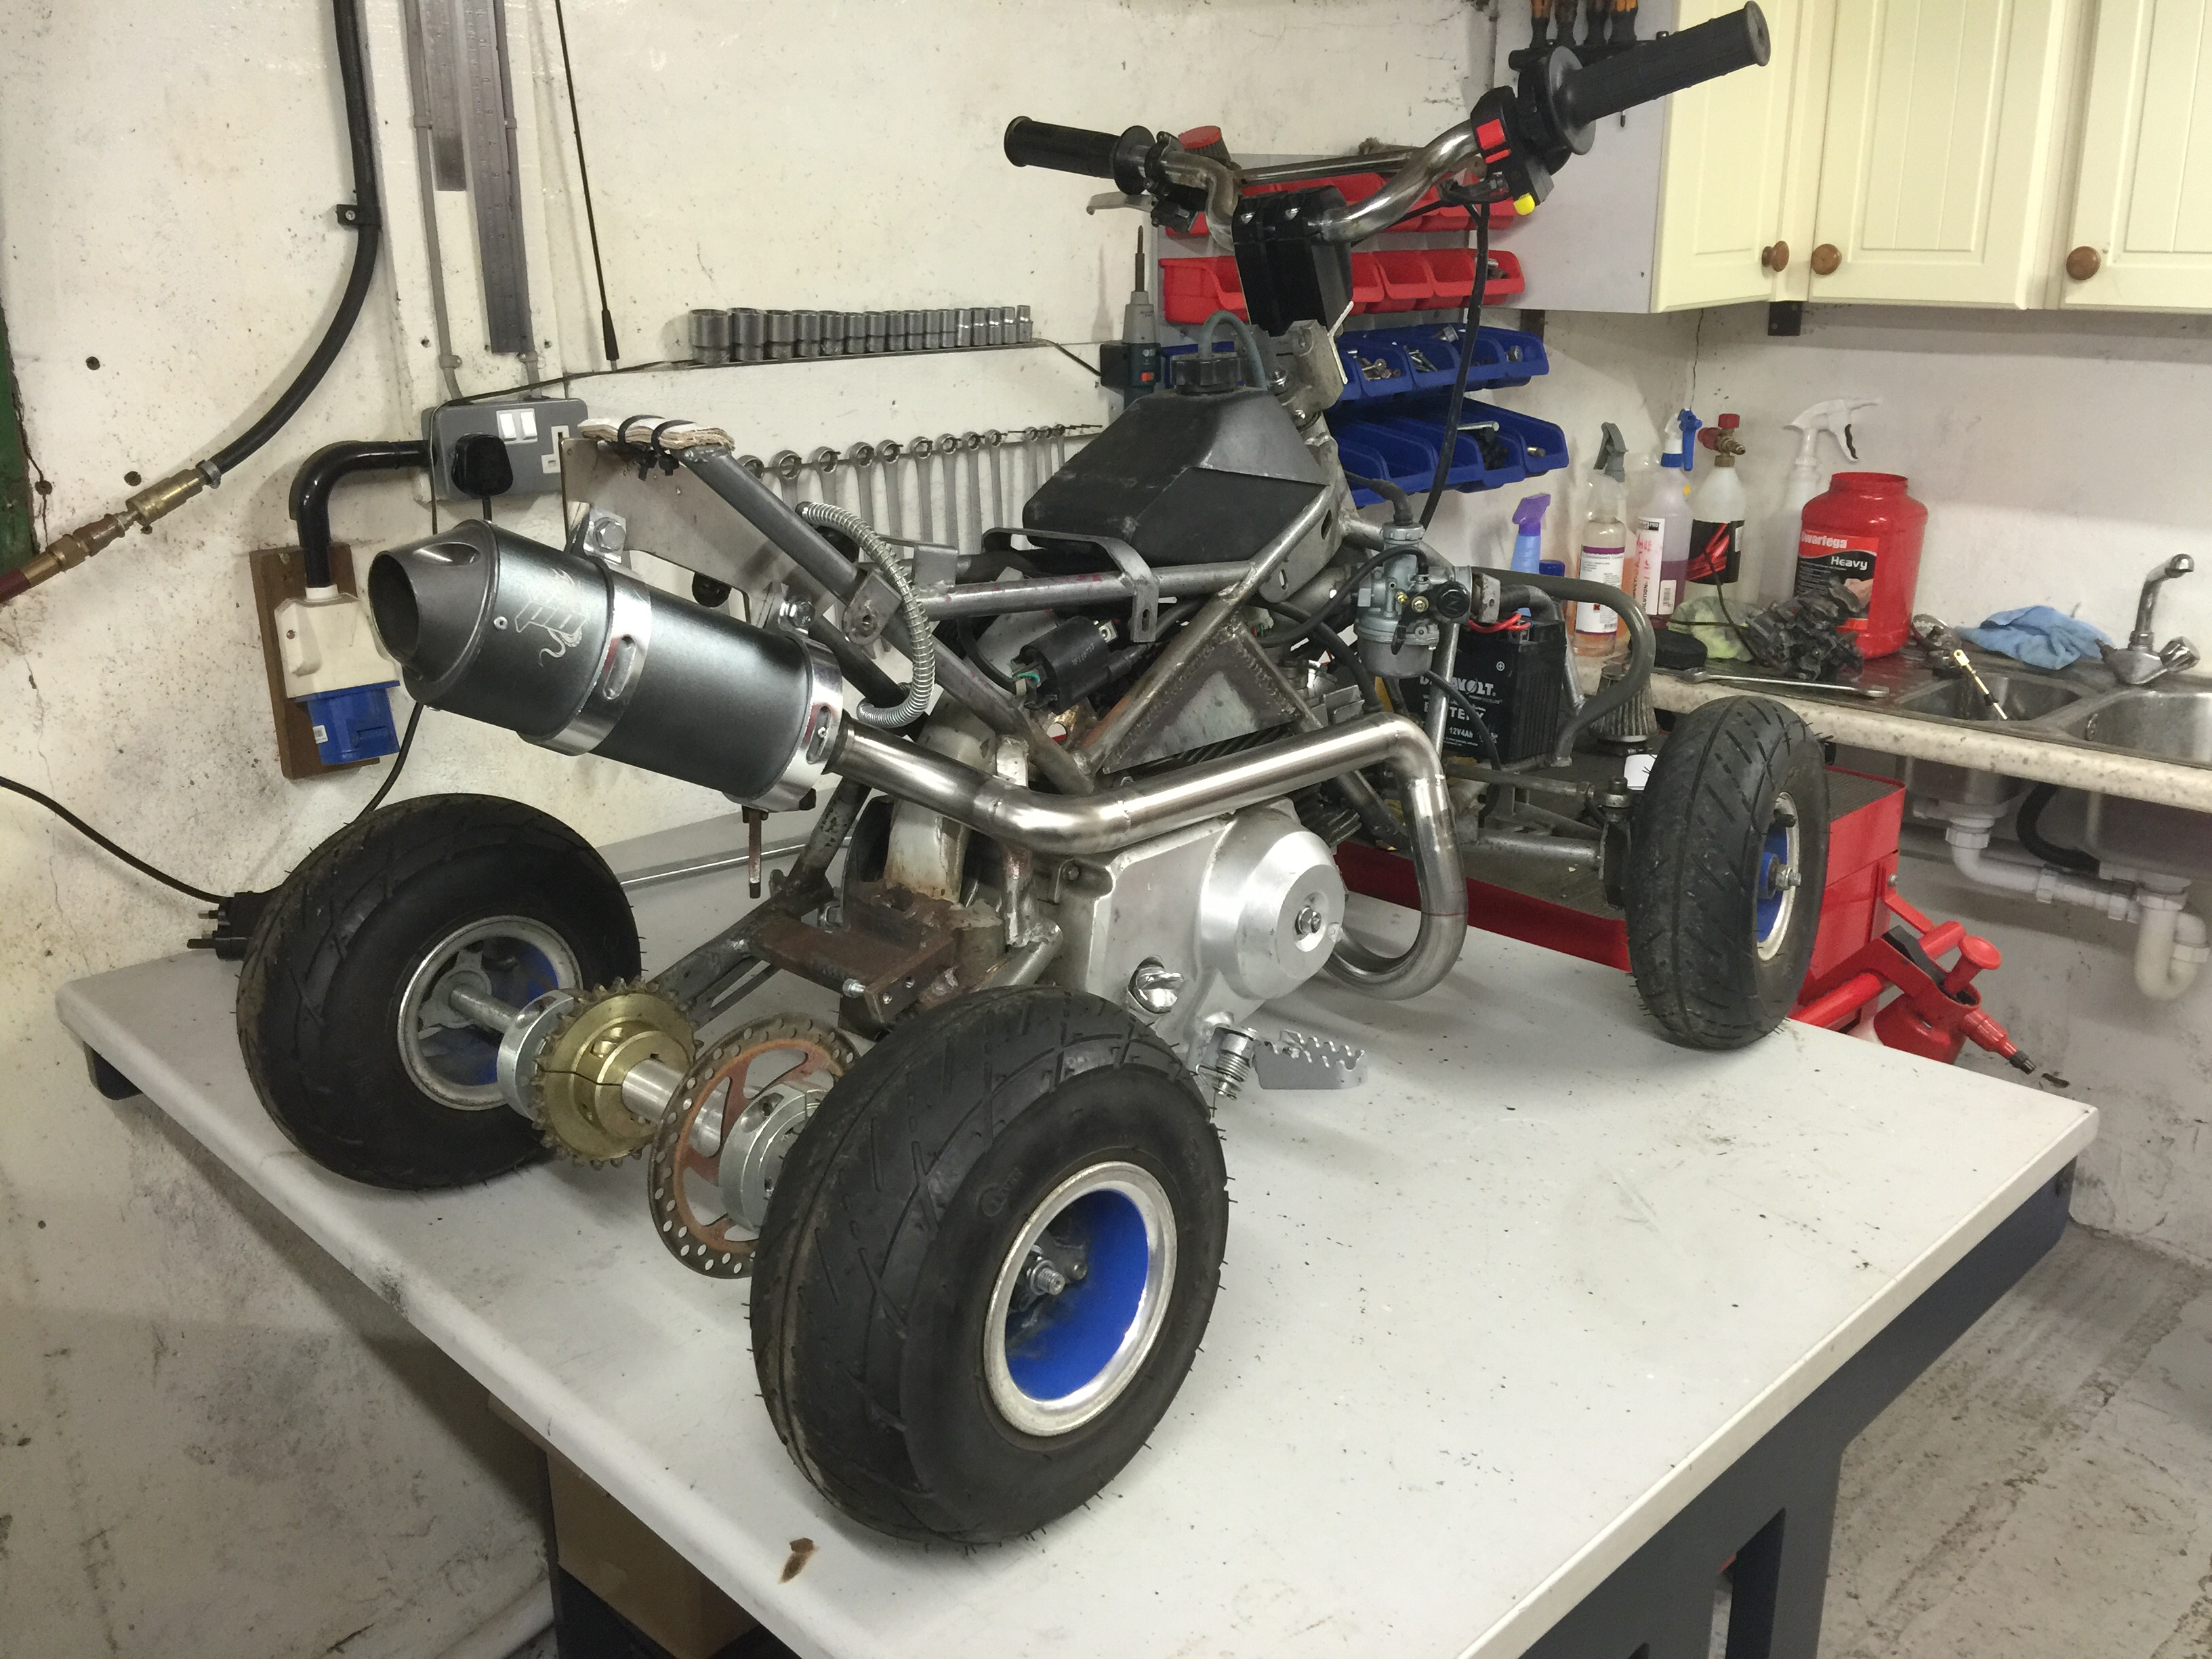
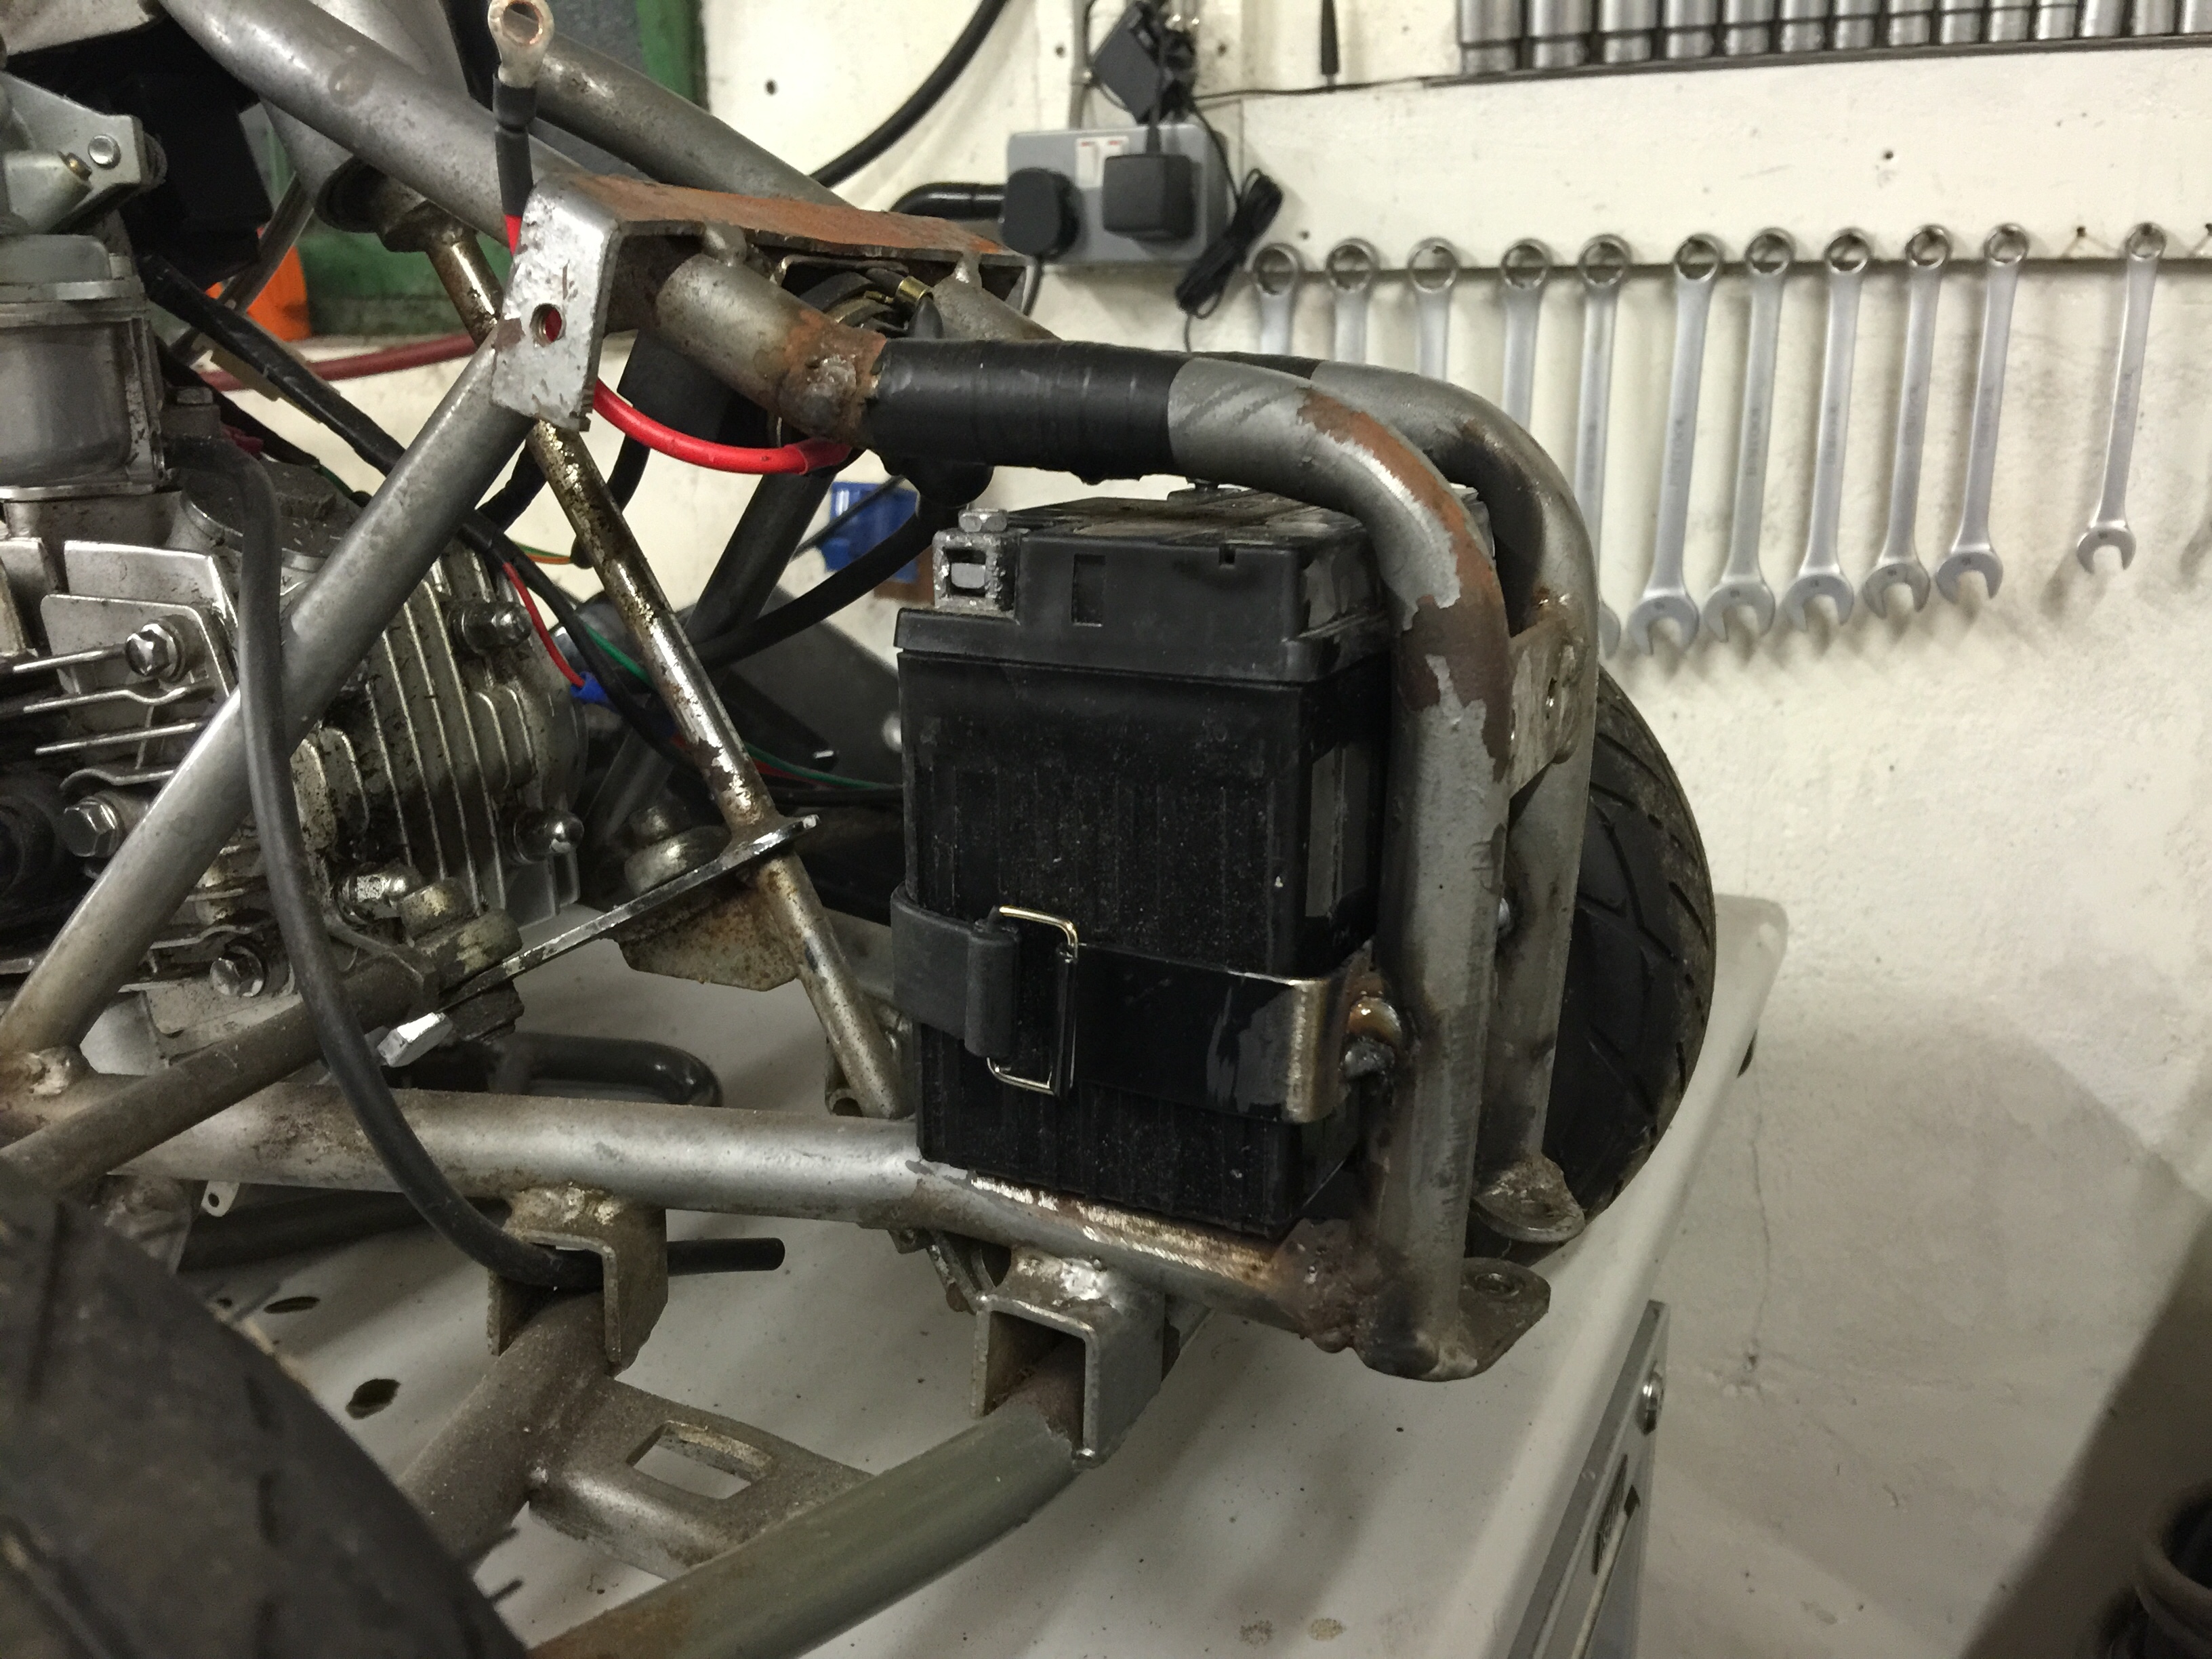
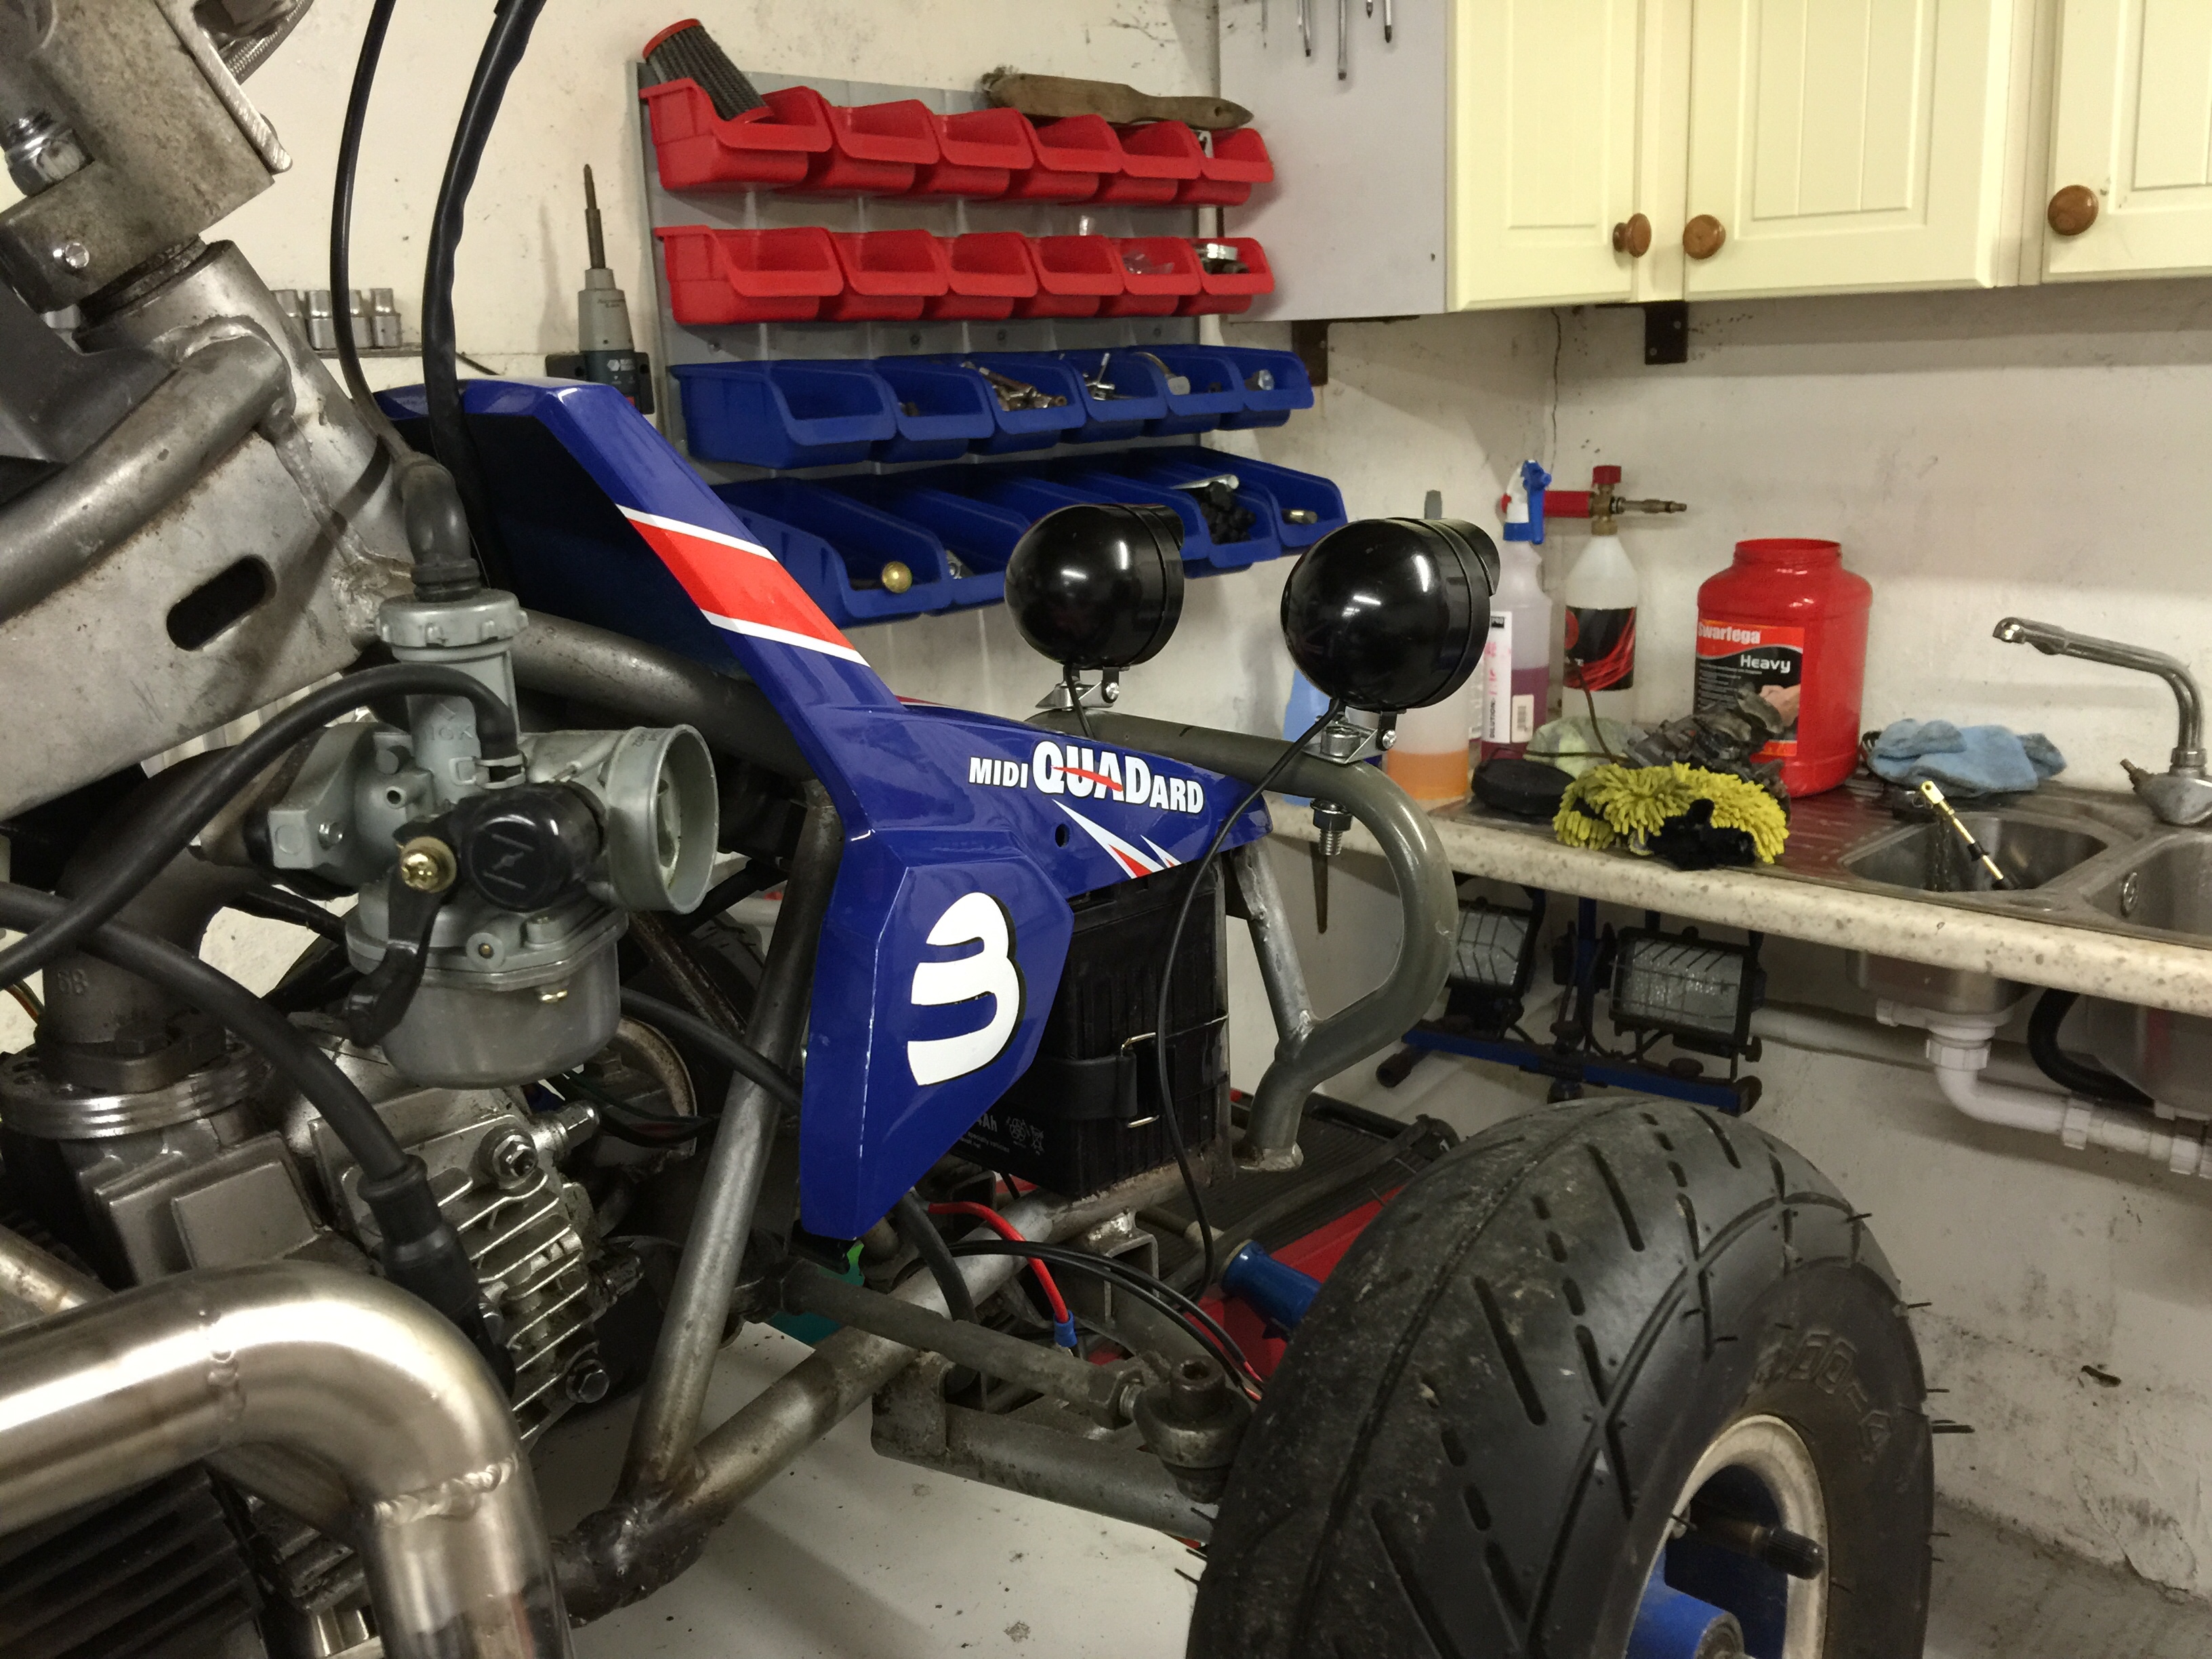
Thats this thread up to date now. I've done a little more on the quad, began shortening the loom (No pics) as theres no point having the wires so long on this. Trying to decide wheres best for certain electrical things is a bigger job than I imagined it would be what with having so little space.

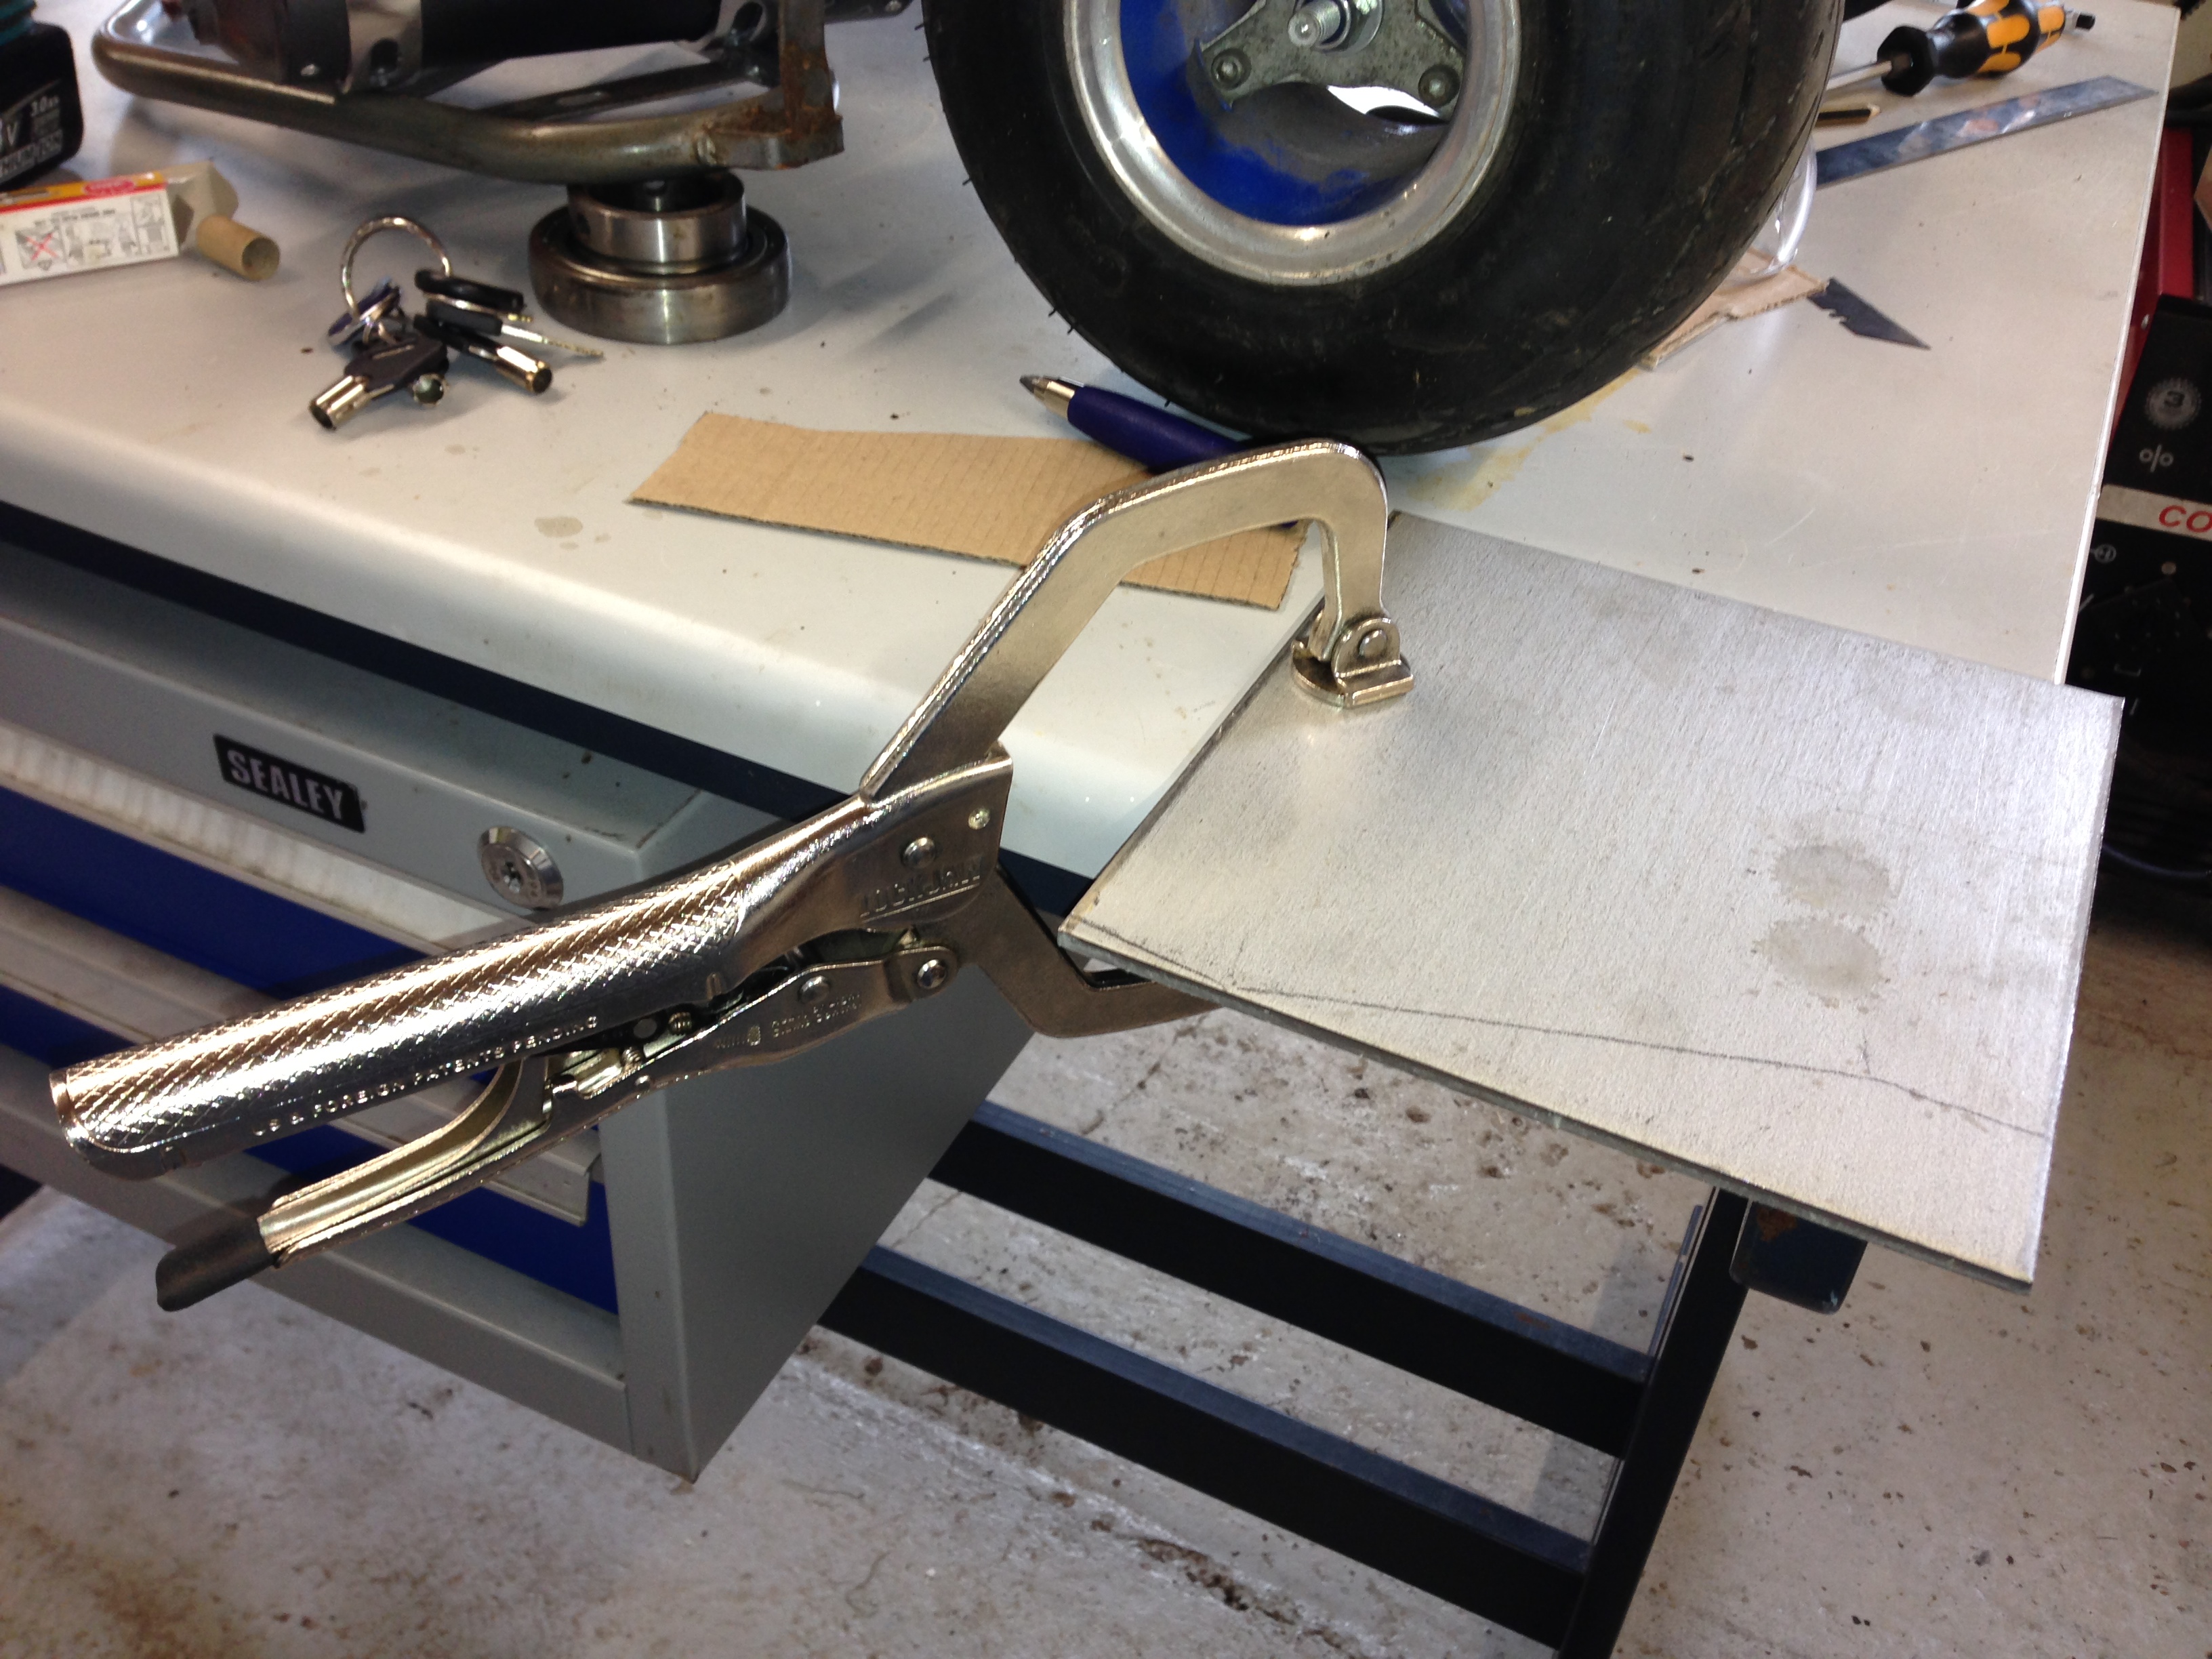
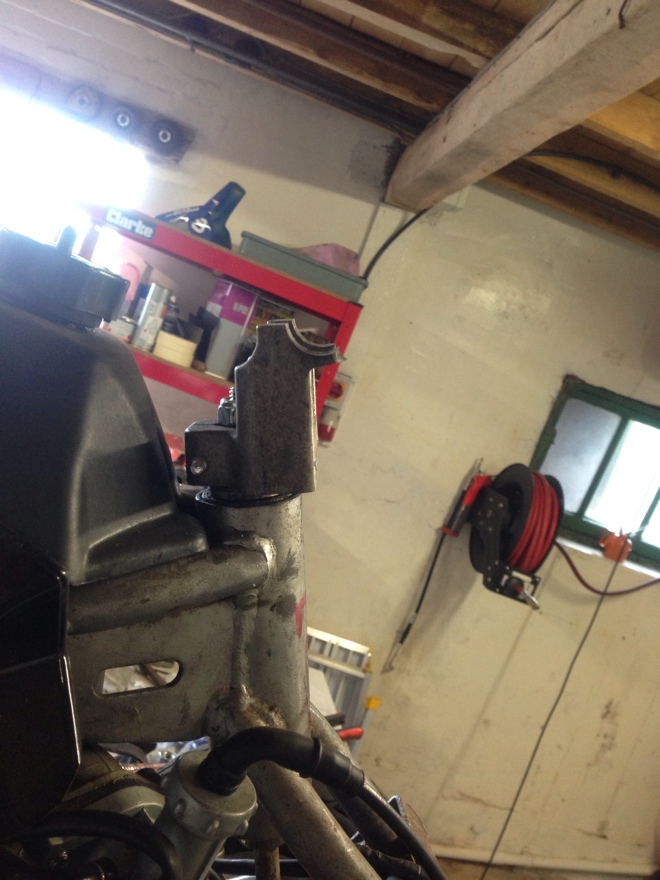
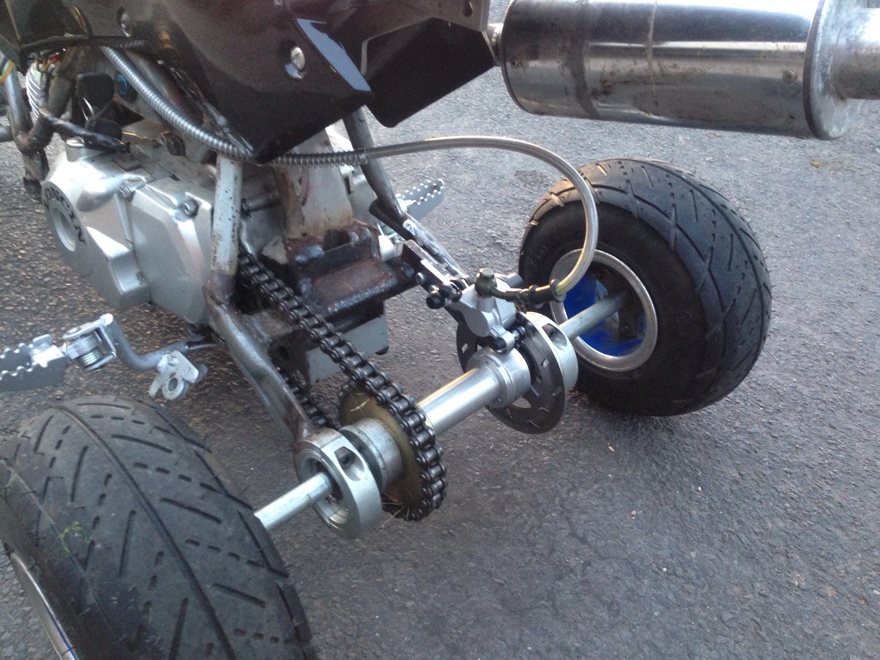
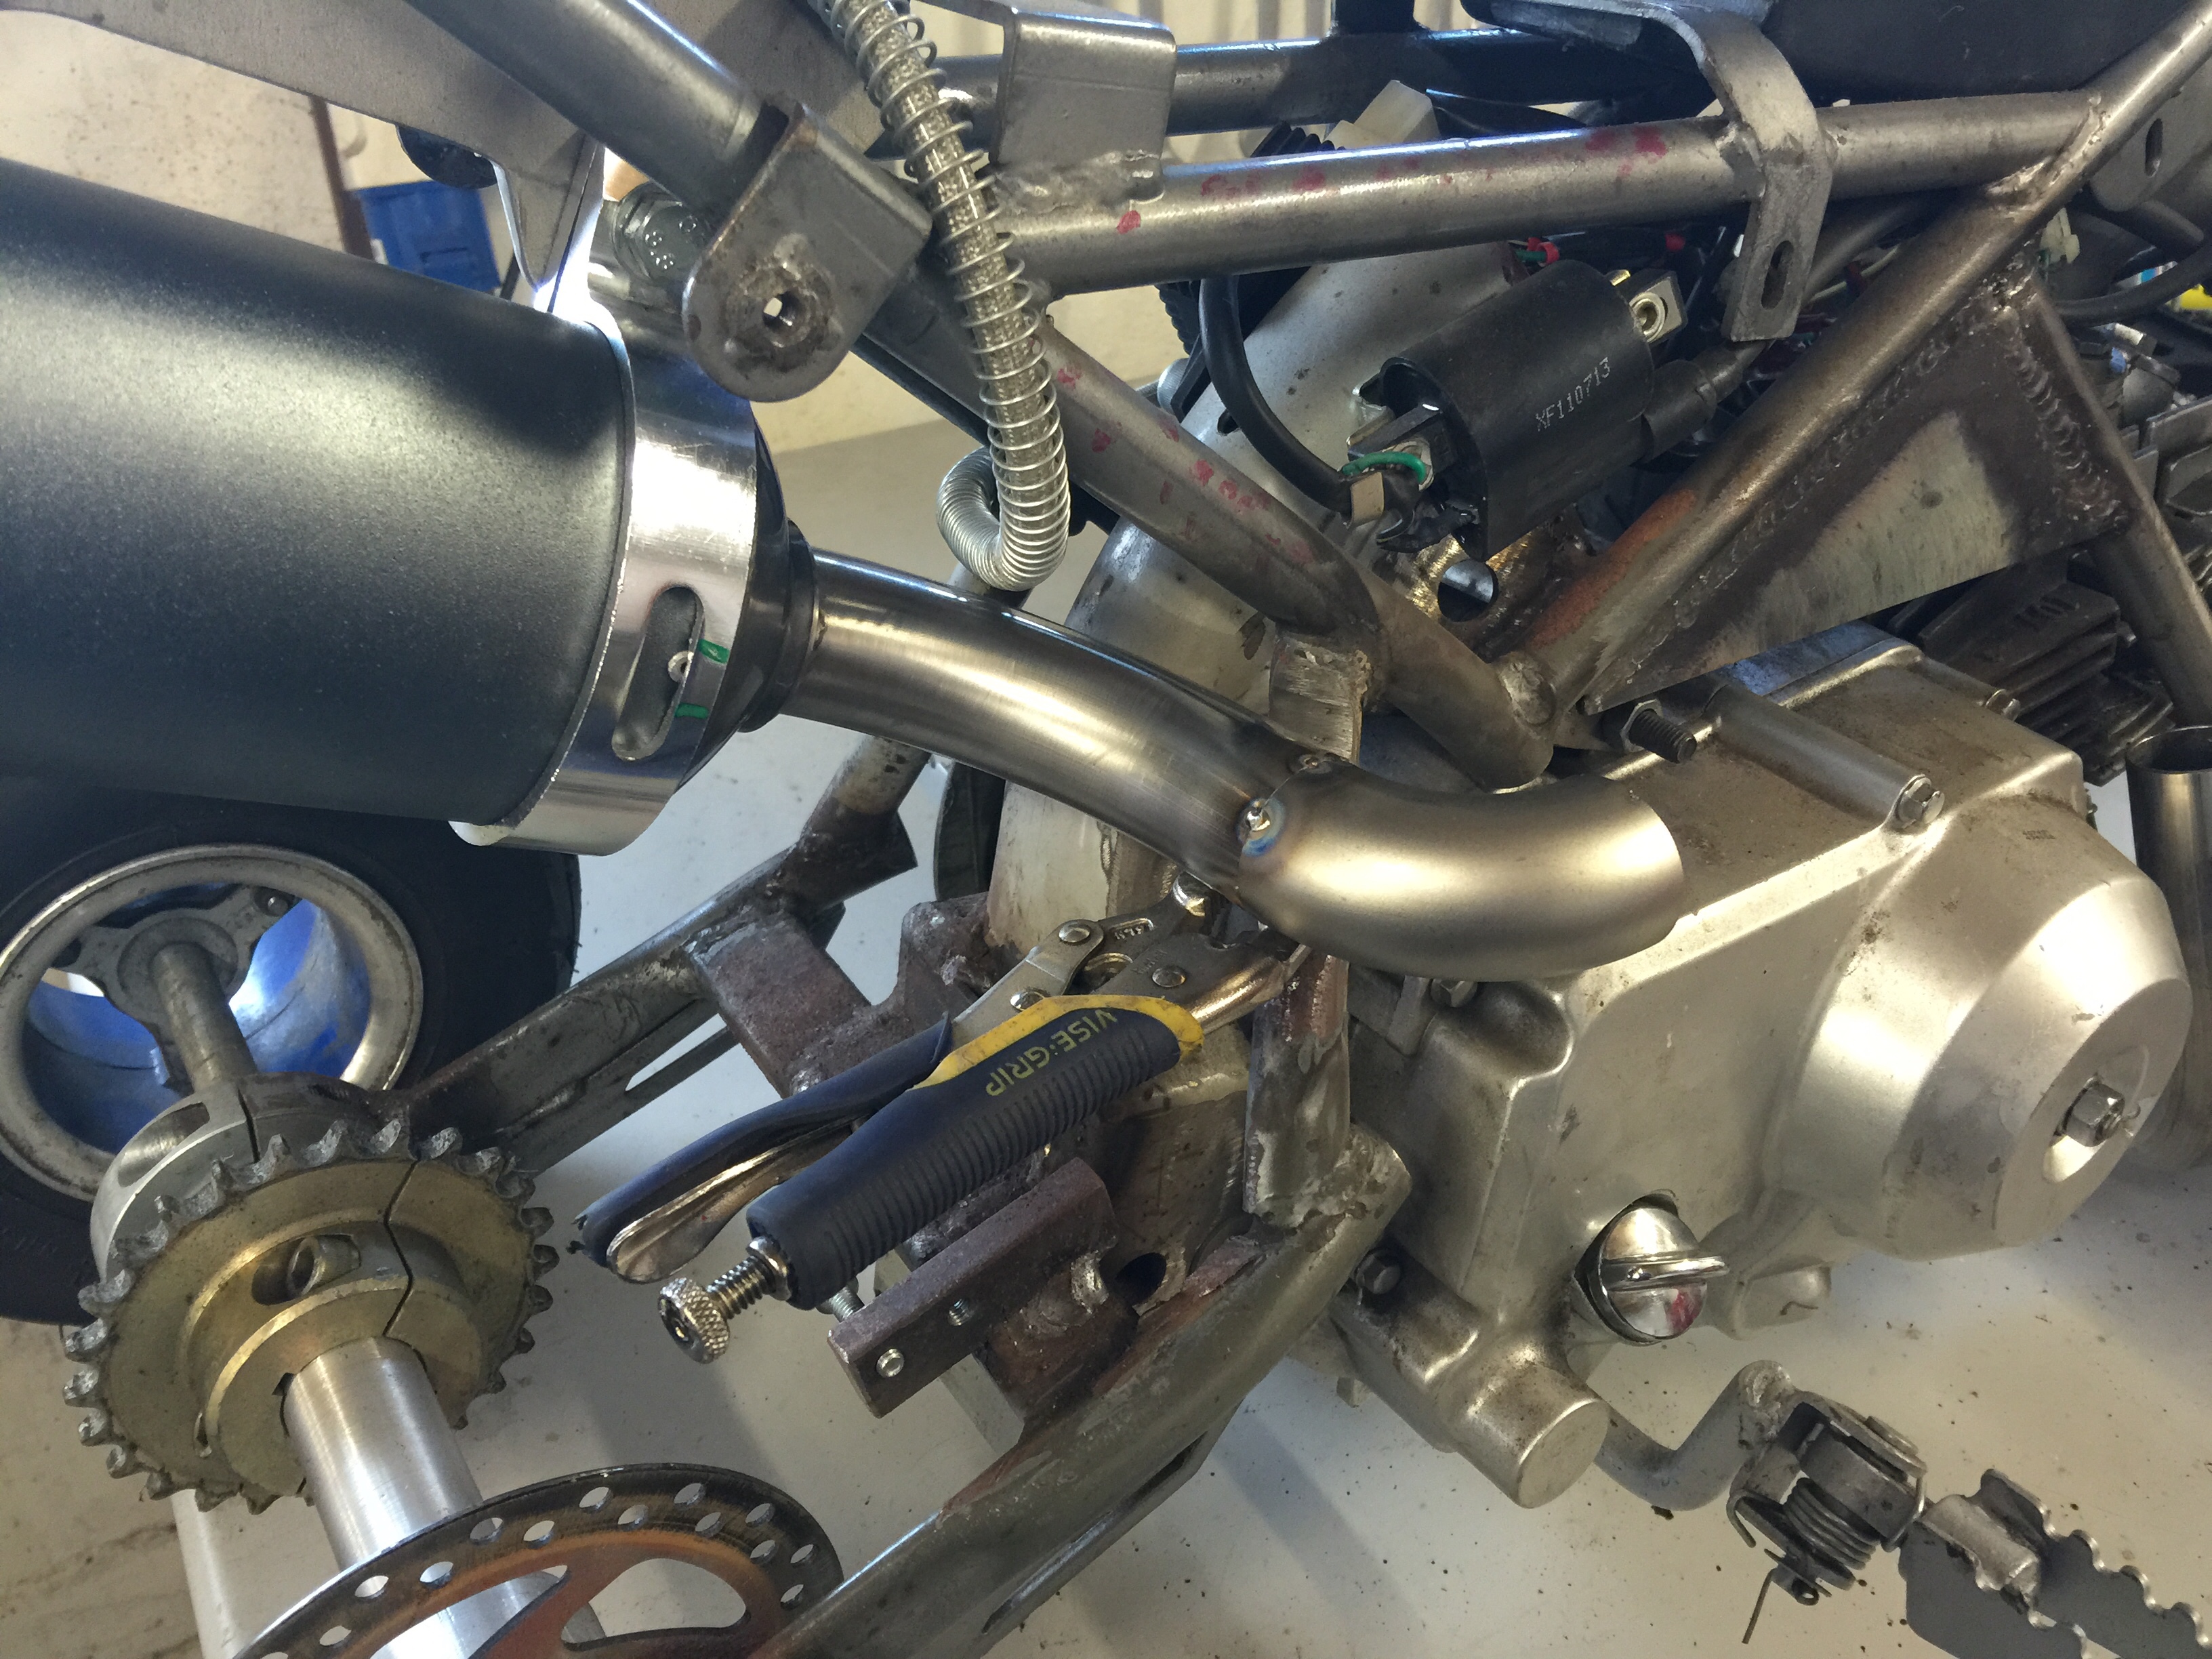
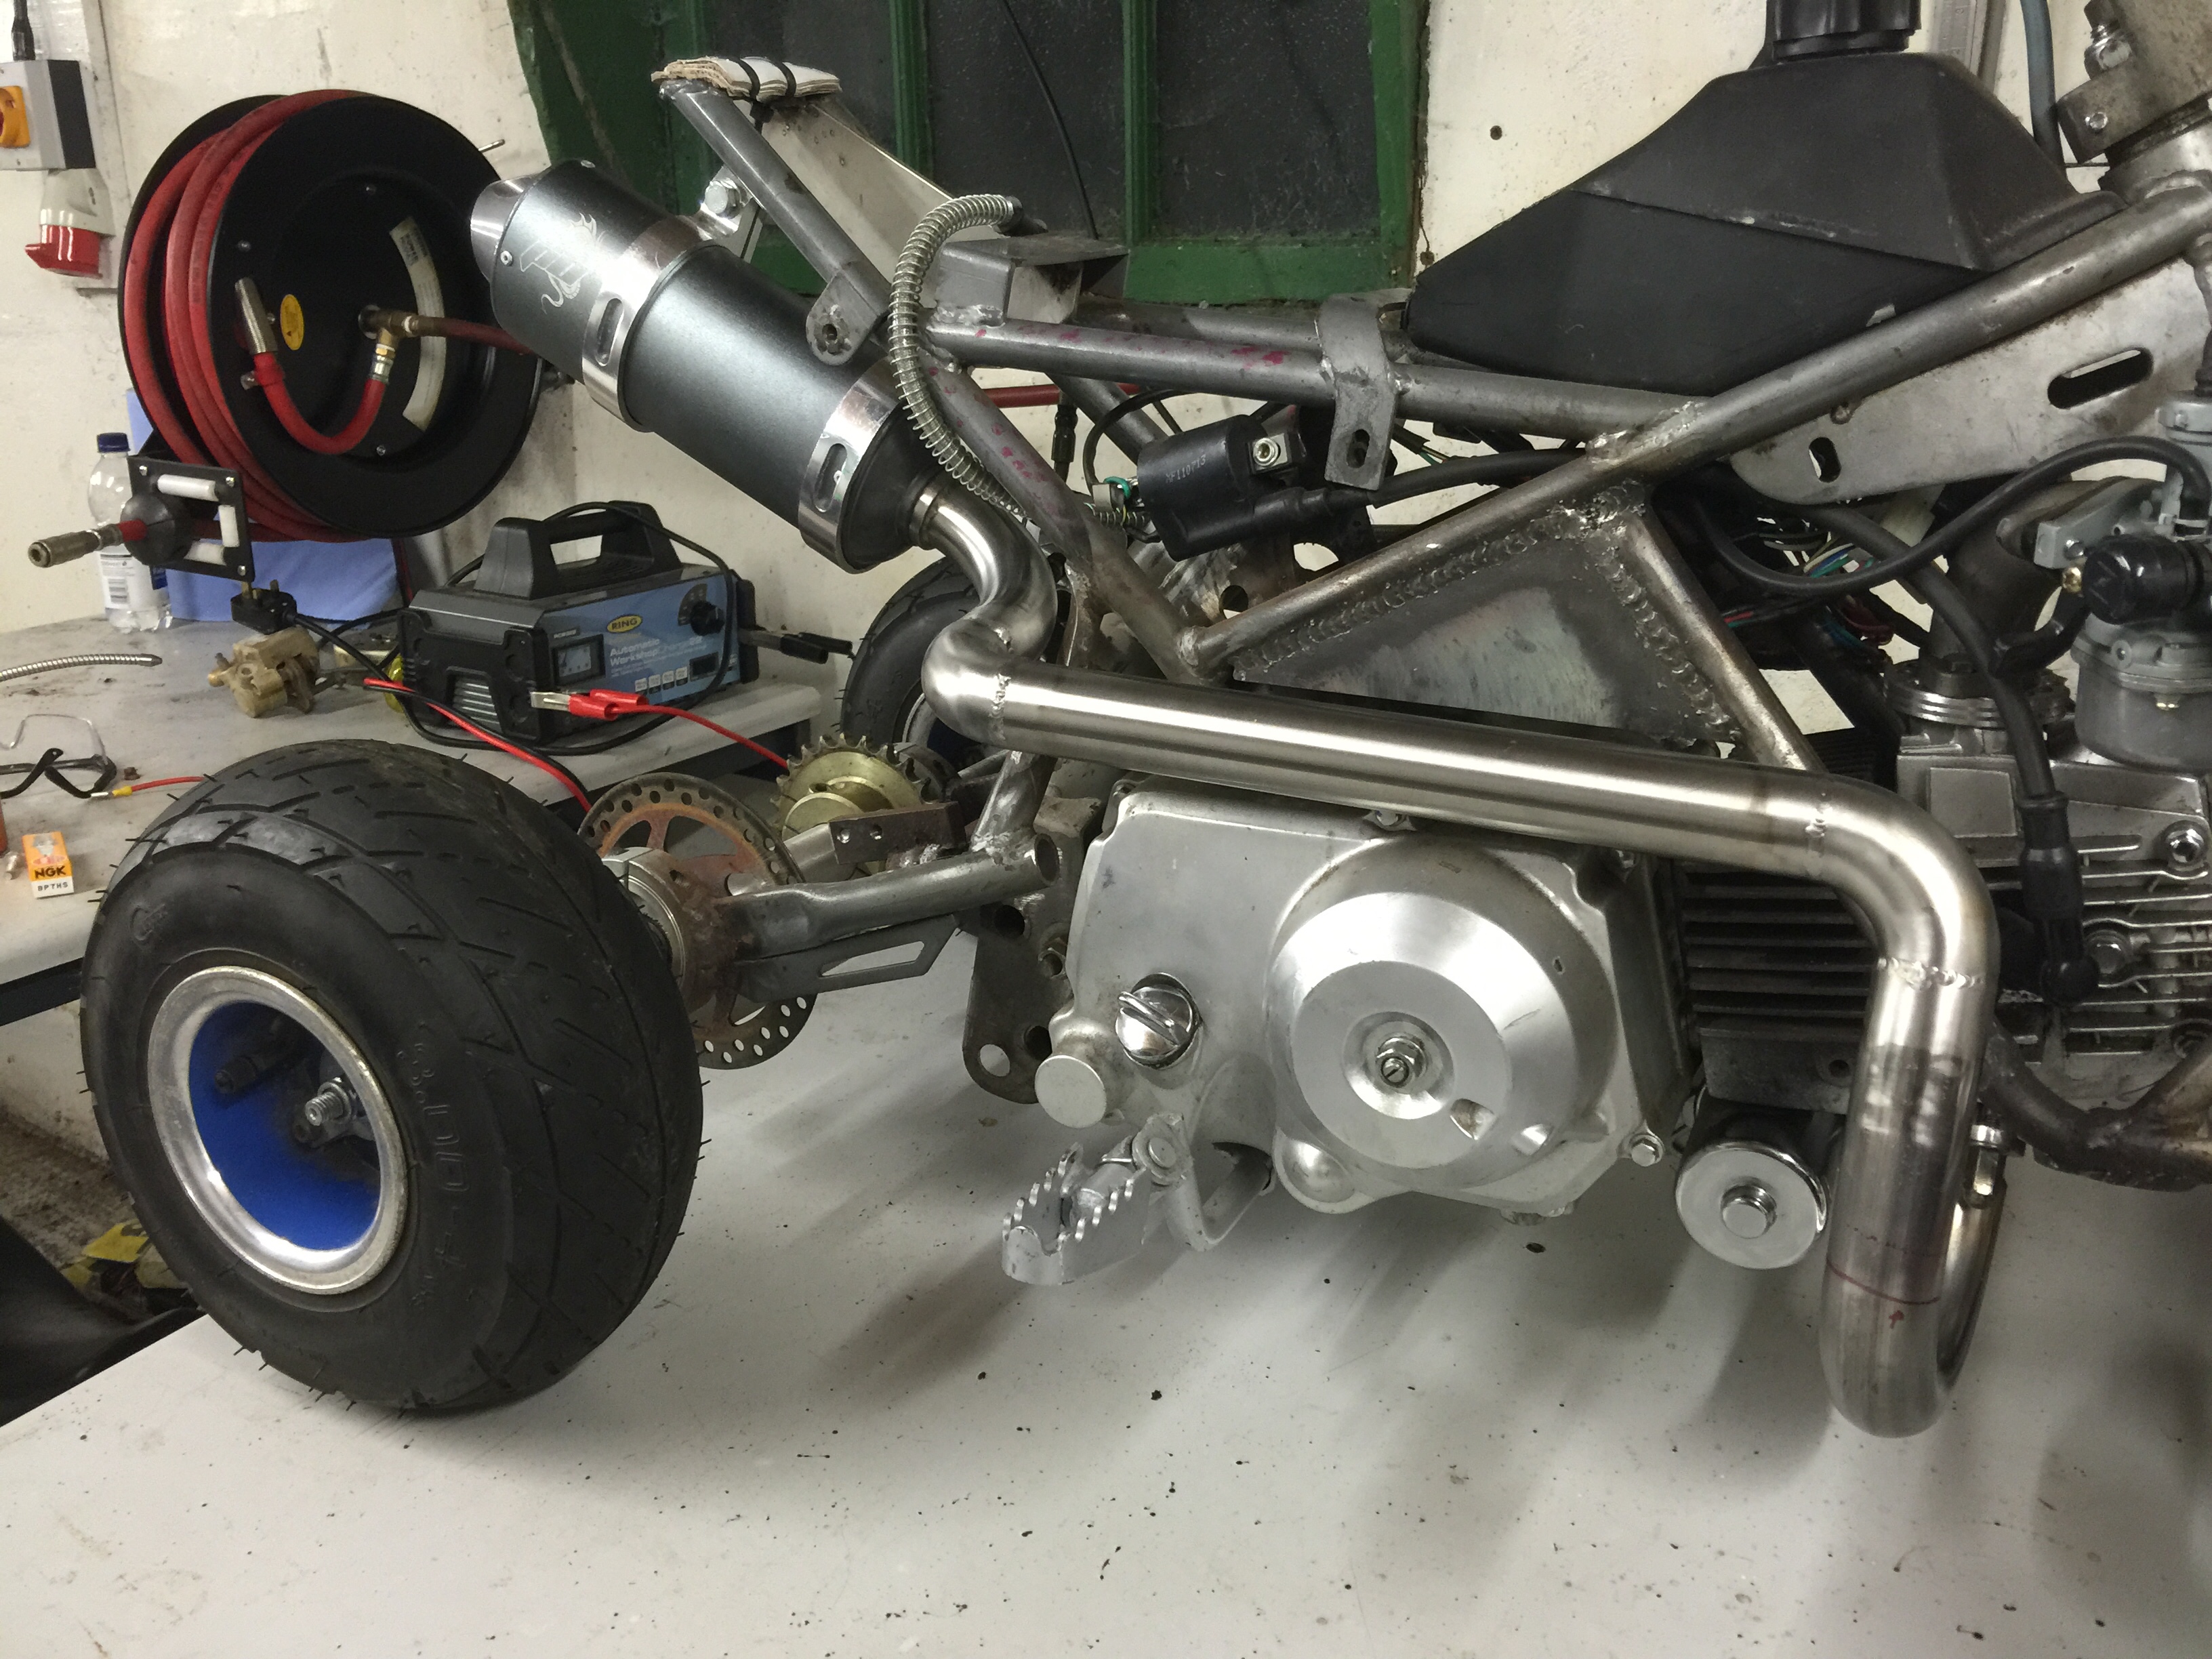
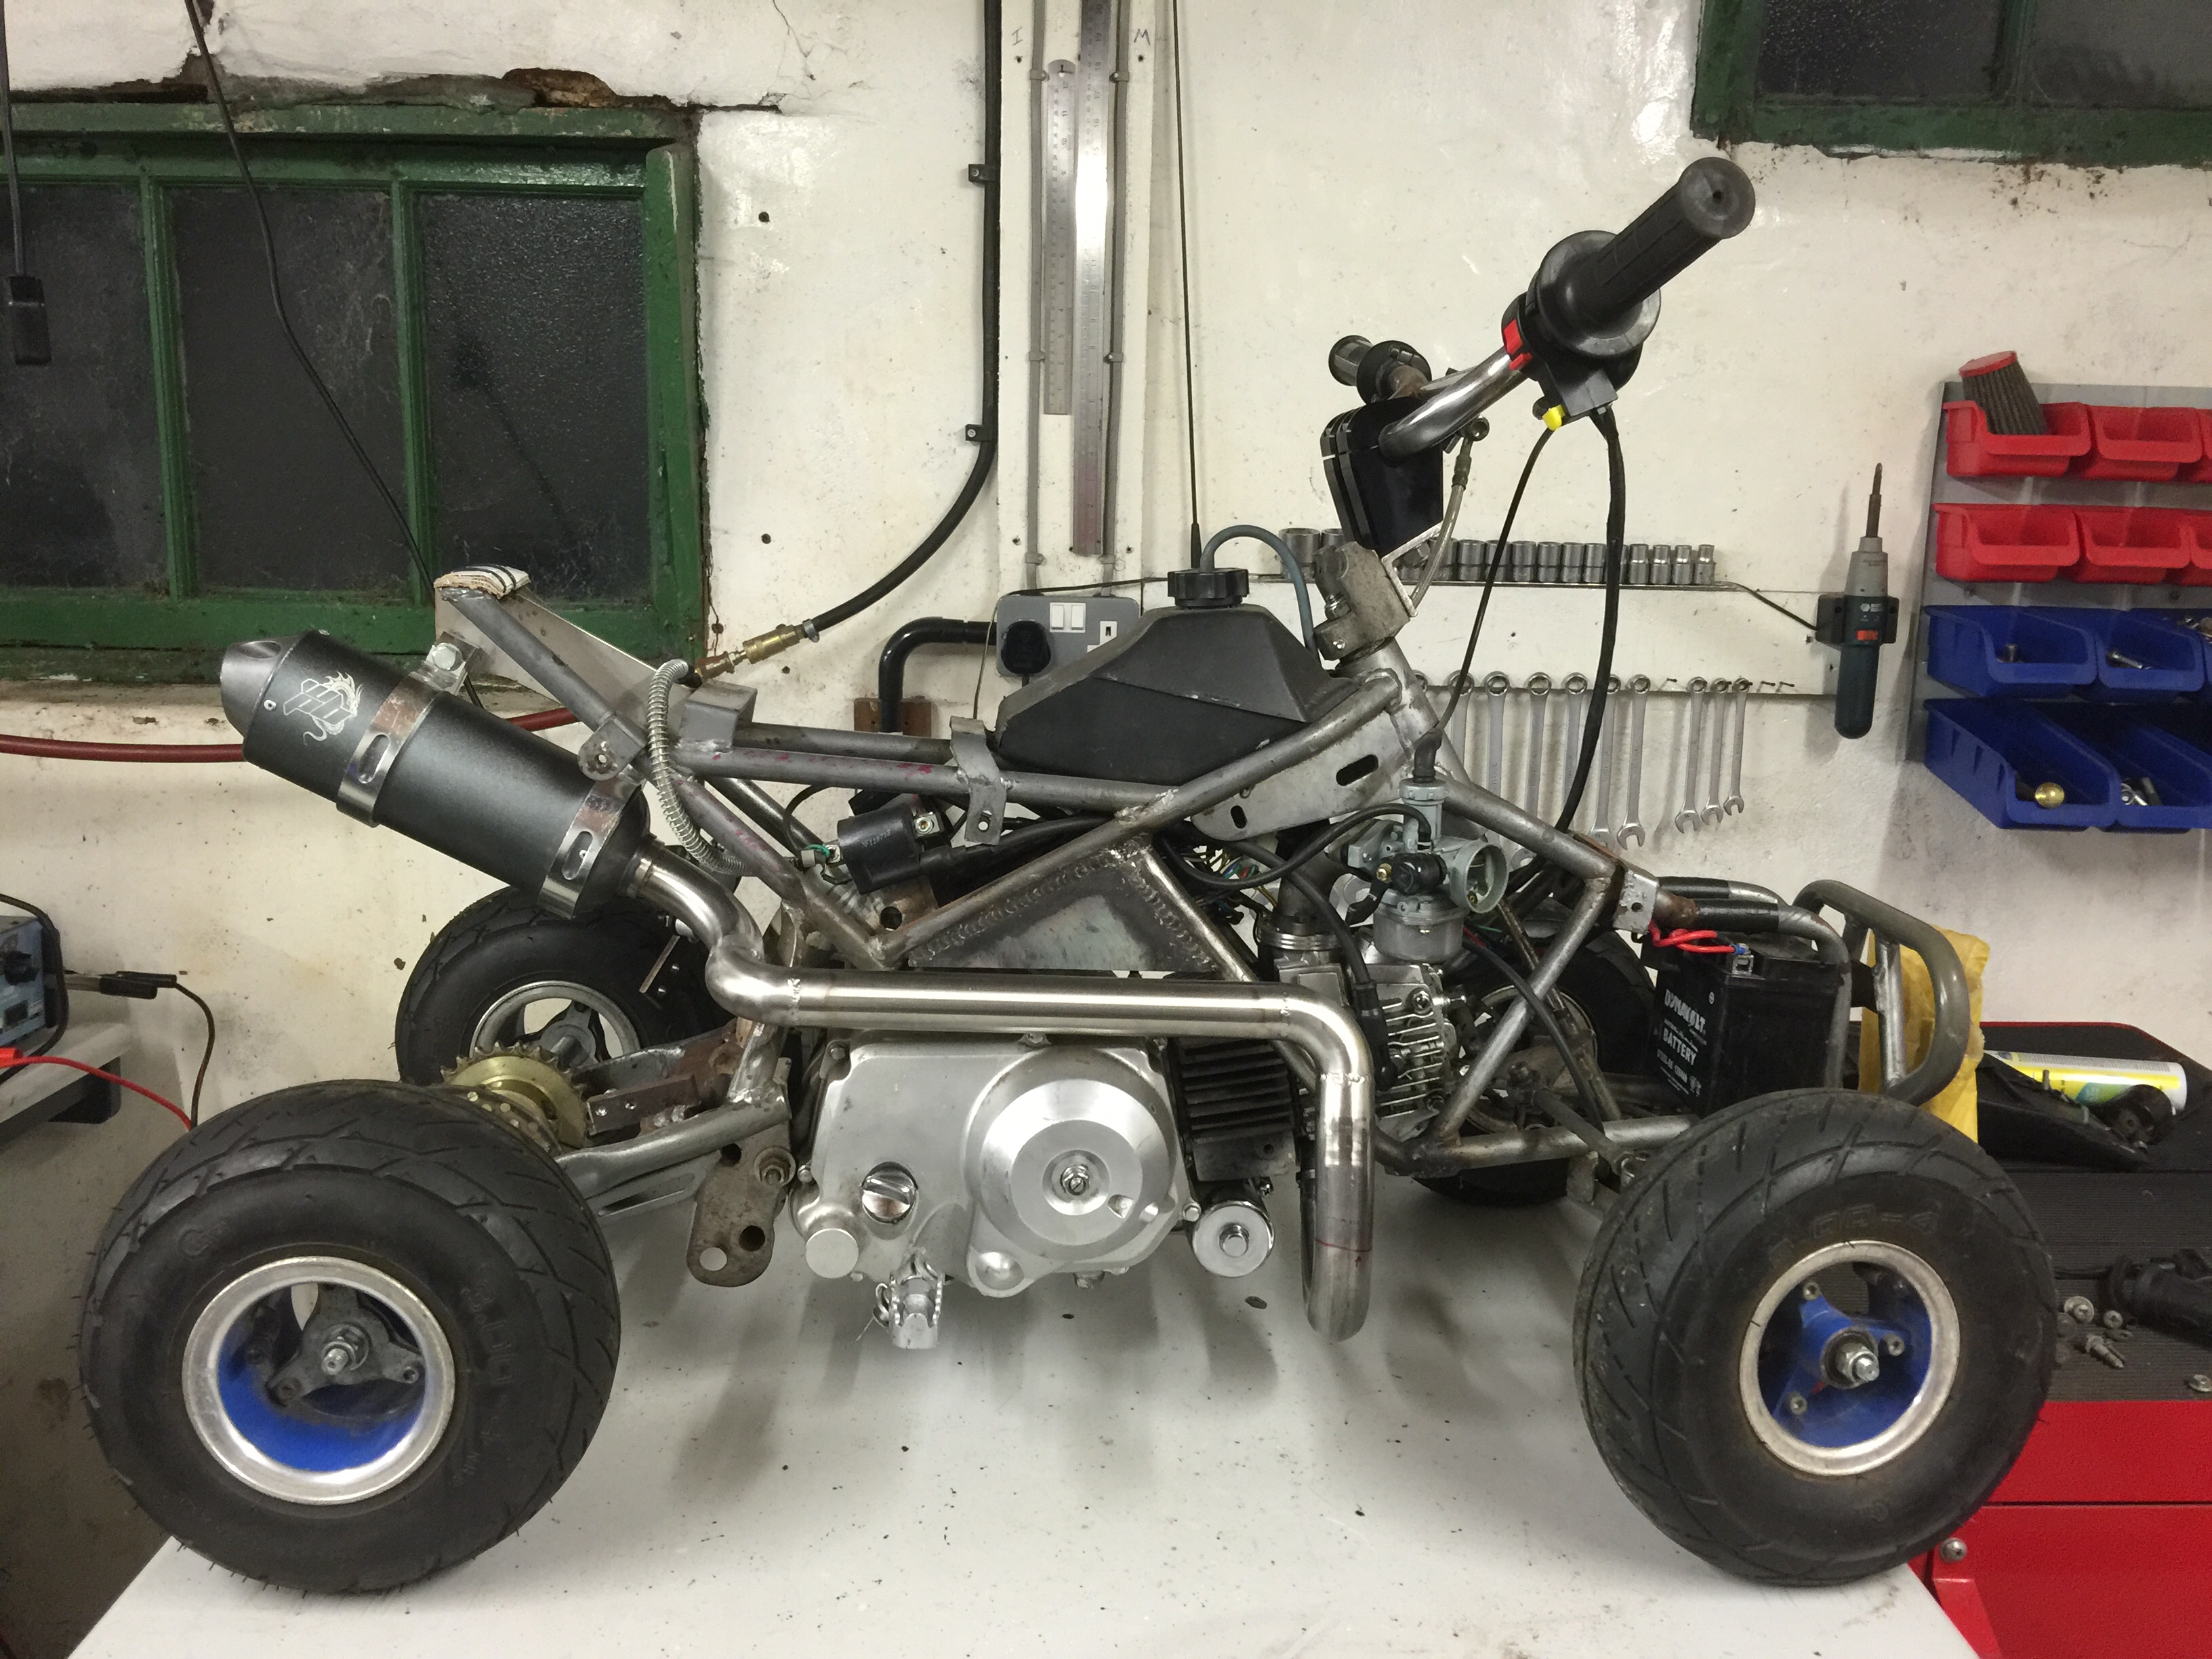
Also started to modify the original foot rest. I want to keep the original plastic foot plates so I've just started hacking bits around to see if its possible. The frame and the exhaust are the main things I need to work around for this.

Hopefully get some decent progress on it this weekend!

Jordan
 
Such a sweet build man. Just took me like half hour to read all of it lol. What size engine is it? I don't think I read that bit. And does it have any suspension? I don't know anything about quads so I can't even tell by looking at it lol. Is the engine still easy to get on and Off with the foot mounts?

Can't wait to see pics/vids of ya on ice. (meth) lol
 
Thanks fella - sorry it took so long to read!

Its a 110cc Auto (no space for clutch/gears unfortunatly) but it should still go well enough hopefully! No suspension on this one, I've proper miniquads with suspension, and they're fun but this is just something for ice/smooth surface fun.

Engine drops out the bottom of the frame pretty rapidly, only thing that will prevent it once done is the carb, the exhaust and the footplate. Very simple 2 minute job to be honest!

Thanks for the comments :)

Jordan
 
Update!!

Well, been a while but I've started the last little bits to finish this off.

Loom is all shortened (no pics as its just shortened wires lol),

Been wondering a while how to go about the exhaust and the footplate, and decided to make my own exhaust and do away with the original footplate.

For the exhaust I had to trim the bodywork first to suit the carb, and re-mount one of the fairing tabs as it was way off for some reason (chinese quality obvs), as I wanted the end can central and below the seat. It took a while and a bit of hacking and slashing but I made up to suit the two clamps I had bought for my backbox:

IMG_08471.jpg


Its 5mm st/st as thats all I had lying around in the workshop after a clearout. Drilled and tapped the centres and trimmed like so:

IMG_08561.jpg


Then I tacked it to the frame and checked for centre:

IMG_08581.jpg


Managed to get it so the welsh pitbike logo was actually seen which was nice!

IMG_08591.jpg


Its here you might think that the exhaust is a bit overkill, as its 1 1/4"... but it has to make some really awkward bends so the size compensates a little for the loss of decent flow. Some of the st/st bends and spare pipe my guys at work set aside for me:

IMG_08602.jpg


Threw the fairing back on it before I left tonight and took a couple of shots:

IMG_08611.jpg


(Dead centre woot!)

IMG_08622.jpg


Starting to look cool now!

IMG_08632.jpg


I'm going to use pitbike footpegs now that bolt to the back of the engine and weld my footplates onto them as what I had in mind using the original lugs from the 2 stroke set-up was going to be awkward and frankly s h i t e!

Oh, and a pic of my brand new whip to carry stuff about in! (Its the w h i t e one lol)

IMG_03005.jpg


More soon if anyones interested still!

Jordan
 
wow man amazing build. did u get the spares from uk or did u get em from america/aus? great work on ya welding mate u have a talent! +reps for u man.
cheers,
jack
 
wow man amazing build. did u get the spares from uk or did u get em from america/aus? great work on ya welding mate u have a talent! +reps for u man.
cheers,
jack

Thanks jack!

I've never bought bike parts from the USA actually. I've bought uk and Australian mostly. Actually I prefer to buy solely uk but only because of delivery times. We used to have alot of Chinese pitbikes and parts in my brother and mines workshop but its just full of stomp, thumpstars and wpb 140 and 160's now so I've a wealth of parts to use!

Thanks again man

Jordan
 
sick man, having all those parts really opens your mind up 2 mods. again man i hav 2 say that build is nice. im sure it will be a fun little quad...A HUGE power diff. the lifans are pretty strong engines aswell , so the only thing i think will go is the clutch/gbox. just make sure u keep the oil up. anothr option 4 u wud be to get a 155 zongshen, or the 160HO thats just come out. up 2 u man but the 110 shud keep u entertained 4 a while! :)
cheers, and great job,
jack
 
oh and btw u'll only stuff the gear box by changing down thru the gear to slow down. that'll stuff it real quick. one thing i also notice with mnost chinese bikes is that the rear brakes go first. just kepp an eye on both brakes 2 be sure.
cheers,
jack
 
The 110 will be cool using it to engine brake, the way you will be using the engine wont really be any different than if it was in a bike.
 
It's a rev and go guys, There's zero room for a clutched engine, changing down and you'd lose your foot under the quad! I could switch to a semi auto with a hand lever for gear changes but I'll see once its on the road

Jordan
 
Good idea on the auto engine mate, and your right there would be no room and not only that she would be a handful and changing gears would only take your mind off the fishies and burnouts you would be doing on this beast lol.
 
More pics also please mate.
 
Didn't get much done on the quadbike this weekend unfortunately, I turned up some adapter pieces to start manufacturing the exhaust and welded the first piece on:

fr_637_size880.jpg


As my pegs had arrived, I just flung some bits on it even a standard exhaust and without brakes ( not adviseable or clever ) we gave it a test run, heres some vids!

[video=youtube;nn2HJD93kYo]http://www.youtube.com/watch?v=nn2HJD93kYo[/video]

[video=youtube;gdbP2pGZmwM]http://www.youtube.com/watch?v=gdbP2pGZmwM[/video]

[video=youtube;nW9oCPtNL10]https://www.youtube.com/watch?v=nW9oCPtNL10[/video]

Its awesome. The acceleration is instant, theres plenty of torque, no bogging down and it even sping the wheels on tarmac, not something I was expecting from a bog standard rev and go.

Wheelies are easy on it too! I'm going to finish putting it together properly then test it again and break it down to get painted etc. Oh and fit the brakes lol

Jordan
 
Thats awesome mate :) From the biuld pics though i thought it was a fair bit bigger, she would certainly haul ass with a 110 in it.
 
haha, thats epic mate. the power to weight ratio out of that thing would be awesome. great job mate, and hope it all gos well for you in the years to come.
cheers,
jack
 
haha, thats epic mate. the power to weight ratio out of that thing would be awesome. great job mate, and hope it all gos well for you in the years to come.
cheers,
jack

Thanks man, that's decent of you.

Hadn't touched the quad in a while, trip around Europe and a F1 to Spa last weekend so been a bit busy,

One thing I wanted to improve was the height of the handle bars, so off they came:

fr_902_size880.jpg


After I milled that surface flat I used the existing 4 M6 holes I'd created to fix the original snapped piece and used a bit of stainless steel angle I had to give a flat even mounting surface for 3" risers:

fr_904_size880.jpg


Brakes lock-up nice and easy now and feel great. I'd like a slightly larger disk for more clamping area so I might look into that - but only maybe.

Ignore the air filter in this photo - my original was re-used on another project and they sent me the wrong one as a replacement...

fr_993_size880.jpg


It looks a bit ungainly and its now too high to fit into the pick-up back without taking the tonneau off, but it feels miles better to ride!

I bought a cheap hydraulic mini brake calliper and lever, came assembled all for £15, and its actually really nice which I wasn't expecting! Braided stainless line, fully anodised parts, built in brake switch... I know its made in china but its proper quality! I would've used one of my mini brembo set-ups but I just couldn't get a position that covered the full disk and I would've had to adapt a master cylinder. I removed the old floating calliper and made up some bracketry to carry the calliper which required a lot of shaping. I also had to drill out the new disk holes (made in china letting me down lol) and put cap head bolts in instead of countersunk units, to stop the disk riding the lid of the carrier and not pulling flat:

fr_903_size880.jpg


Intalled calliper:

fr_992_size880.jpg


I really want to get onto the exhaust now as that's the last big thing left to manufacture. Hopefully this weekend I was I want this done so I can get back onto my gokart!

Jordan
 
sweet mate, your pretty damn good at what your doing! how much did the brake system set u back if u dont mind me asking. but top work dude! i reckon a graphics kit would look sick! :)
 
These are copied from another forum - bare with me

So its been an age since any progress was made on this. It re-appeared in my workshop and I started fitting up bits and bobs for the exhaust:

fr_2760.jpg


I've no real progress shots other than that. I tacked everything together on the bike. Used 1 2Rad U bend, 1 2Rad 90 degree Bend and 2 1Rad 90 Degree bends along with some straight Pipe. Its pretty free flowing to be honest. Morseo than any Chinese exhaust I've seen.

fr_2761.jpg


fr_2763.jpg


fr_2764.jpg


fr_2765.jpg


It sounds nice too which I'm happy with. A couple little bits to tidy on it before I polish it up but I may wait until its all together before I do that.

To be honest I'm chuffed with it. Got the passion to work on it again now!

Jordan
 
Done a little more work on the quad,

First I properly secured the battery up front, bought a pit-bike battery box and cut it to suit this:

fr_2717.jpg


Looks good in real life don't worry haha. Its also very secure.

Decided that this little toy needed some lights, so I've bought LED front and back lights. Here are the fronts fitted to the bullbar:

fr_2797.jpg


fr_2798.jpg


Going to have the front controlled off this, with the backs on a constant live loop for the rear brake light:

fr_2799_size880.jpg


Been spurred on by this latest edition to the yard:

fr_2796.jpg


More updates soon hopefully. Not taking any questions on the gokart!

Jordan
 

Latest posts

Back
Top