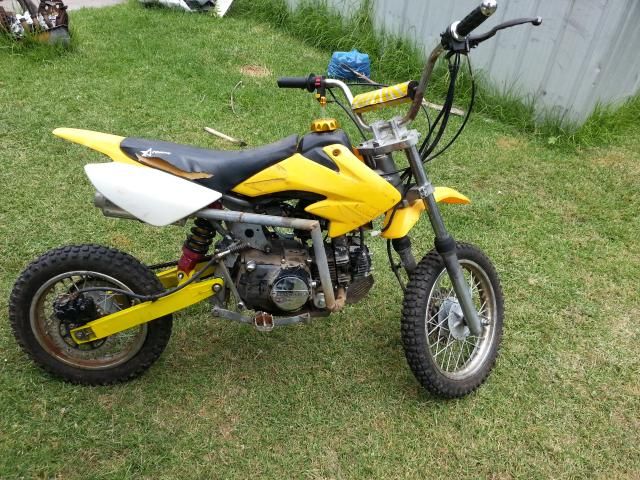
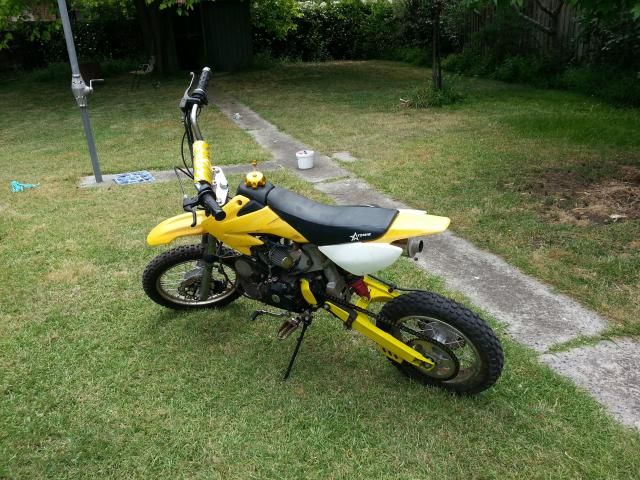
Hoorah so I've finally got this bike ready to take to the track.
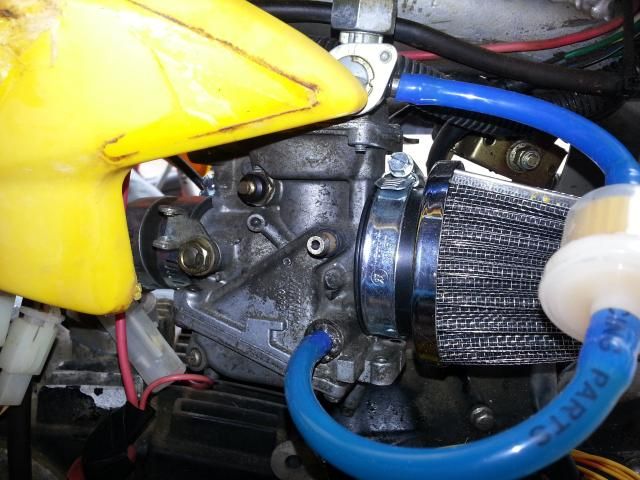
The CDI burnt out so I ordered a new el-cheapo one off the net put it back on and she fired up perfectly. I made a little mount for the carb, just a piece of metal that screws into it and the engine just so it doesn't shake out of the hose.
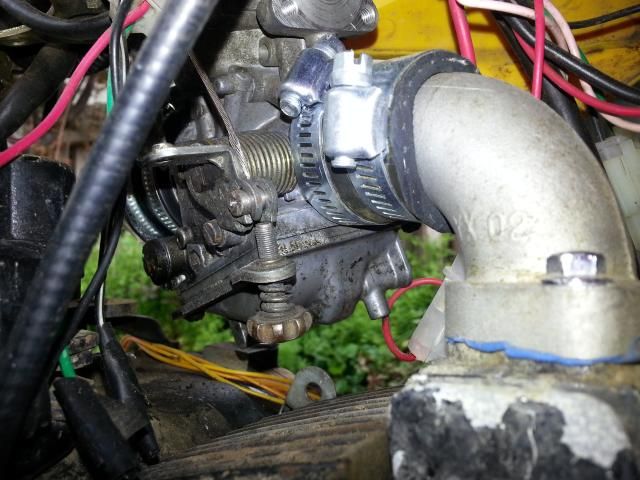
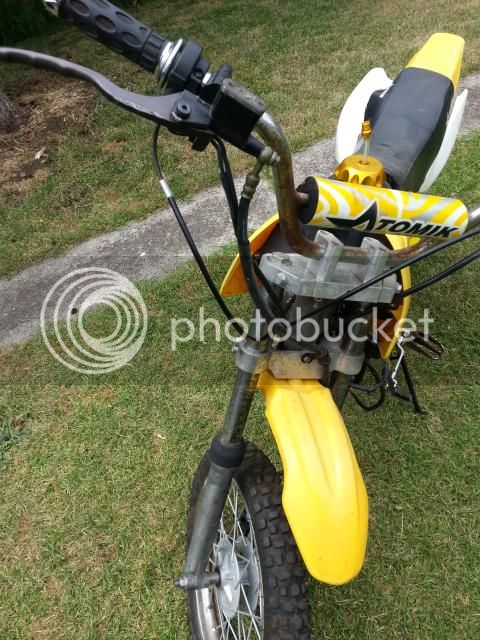
I fixed up the throttle cable - if you go back a couple of pages you can see that it was miles too long, so I've shortened it and added a 90 degree elbow which makes it route a little neater.
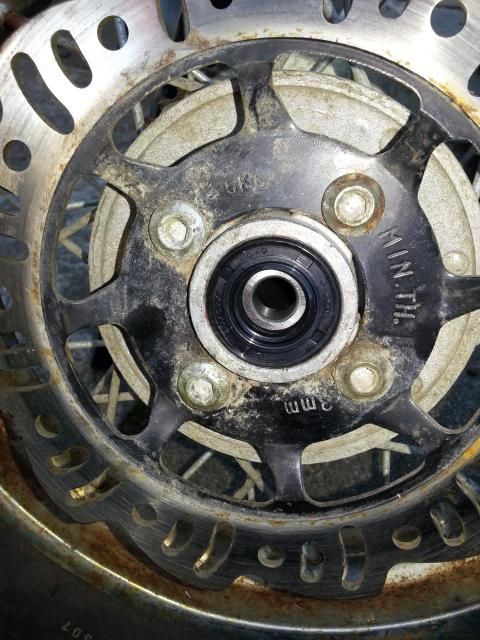
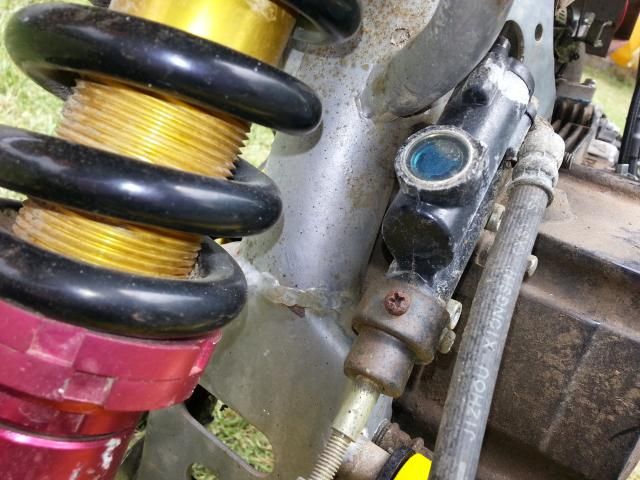
I bled the brakes front and back with nice fresh fluid, the front wasn't too bad but the back was spitting all sorts of gunk out of the tube. they both feel a lot better now.
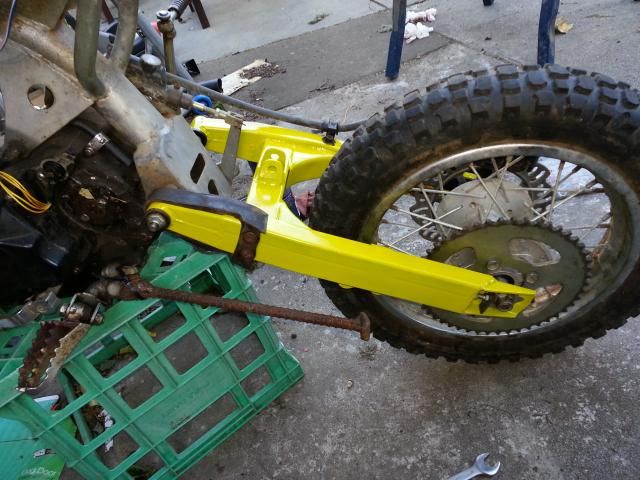
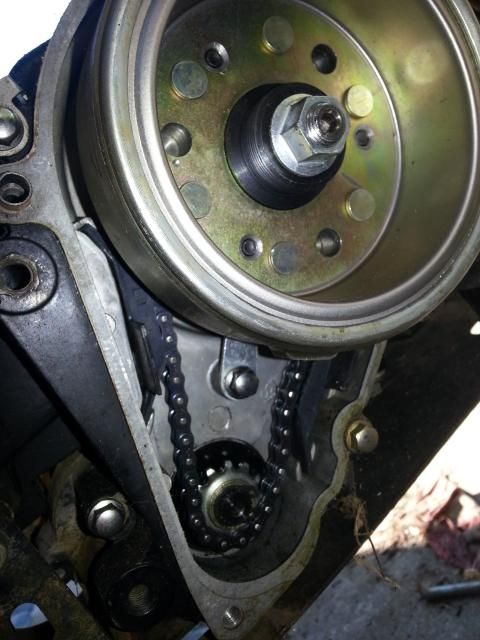
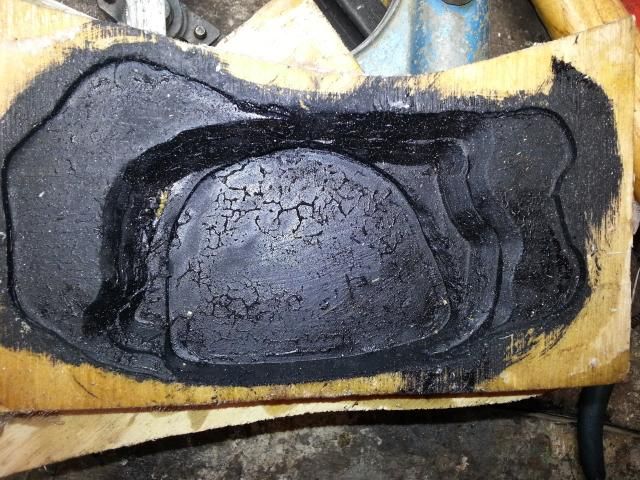
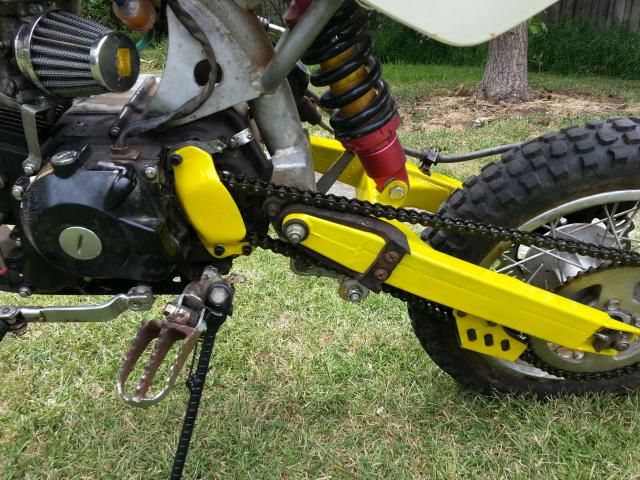
I made a front sprocket guide as where I'm going to be taking the bike requires this to be fitted and I didn't want to buy one, so I routed the shape into a piece of plywood put some vasaline on it and made it up out of fibreglass, it's not perfect but should do the trick.
I used a bicycle brake lever as the clutch lever - this seems to work perfectly, and for the brake lever I used the old one off my street bike cut and filed down a bit to fit.
The fuel cap broke when I screwed it down and popped the top off of it, I attempted to plastic weld it back together once but it broke again strait away so i decided to just buy an aluminium one online.
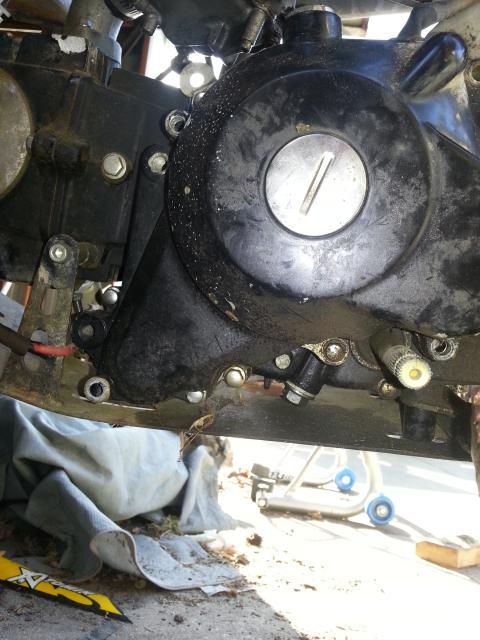
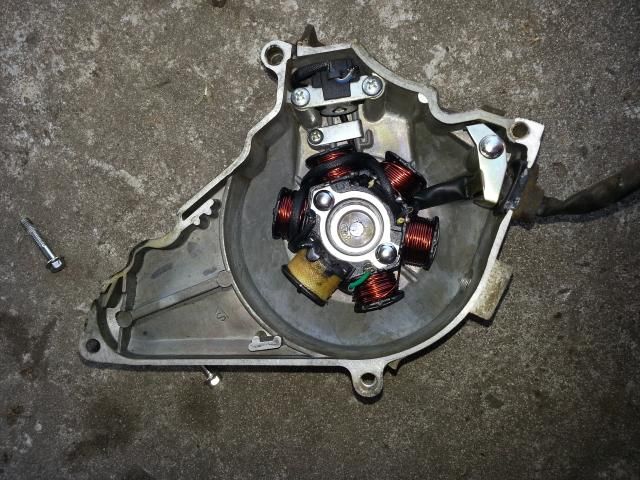
I decided not to pull the flywheel and fix the electric start etc. Rather I'm just planning on running it without a battery for the moment. I've fixed up the wiring so that none of the start in neutral stuff is required.
At some point in the future I'm planning on getting Rec. Reg. for it and when I do that I'll fix up all the wiring properly but for the moment I'm just happy with the on/off switch.
There's still a few things left to do to make it really nice, I need to scrape the fairings down to get all the old sticker residue off (I'm not planning on putting more stickers on. I want to change the oil again and I've actually got to put the NGK spark plug in (I've been waiting until I do the oil change so that I get the best alteration in engine feel. I"m also thinking of putting one more piece of pipe in on the exhaust to get rid of that near right angle bend, as it's probably blocking quite a lot of flow but also when riding it it's dangerously close to your leg and I don't fancy a burnt inner thigh.
so now that the build is complete I thought I'd do a cost breakdown
bike - FREE
clutch cable - 8.79
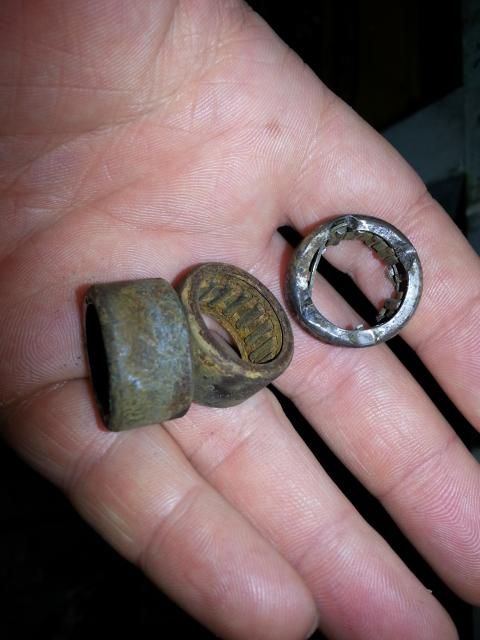
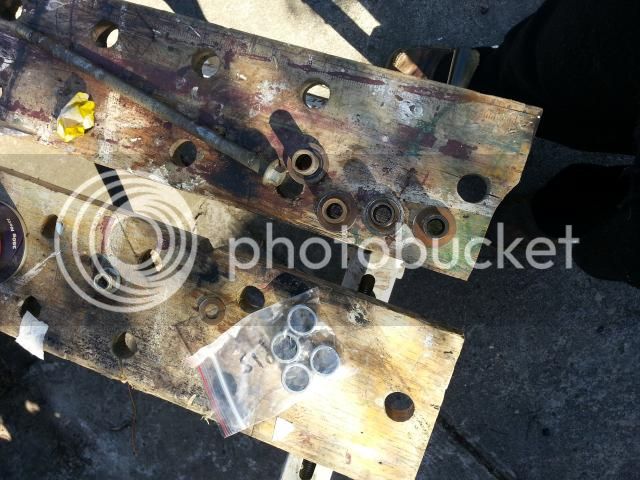
wheel bearing/seals - 49.35
swing arm bearings - 16.00
chain - 27.99
chain tensioner - 5.99
fuel filter - 1.00
fuel line - 4.95
fuel cap - 6.99
radiator hose (for carb connection) - 10.00
exhaust gasket - 3.20
starter solenoid - 5.77
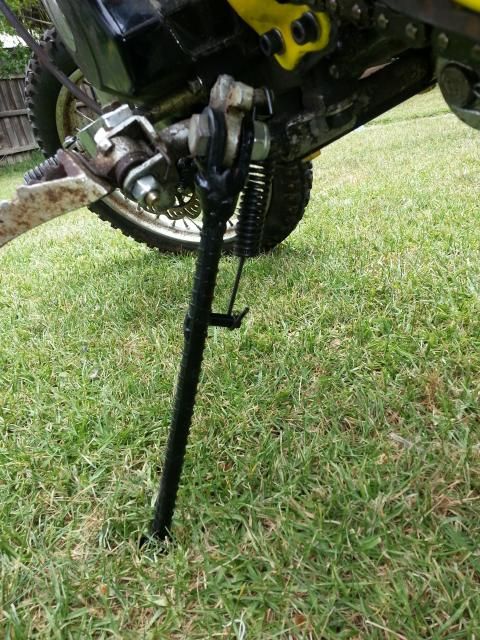
kickstand spring - 3.75
replacement bolts - 25.00 (approx)
air filter - 5.99
spark plug (ngk) - 4.90
CDI - 4.93
paint - 4.50
helmet - 99.00
goggles - 20.00
pants - 24.99
jersy - 9.99
gloves - 12.99
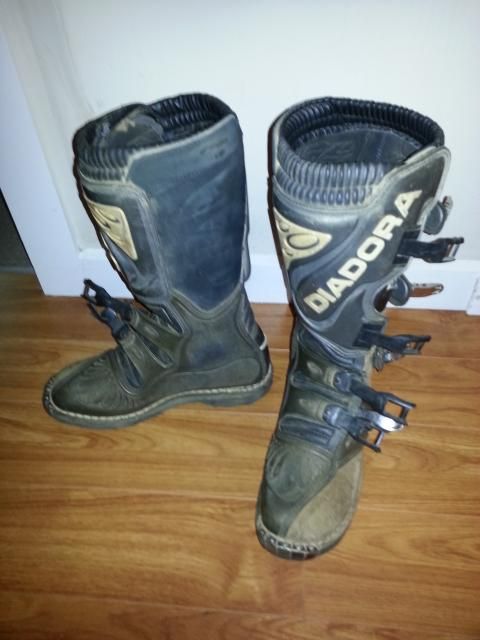
boots - 70.00
roost - 19.99
freebies (already owned/built)
carby
exhaust
throttle twist grip
brake lever
clutch lever
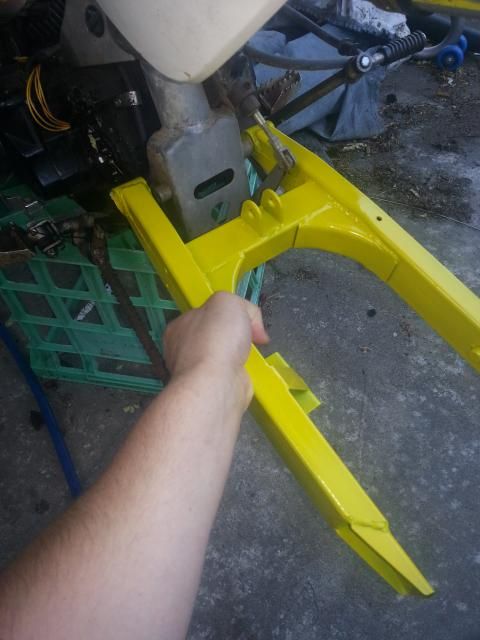
sprocket guard
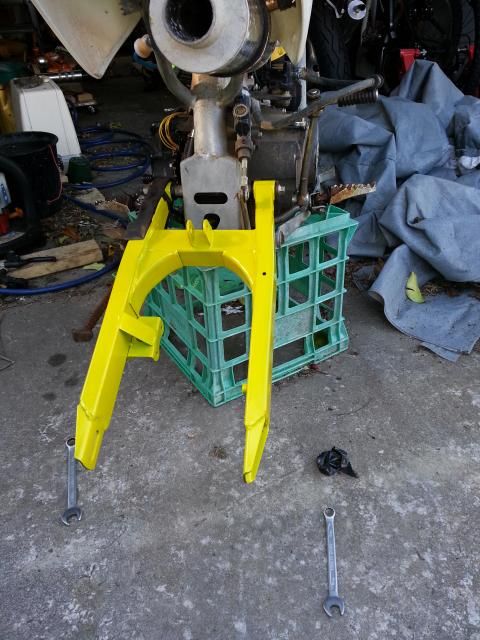
kickstand
motorbike parts total - 189.10
gear total - 259.96
grand total - $446.06
not too bad from owning nothing to do with dirt bikes to being able to ride

and of course - this thread would be useless without pics so here you go
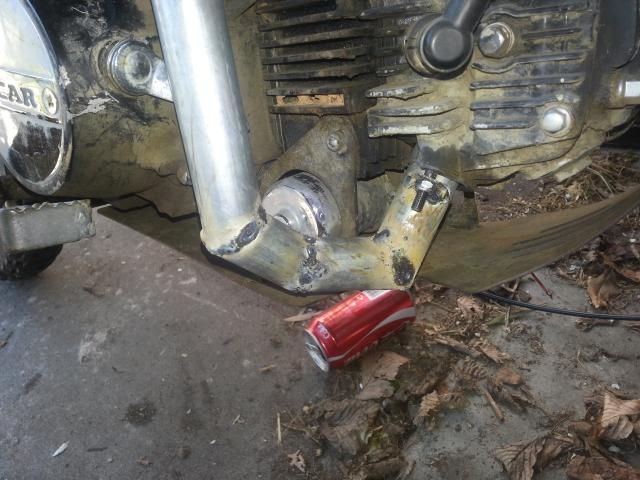
The completed kickstand
the mould for making the chain guard
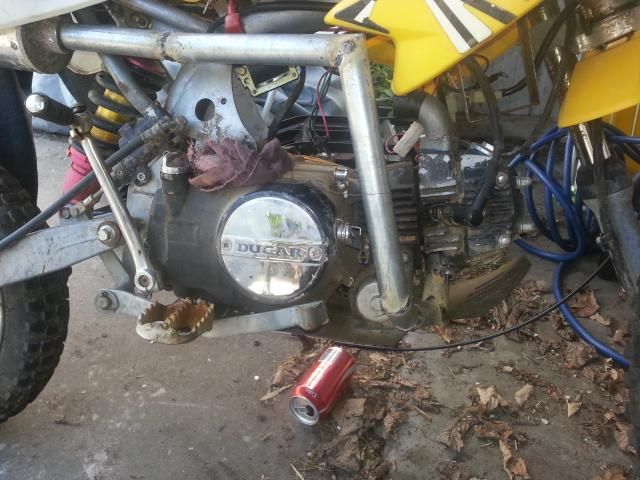
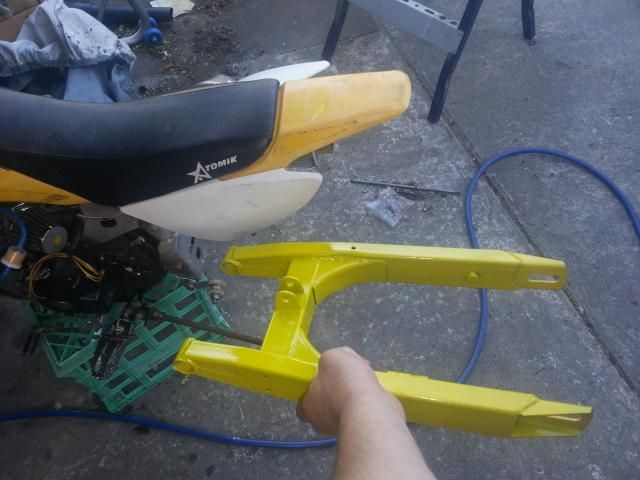
the bike
the new throttle cable routing
mmmmm fresh brake fluid - blleeewww
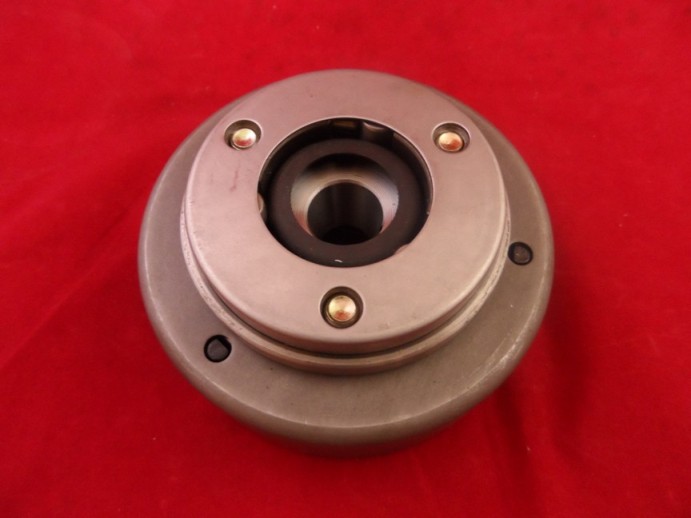
sprocket guard
the bike again