BananaMan
Well-Known Member
well i am gonna throw in my 2 cents for the discussion on minibike airboxes.
i am sick of the airfilter getting soaked everytime i go through a puddle so i have decided to biuld an airbox. My bike is an Atomik Nitrous 150 MID SIZE.
i have had a good look at the other thread by Dunny29er and his design for a remote aircleaner is good, however with the frame of my bike it just was'nt going to work.
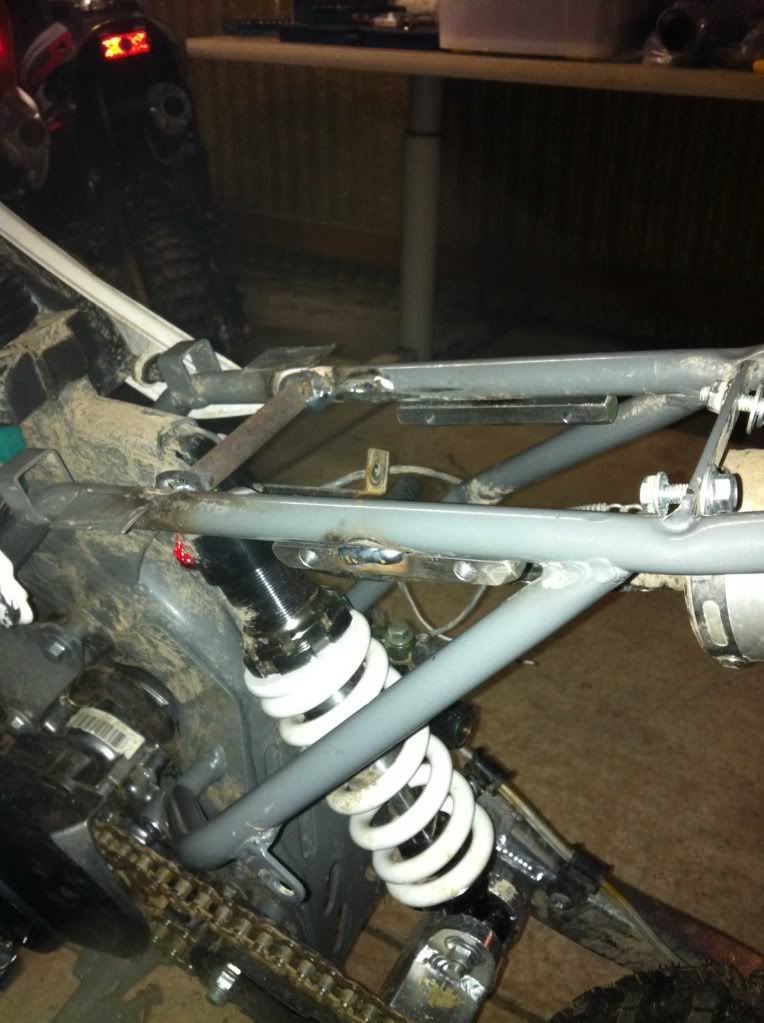
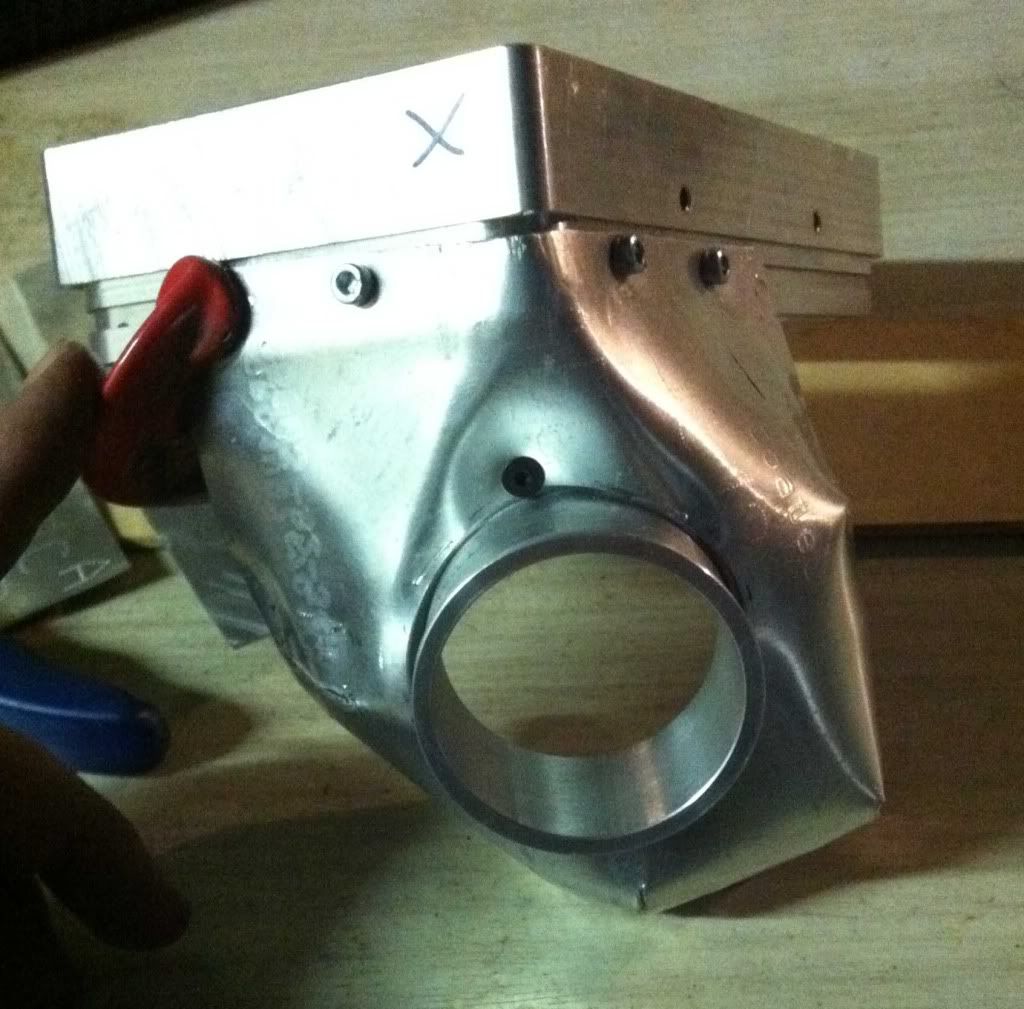
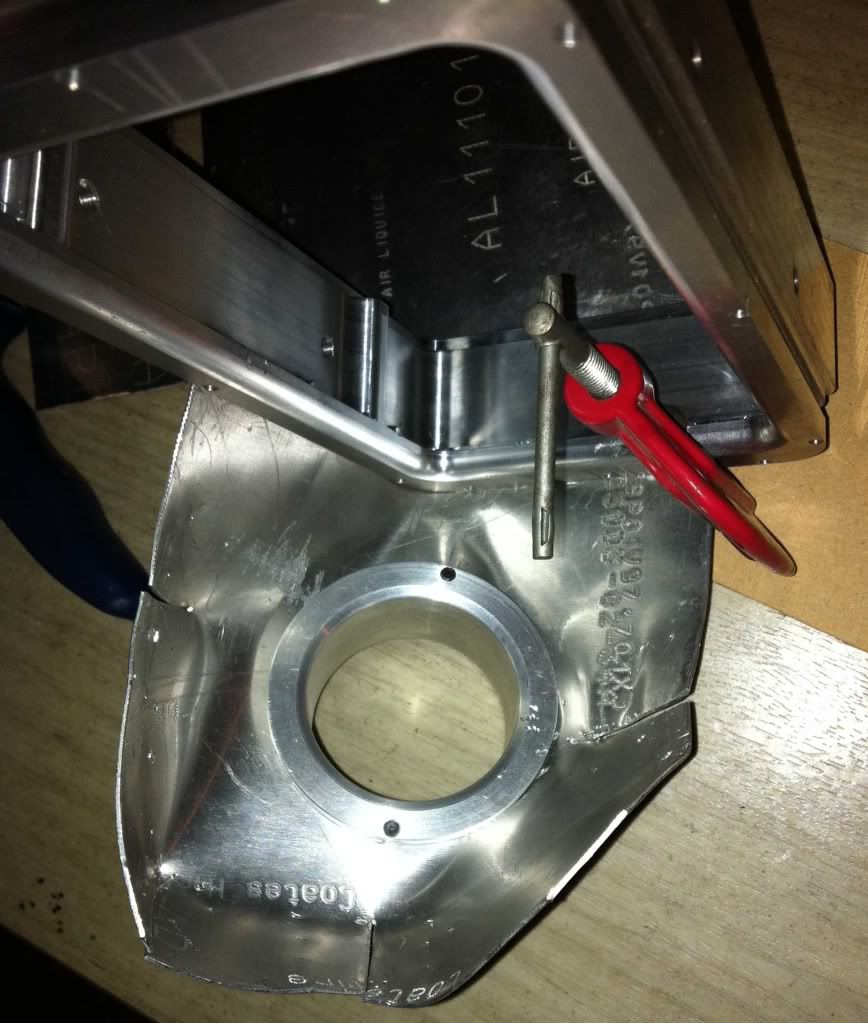
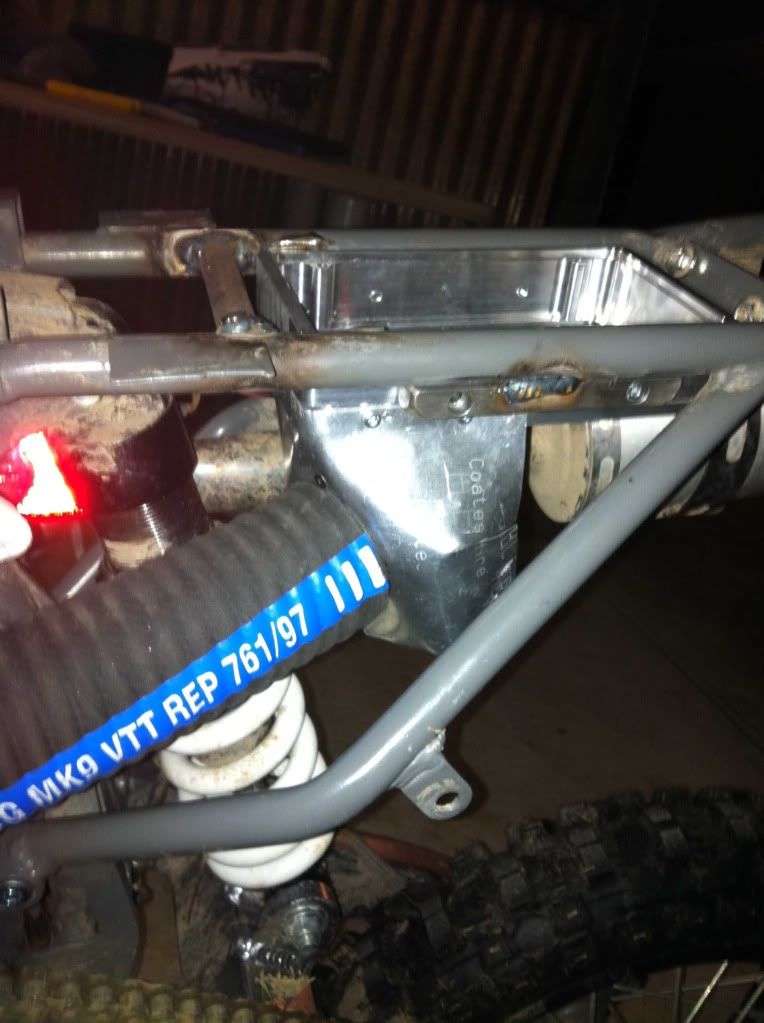
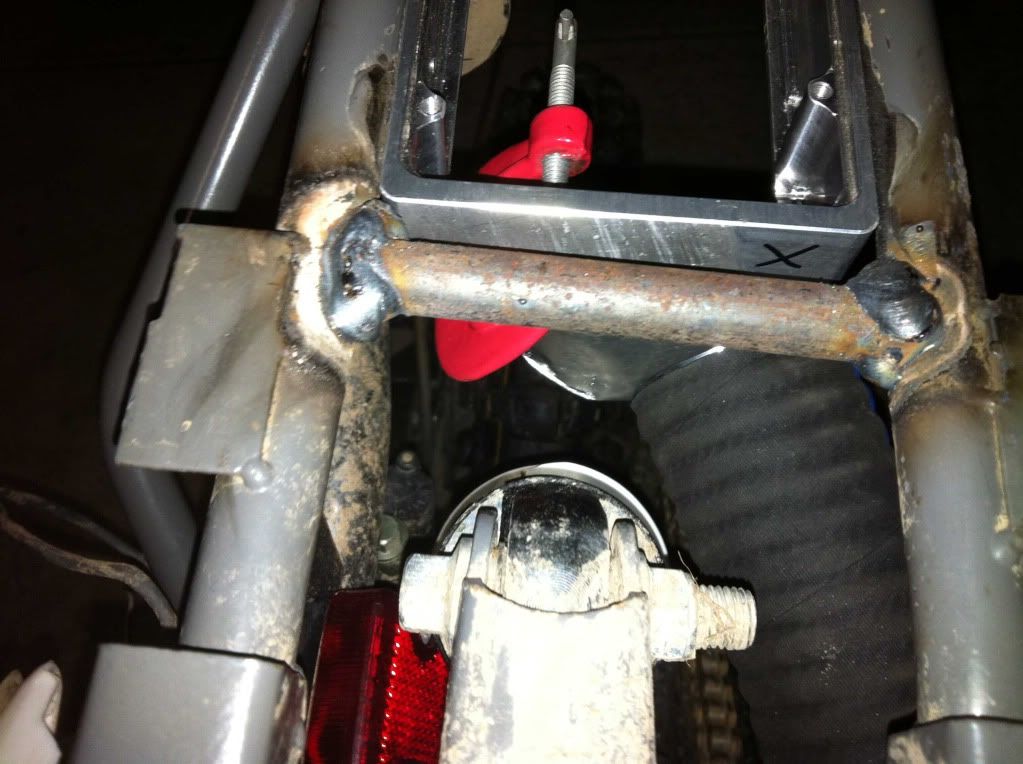
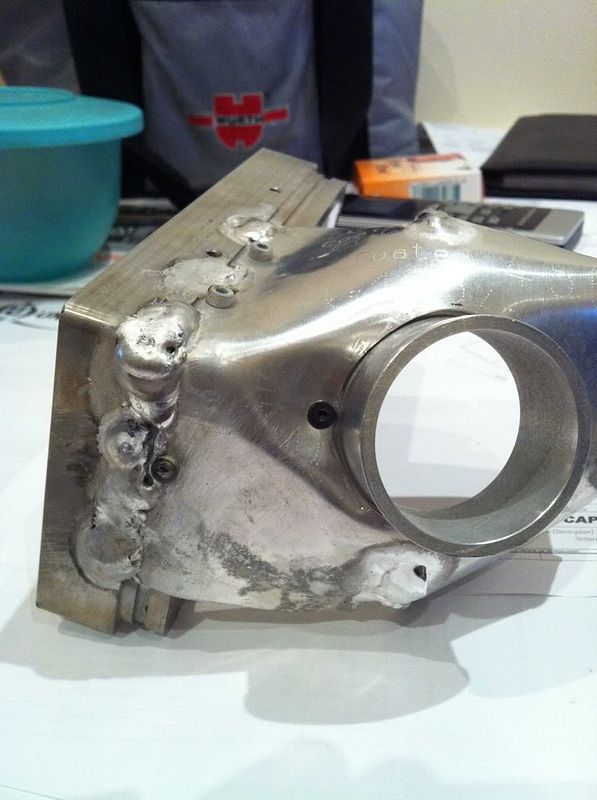
first thing i have done is taken some measurements of my frame and worked out where the air box will sit, i have found that i will need to cut and re-weld one of the braces on the rear frame, no biggie...
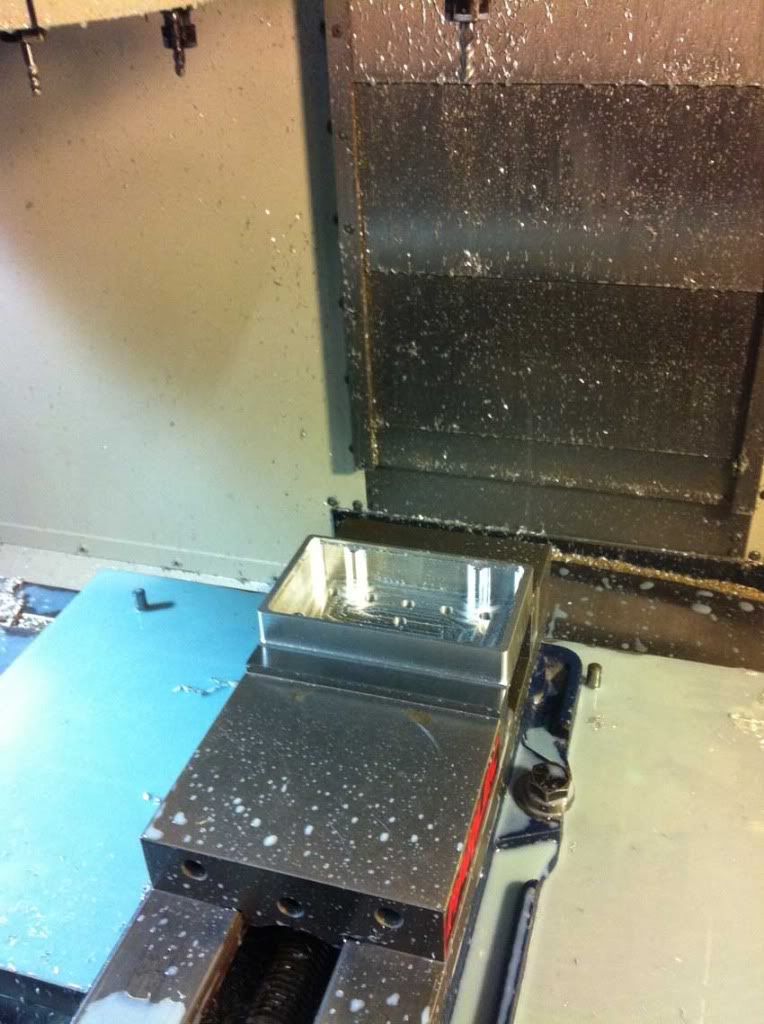
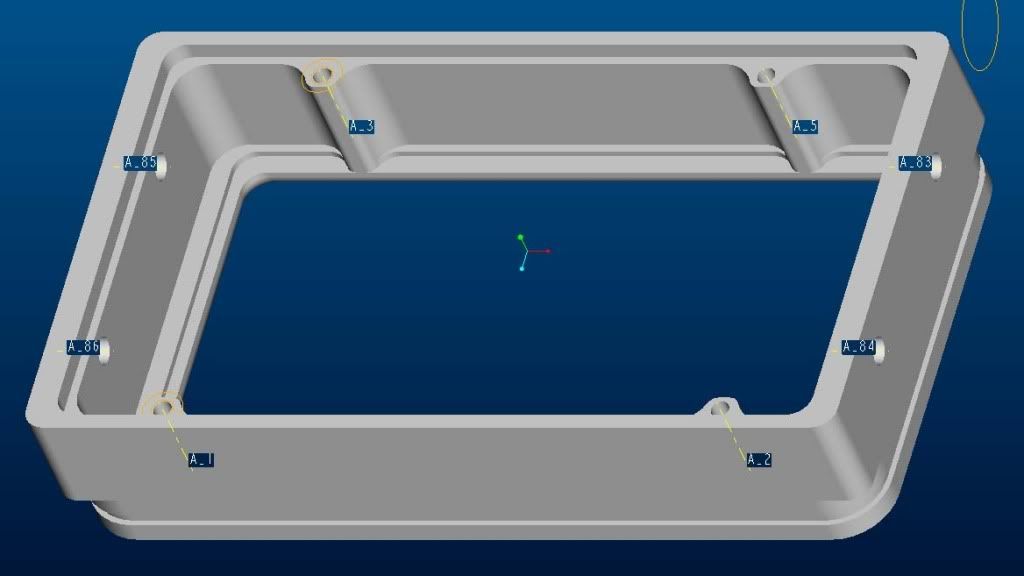
to top section of the airbox will be machined from ally and the rest will be custom moulded from fibreglass, the ally top section will have a recess cut around the bottom to allow the fibreglass to mould to and will have 2 removable plates on the inside spaced 22mm apart to allow for the foam, the bottom plate will just sit on a shoulder and the top will be secured using 4 x 4mm button head screws.
i have found that clark rubber sells filter foam very similar to what the uni-filters are made from, if anything a bit more coarse, therefore i am using 2 x 12mm thick pieces so i can get them oiled up properly.
here is a pic of the 2 foams, blue one is a uni-filter, grey is form clark rubber

next i had to start designing the air box top, luckily i have the tools and ability to machine this part up, here is the design i have come up with.
this is a wireframe image of the top section

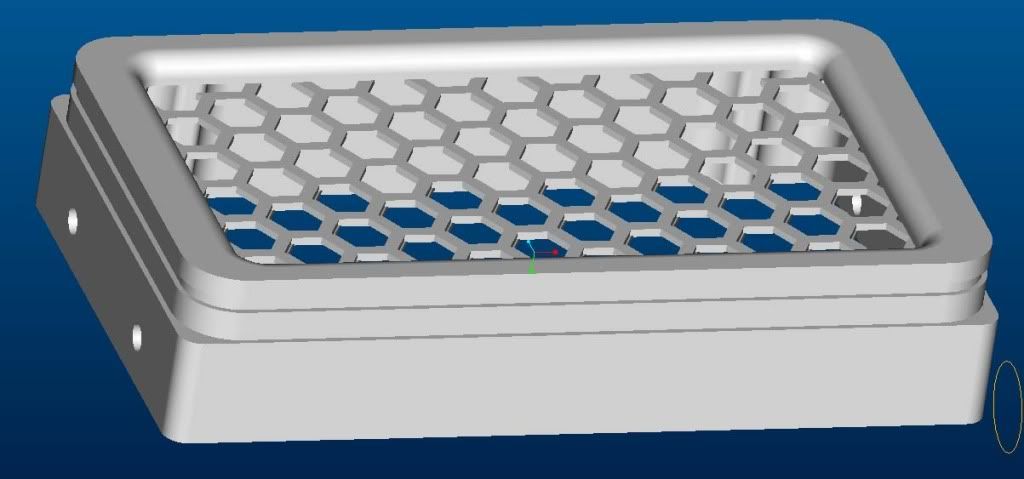
rendered image of same part
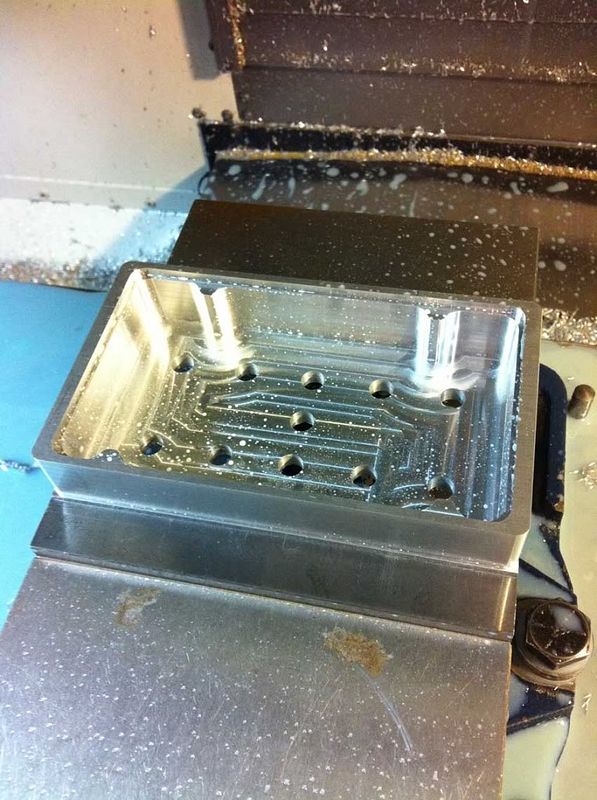
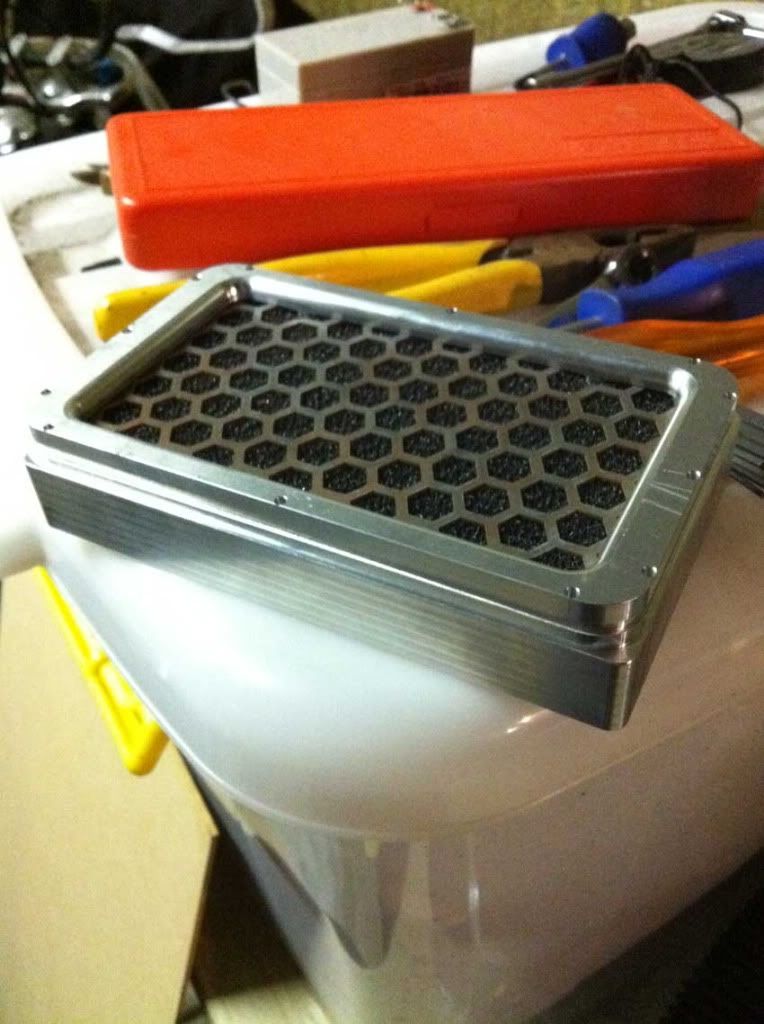
these are views from the top and bottom of the part showing the hex mesh in place to keep the foam from moving
Top
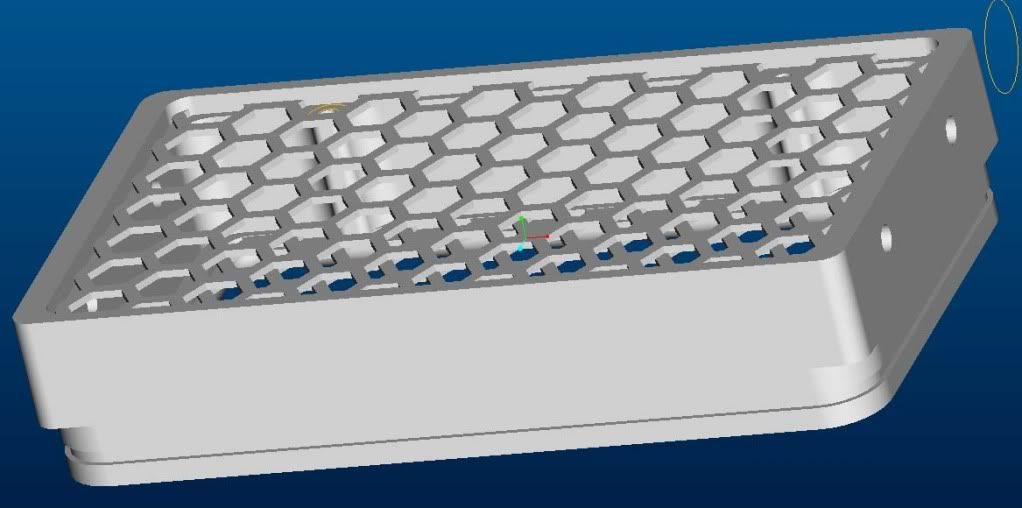
bottom
here you can see the step cut around the bottom with rib to allow for the fibreglass to mould to.
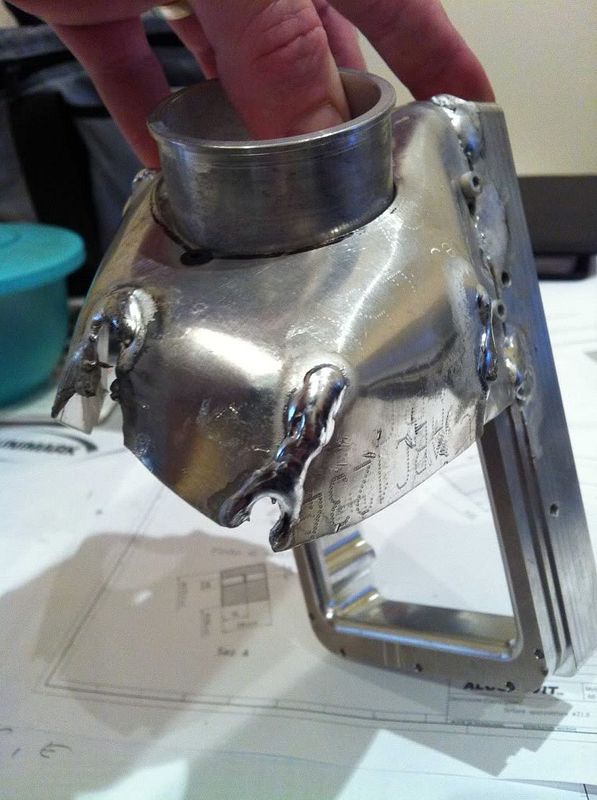
also i have found some marine fuel hose that fits nicely over the carby and have turned up another piece of ally to mould onto the airbox at the other end the same size as the carby.
once i get these parts made i will continue and try and make the box itself, i am looking at using coathanger wire to make a basic frame and stretching lycra over it to get the basic shape (this is how car audio installers get the custom shaped fibreglass boots, once this is set i can then re-inforce with more glass.
will keep updating as the process comes togeather
.
i am sick of the airfilter getting soaked everytime i go through a puddle so i have decided to biuld an airbox. My bike is an Atomik Nitrous 150 MID SIZE.
i have had a good look at the other thread by Dunny29er and his design for a remote aircleaner is good, however with the frame of my bike it just was'nt going to work.
first thing i have done is taken some measurements of my frame and worked out where the air box will sit, i have found that i will need to cut and re-weld one of the braces on the rear frame, no biggie...
to top section of the airbox will be machined from ally and the rest will be custom moulded from fibreglass, the ally top section will have a recess cut around the bottom to allow the fibreglass to mould to and will have 2 removable plates on the inside spaced 22mm apart to allow for the foam, the bottom plate will just sit on a shoulder and the top will be secured using 4 x 4mm button head screws.
i have found that clark rubber sells filter foam very similar to what the uni-filters are made from, if anything a bit more coarse, therefore i am using 2 x 12mm thick pieces so i can get them oiled up properly.
here is a pic of the 2 foams, blue one is a uni-filter, grey is form clark rubber
next i had to start designing the air box top, luckily i have the tools and ability to machine this part up, here is the design i have come up with.
this is a wireframe image of the top section
rendered image of same part
these are views from the top and bottom of the part showing the hex mesh in place to keep the foam from moving
Top
bottom
here you can see the step cut around the bottom with rib to allow for the fibreglass to mould to.
also i have found some marine fuel hose that fits nicely over the carby and have turned up another piece of ally to mould onto the airbox at the other end the same size as the carby.
once i get these parts made i will continue and try and make the box itself, i am looking at using coathanger wire to make a basic frame and stretching lycra over it to get the basic shape (this is how car audio installers get the custom shaped fibreglass boots, once this is set i can then re-inforce with more glass.
will keep updating as the process comes togeather
.