


sam93
VIC MR Ride Day Organiser
For those that want to ride at night on there land or for rec reg here is a tutt showing how to make a rear tail light mount that
will be strong enough and pretty easy to make...
What you will need is:
.Metal or alloy prefferably 1-2mm thick.
.Hacksaw or grinder
.Drill
.Flat file or grinder
.Paint if desired
.Hammer
.Vice or hard edged table.
.Tail light
Steps:
1. Buy your tail light (here is the one i purchased: 15 LED Red Brake Tail Light For Quad, ATV, Motorcycle (eBay item 270636789666 end time 17-Nov-10 15:15:31 AEDST) : Cars, Bikes, Boats
2. Get your peice of Metal or Alloy and place the light at the bottom of the piece then make the material as wide as the light is.
3. Cut the meterial as wide as the light.
4. Place light on against and mark around the light with a pencil.
5. File down or grind around where you marked just to make it a bit cleaner looking.
6. Mark a line above the top of the light by 5mm.
7. Grab a hammer and get banging the easiest way is with a vice (you get a cleaner bend) and make a 90 degree bend on the line or place
it over a really hard surface and hold it down hard and do the same you would with the vice.
8. File edges to get rid of sharp edges.
9. Paint it if you wish with a self etching primer to start with then finish off with whatever colour you want.
10. place light on again mark where the screws have to go to mount it.
11. Drill holes.
12. Drill holes on the top bend that is going to be fixed to your rear mud guard drill holes 3mm and 50mm apart.
13. Place mount undearneath rear mud guard and mark where the holes have to go and drill at 3mm again.
14. fix mount to rear guard by rivet.
15. Mount light.
16. Your done simple mount that took a whole 5 minutes to make and is strong enough that it will last and probably cost you shit all.
Sorry I didnt take many photos i forgot when i was doing it and i dont have a bike to fix it on as i sold mine to make way for a new one but im sure the instructions were enough, once i get
my new bike i will take more photos of it on the bike so that people can understand better.
Pictures:
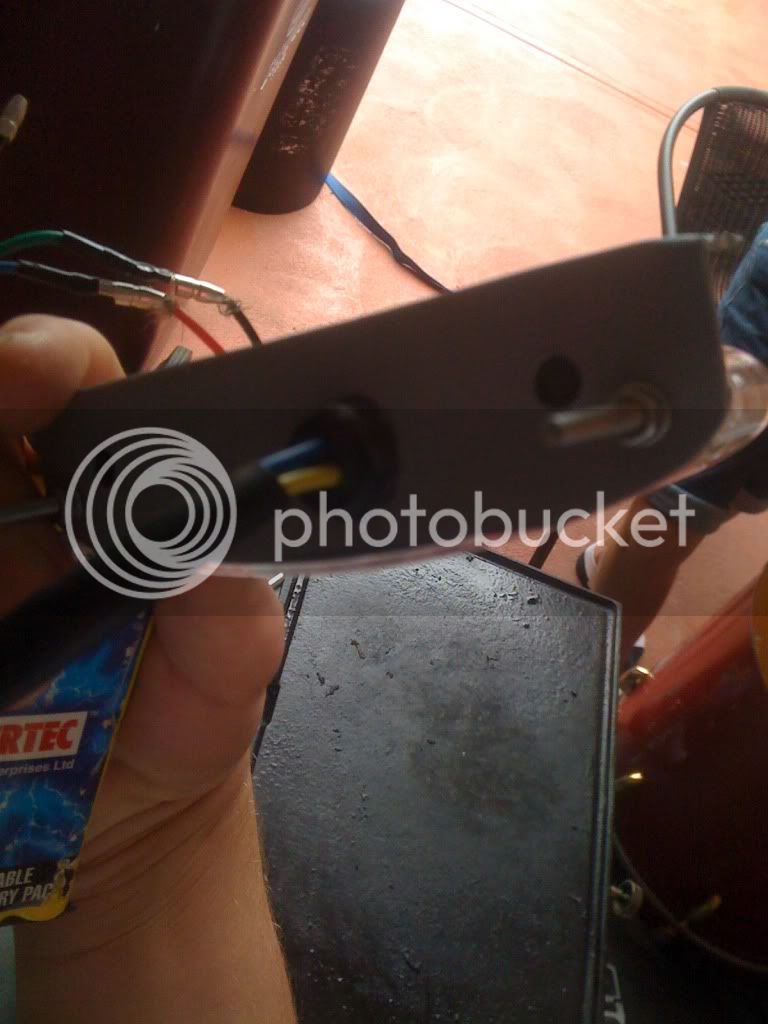
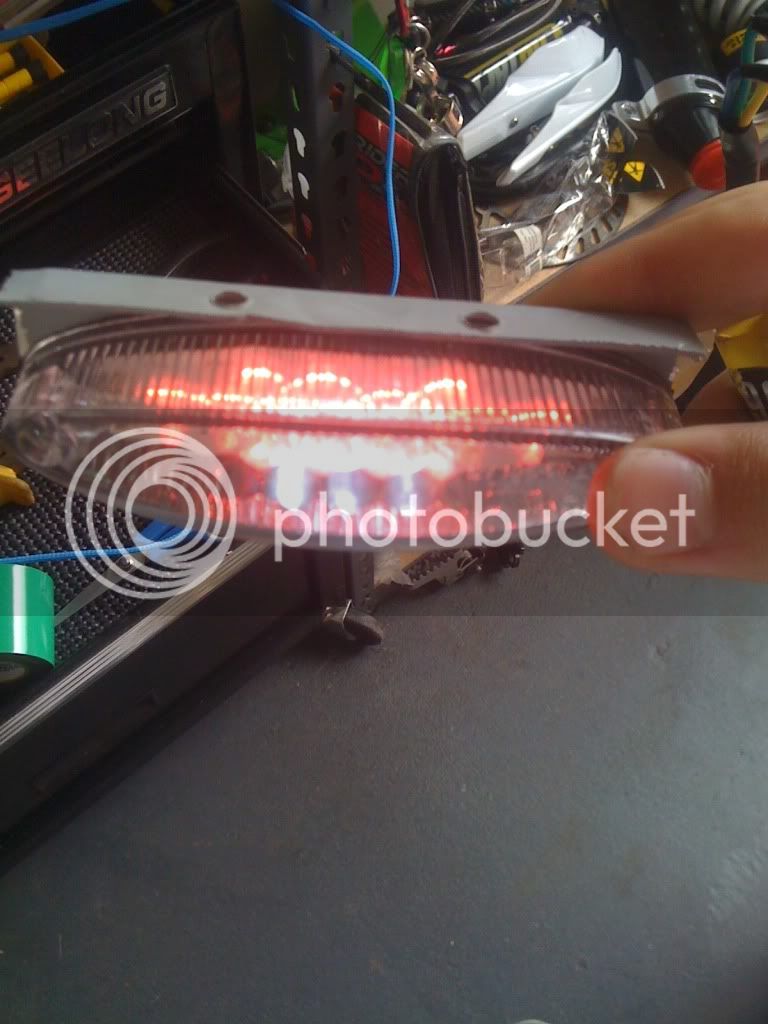
To wire it there are 3 wires, not sure why it needs 3 as when i played with it if you connect the blue and green wires all lights light up and the yellow didnt do squat?
But basically green to positive blue to negetive. They run 12v and are super bright. I tested it with just a 9.7v 750ma battery and it was heaps bright.
Cheers,
Sam93.
will be strong enough and pretty easy to make...
What you will need is:
.Metal or alloy prefferably 1-2mm thick.
.Hacksaw or grinder
.Drill
.Flat file or grinder
.Paint if desired
.Hammer
.Vice or hard edged table.
.Tail light
Steps:
1. Buy your tail light (here is the one i purchased: 15 LED Red Brake Tail Light For Quad, ATV, Motorcycle (eBay item 270636789666 end time 17-Nov-10 15:15:31 AEDST) : Cars, Bikes, Boats
2. Get your peice of Metal or Alloy and place the light at the bottom of the piece then make the material as wide as the light is.
3. Cut the meterial as wide as the light.
4. Place light on against and mark around the light with a pencil.
5. File down or grind around where you marked just to make it a bit cleaner looking.
6. Mark a line above the top of the light by 5mm.
7. Grab a hammer and get banging the easiest way is with a vice (you get a cleaner bend) and make a 90 degree bend on the line or place
it over a really hard surface and hold it down hard and do the same you would with the vice.
8. File edges to get rid of sharp edges.
9. Paint it if you wish with a self etching primer to start with then finish off with whatever colour you want.
10. place light on again mark where the screws have to go to mount it.
11. Drill holes.
12. Drill holes on the top bend that is going to be fixed to your rear mud guard drill holes 3mm and 50mm apart.
13. Place mount undearneath rear mud guard and mark where the holes have to go and drill at 3mm again.
14. fix mount to rear guard by rivet.
15. Mount light.
16. Your done simple mount that took a whole 5 minutes to make and is strong enough that it will last and probably cost you shit all.
Sorry I didnt take many photos i forgot when i was doing it and i dont have a bike to fix it on as i sold mine to make way for a new one but im sure the instructions were enough, once i get
my new bike i will take more photos of it on the bike so that people can understand better.
Pictures:
To wire it there are 3 wires, not sure why it needs 3 as when i played with it if you connect the blue and green wires all lights light up and the yellow didnt do squat?
But basically green to positive blue to negetive. They run 12v and are super bright. I tested it with just a 9.7v 750ma battery and it was heaps bright.
Cheers,
Sam93.
Last edited by a moderator: