The Ollie Rocket project

Mini Dirt Bikes & Pit Bikes Forum

Help Support Mini Dirt Bikes & Pit Bikes Forum:

This site may earn a commission from merchant affiliate links, including eBay, Amazon, and others.
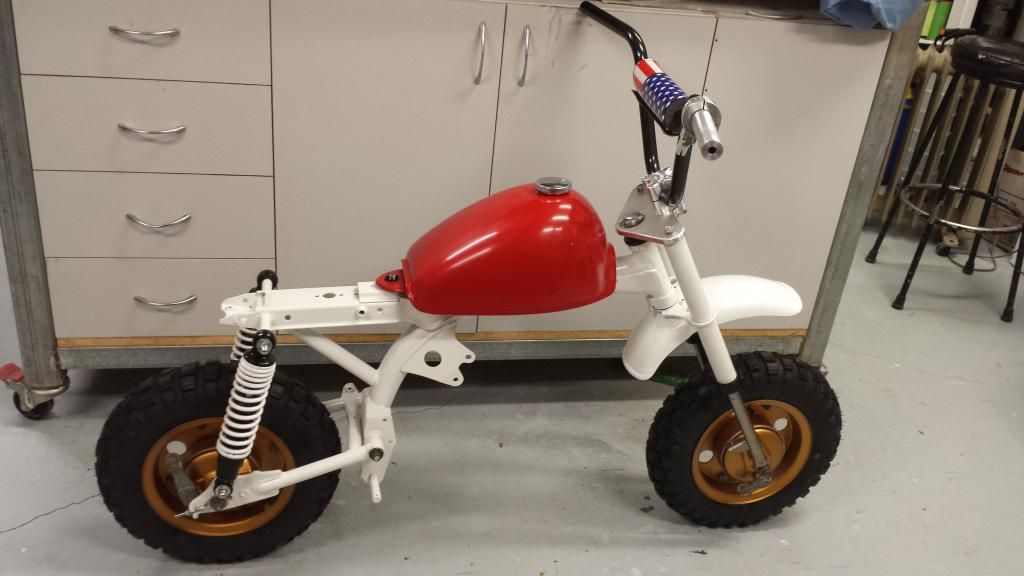
then its decided! Gold jellybeans it is. White frame fork and fenders, blue seat, and freshen everything up.

I'll get everything blasted and bog up what needs it, then I need to sort out how the colour is going on. I figure I could probably muddle my way through blowing some colour on, remind me does 2k need baking?? Or can I powdercoat the frame fork swingarm etc in white (mmm which white...?) and just use metallic on the wheels. Can't recall if the original has metallic in it?!

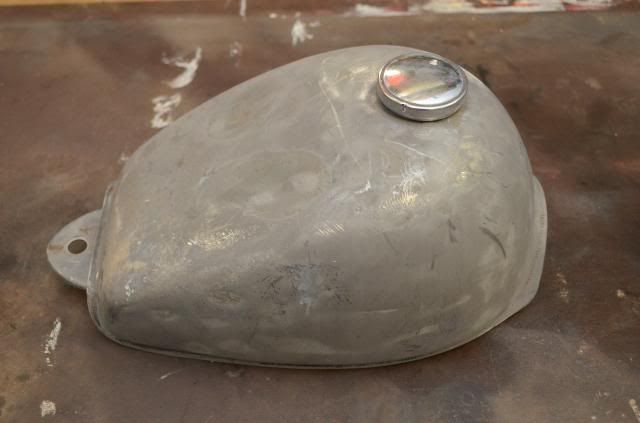
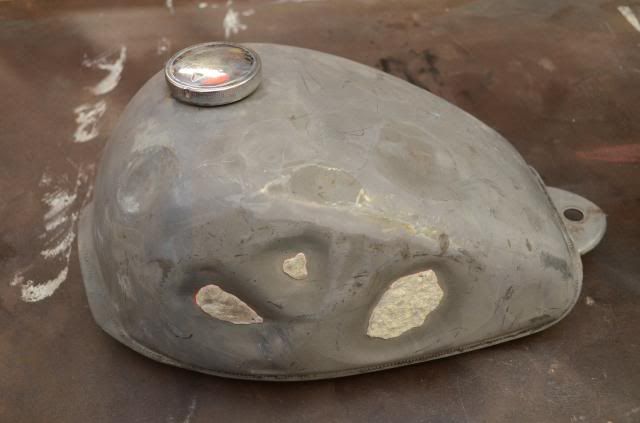
Seems a shame to blast that candy off that tank, but it just doesn't suit...

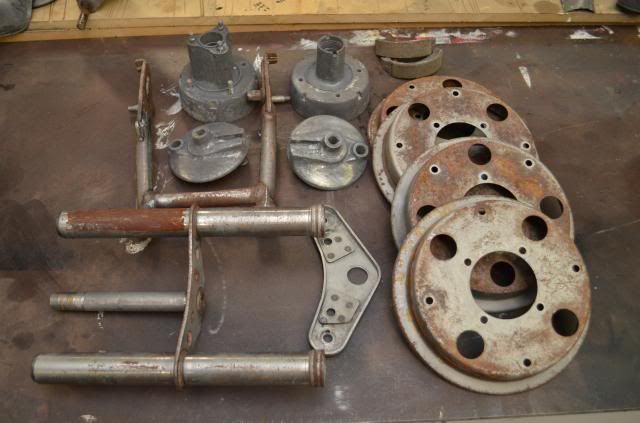
I'm a bit lost with the forks. I can't quite see how they hold together (the red set). What holds the legs in??! There seems to be nothing for the wipers to hang onto, so I assume they fix from the top?

thanks
 
no it doesn't need to be baked, 80% cured over night, then fully cured after a week or so.
 
http://www.classichonda50saustralia...da 50 Model Identification Chart - 1.59MB.pdf

Having a look at that link, is it fair to assume that it might be the genuine motor from an 87 model? The SN best I can see is AB02E - 5808981. Thats the way I read it anyway?

Getting a pile of parts together ready to go to sandblasting to get a starting point... Wheels to come apart tonight, and then I'll be pretty much ready to go.

With the forks, is it worth going the heavier duty springs ( I have to replace them anyway) and possibly getting 1" higher ride height - reason for the question is do I need to get extended lower legs, or can I just rechrome the ones I have?
 
things are slowly progressing. I have a lot of projects on the go, but I'm getting through the parts that I have, getting ready to get them sandblasted.

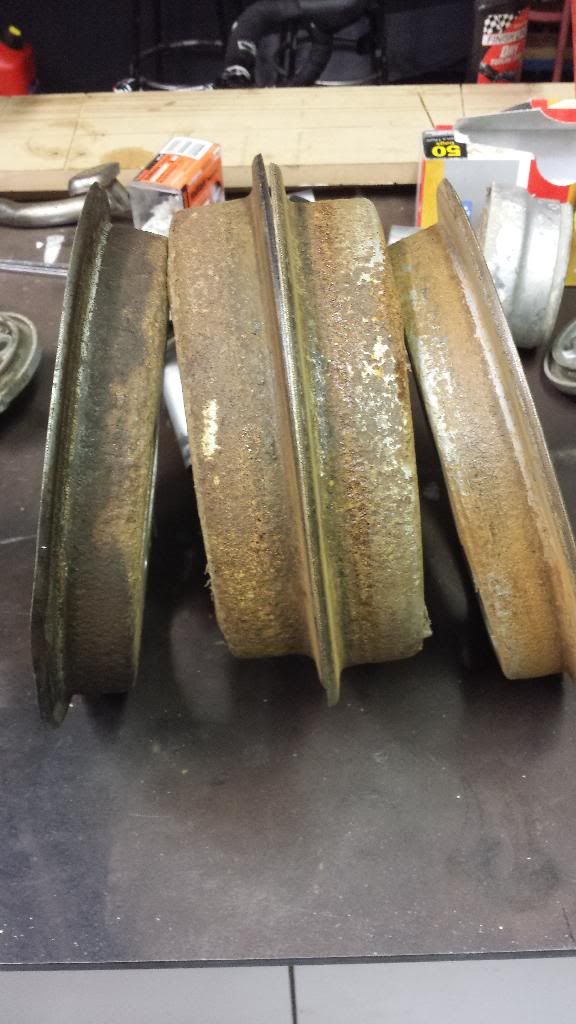
Not very happy with the split rim design...! The jellybean set of rims are pretty rusted,


working through the roundhole rims to see what state they are in. What a bastard it is when the tyres stick to the rims!
 
yeah it happens with most rims, it's caused by water getting through the joins, and past the valve stem and tyre beads and sitting there.
there's not a lot you can do,
but the sandblasting/powdercoating will help stop them rusting as easily again.
you can buy valve seals to slip over your stems to seal them off a bit
even a thin smear of silicon between the rims when you reassemble them will help stop water getting in
these seals are a bit expensive though-
Sunline Seal KIT FOR Stem Support Black Universal | eBay


and dont forget to check your rims are straight before you get them done,
i can see the outer edge of that rim on the left is bent a touch
 
Been a while since I checked in but things are slowly coming along.

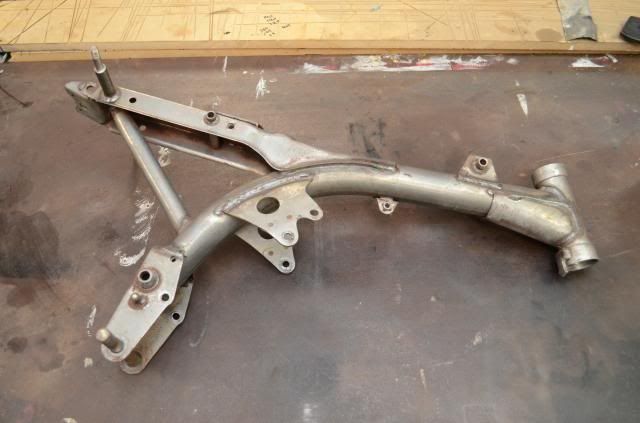
Got the parts cleaned that I have in hand, and got them back. Turns out getting them chem cleaned was a better option, as its a 'softer' way of getting back to bare metal, which was a good option in the end.

So these are the parts that I have, ready for some colour.


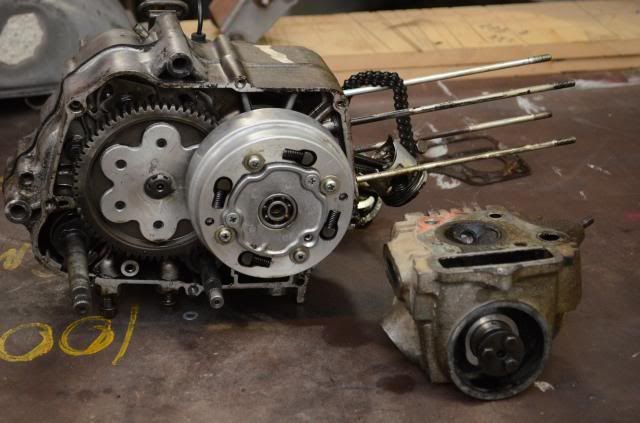
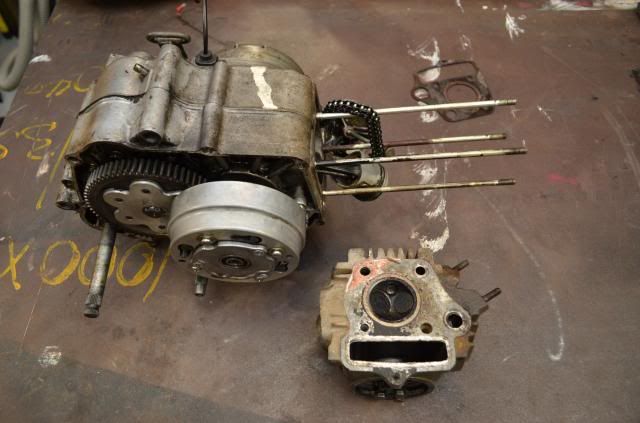
Started to tear the motor down lately as well, its pretty manky... Will keep stripping it down to see what we can see, but anyone know of a good guide for tearing down and rebuilding? I've done a PP 140 motor (lifan copy) but forgotten some details.


The rest of the bits are soaking in the parts washer.

So I guess I need some bits now. I'd like to get some colour on, and some parts to get a rolling chassis going, so headset, swingarm bushings, tyres etc, fork parts like seals and springs so if you have any hot tips, I'd appreciate them!
 
is there a specific colour code your going for?

looks like some progress is being made, cant wait to see this thing bolted up, +reps :)
 
yeah it is good stuff, the old chemical stripping.
i have done plenty of cars after having them dipped at Minus Paint here in SA

all of that red rust will come of pretty easy with some green scotchbrite pads and some oxillic acid, (rust convertor)
buy some decent rubber gloves to use while doing it.

scrub it back and forth across the rust, then when it's clean metal, wipe it of with a dry cloth, don't let the oxillic dry naturally on the metal.


once it is all clean, get some etch primer onto it before it starts rusting again.


here is a tutorial pulling down a YX140 that may help you
YX140 Engine Split
 
Yeah heading for the same colour scheme as a the 87 z50r, so the last one of the old style.

1987Z50R.jpg


Thanks for the tip re getting the surface rust cleaned up, will do.

Currently trying to decide re 2pak or rattle can paint job. Its a do it once bike, so I really want to make the best choice. Happy to paint it, rather than powerdercoat, but just trying to make the right choices early on. Will etch primer have any bearing on future choices of paint solutions, it would **** me to have to take it back off for some reason?

First priority is to get the thing into paint, as the decisions are made re colour, then to get a rolling chassis done so I can keep all the parts in one place as I have a few projects on the go.... Then I can look at the motor.
 
nah etch will just stop the rust from starting up, it can be used as a base for any type of paint.
get some Protec Etchpro or Wattyl Super Etch in a rattle can from am Automotive Paint shop, cost's about $13 tin.
 
Without a motor, its getting plenty of pushing around the back yard with the little fellah on it, but its smiles for miles no matter what.


Currently saving for the motor side of things. Will need to pick the collective brains about getting the thing freshened up, but more to come...
 
thats one sweet zed! The wheels are killer!!!
check out classichonda50s for some shiz!
ohhh if you really want to go all out! japan.webike.com is an awesome site! they have a complete category for zeds!
 
cheers mate, getting there slowly

Its not so much that I'm struggling for places to find things, it more about learning what I actually need to do... The end game for this bike is to make is as bulletproof as possible. I want to be able throw fresh fuel in it and kick it in the guts at any point in time. No BS, no tinkering, just solid, quiet and reliable. It will be for big kids and little kids alike, so built of the highest quality I can afford (as this ****e is expensive!!!)

The motor is pretty messy. Other than looking crap, I want it to be totally freshened up, but I really don't understand whats involved, or how to determine the state of the engine from looking at the removed parts. The bore is reasonably consistant, no big tears, not totally glazed either. So I'd assume it needs a bit of hatching and be good to go. But I don't want to do it on a drill, so if it has to go to 'the man', what else would benefit from a skim whilst I'm there?

What are the main things to do when 'freshening up' a z50 motor that is condition unknown, with preference for reliability rather than out and out performance. (although making it frisky does have attraction!)??
 
ok... so you want it to be original as it came out of the local honda dealer... "bulletproof"
so you wanna replace all the bearings and seals, inspect the crank, the casings and the rod, depending on the clutch maybe some new dampeners and plates or upgrade to a better clutch assembly, takegawa for example!
carby rebuild depending on if you dont want to upgrade to a oko... pull the valves out of the head new seals, maybe a new set of valves, check the cam bearings/replace and it should be good to get an hour meter put on her then you can keep a log book....
Cheers loco
 
you might want to find a machinist first.
then take your cylinder down to them and have them measure it up, then you know what size piston kit to buy.
it might be standard bore still, and have a bit of wear, so youcan have it machined to it's first oversize, and use a .25 piston
you'll need an oversize rings set to match, .25 rings

your head might need some work, maybe buy some new guides and have them fitted, along with a new pair of valve seats, a set of new valves, stem seals, retainers and collets.
then a new set of rockers,adjusters/nuts and pins to go with it

you could replace the crankshaft, bearings and conrod with a new bottom end
then replace the gearbox gears,and bearings, the shift drum/forks, and replace the clutch with a brand new one
then have the whole lot assembled and you basically have a brand new engine ready to go for the next few years
 
now we're getting somewhere.

so, first port of call. Engine guy in inner SE Melbourne. Anyone got suggestions?

(this just started to sound more expensive than ever!)

my67xr - did you just suggest a whole new engine in the old cases, coz thats what it sounds like to me ;)

Don't currently have a carby for it. Whats the preferred option for these motors?

Tak for clutch parts
Oko? for carby? What size?
 
well that would be building it to last, but it wont be cheap.

you should be able to find a bike mechanic that would pull down your engine and rebuild it, only supplying the parts you actually need (eg the parts that are worn)
but yeah, you are best off being recommended to a mechanic by someone from here
 
So I went to see Andy at Big50 off Jaime's recccomendation, and seems to be a good guy.

Had a ride of an reasonably mild 88 to see which way to go, and we've decided to simply restore this motor. So its been stripped down and gone over, and in the list of items that needed replacing, nothing stood out or was of frightening cost, so basically its your average old motor. Trying to identify it was a lot harder tho, as the pile of parts that I originally bought is a mish mash of a lot of things, but best guess is that the motor is out of an early 80's J bike. Ah well, freshen up inside, bead blast the cases and she'll be looking (and going) like new!

edit: parts required: Inlet and ex valves,gaskets, piston kit, gear shift shaft, couple of other bits. Nothing terribly fatal.

Once I have that back in hand, it will be back here to work out what other bits I need to get it all going, as it now has a completion date of the last weekend in November.
 
Last edited:

Latest posts

Back
Top