Customising my Orion 125

Mini Dirt Bikes & Pit Bikes Forum

Help Support Mini Dirt Bikes & Pit Bikes Forum:

This site may earn a commission from merchant affiliate links, including eBay, Amazon, and others.
yeah i'll start another thread for it soon, i think i have room in my signature for it? lol

to me, the Fuses' frame is a bit of a cross between motorcross and superbike styling.
it feels solid as, and being slightly longer wheelbase, at full throttle in top gear it is very stable.
i have tried 2 front sprockets on it so far, a 14t and now has a 17t,
the bigger sprocket is no good for the little bike track up at the farm though
but it is good for doing the 7km long boundry fence rides

the Fuse is basically stock still, just the motor changed over.
oh yeah, i've modified it already,
i have made a new coil mount and welded it on, i've relocated it up under the tank, just to tidy up the looks

cheers
 
I reckon they have a lot of potentiol for a really good build with lots of money spent on bling and performance etc. You know, powder coated frame and stuff would look sick, not that that is what I am expecting though.
 
a couple of months ago i built up a good 125 Lifan motor using parts from 2 or 3 dead ones.
i have fitted it into the Orion over the last week, and have slowly been replacing bits that i stole off the bike for the Atomik Fuse.
next thing i added some foam to the set, to soften it a little, and also recovered it with some marine vinyl, cut from a brand new boat cabin canopy i picked up cheap at a garage sale.
i welded on another bracket for the remote fuel tap, for easier access,
and relocated the rear brake master a bit further inwards, and slightly rearwards too, for more legroom.
and put together a Mikuni VM22 genuine china copy, made from the best parts of 3 used Mikunis.
i have wired it all up again, kicked it over and it started,and idled second kick.
there are still a few things i need to do to make it rideable i need a new chain, new throttle cable, and a couple of other bits iirc?

here are some pics,

20000101_104132.jpg


20000101_104052.jpg


20000101_104100.jpg


20000101_104117.jpg
 
Bloody work of art Craig, love the frame, she's as strong as an ox now. Lovin the flame job also mate.
Mmmmmm metal plug cap, those little buggers can be trouble at times.
 
cheers,
i have a NGK resistor cap sitting here, waiting to go on.
 
Last edited:
Is the bike going to have a thumb throttle Craig or its just for testing, the way you did the frame makes the bike look alot more ergonomic for riding, before the frame the back end would of sat up causing you to slide forward.
 
the thumb throttle is only there so i could see if it was going to run.
i have the original throttle and cable here somewhere, could be buried in parts.
i have been trying to clean my shed out for months now, but something always comes up!
i never rode the bike like it was when i got it, so im not sure about sliding forward?
the seat base was broken in a few places and was tied to the frame when i picked it up.
in my first picture the tank,plastics and seat are just sitting on top of the frame,
but the bike definately felt short compared to now.

the best part about the bike was the long front shocks,
and i liked the clearance of the motor to the twin spar frame.(probably why i like the Atomik Fuse too)

i built the rear end of the bike to suit the tank and plastics when they were all bolted together.
my first go at moving it all backwards/up was almost right, thats why i had to cut it all off and try again.
a bit more thought and engineering went into it the second time.
it is a well balanced bike now,
it suits me well, 5'6" 65kg, even my mate likes the feel, and he's 5'10" and 85kg.

edit; the NGK spark plug cap is now on too!
 
timeeh,
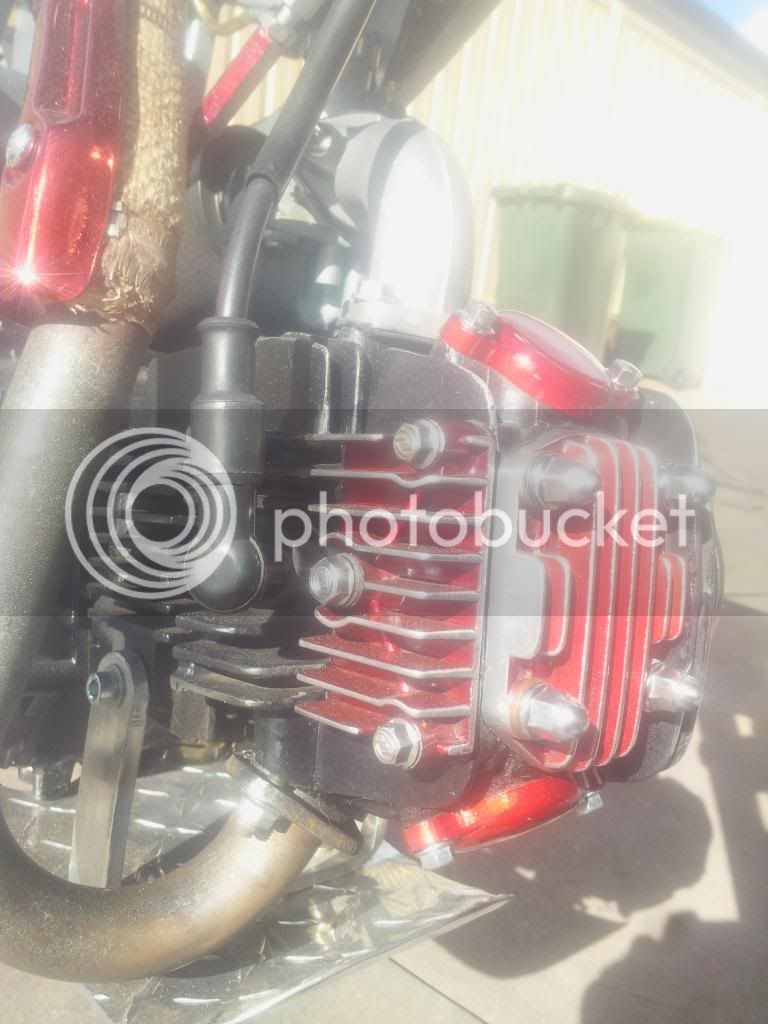
yeah i went for the 3 layer Candy Apple finish,
Supercheap has it on special this week, 2x tins for $20.
i bought 1x Red and 1x Gold,
i already had some metallic Silver engine enamel to use as a base coat.
(the Dupli-color Silver base coat gives more sparkle in the sun, being a coarser metallic)
and i also had the Clear engine enamel for the top coat.

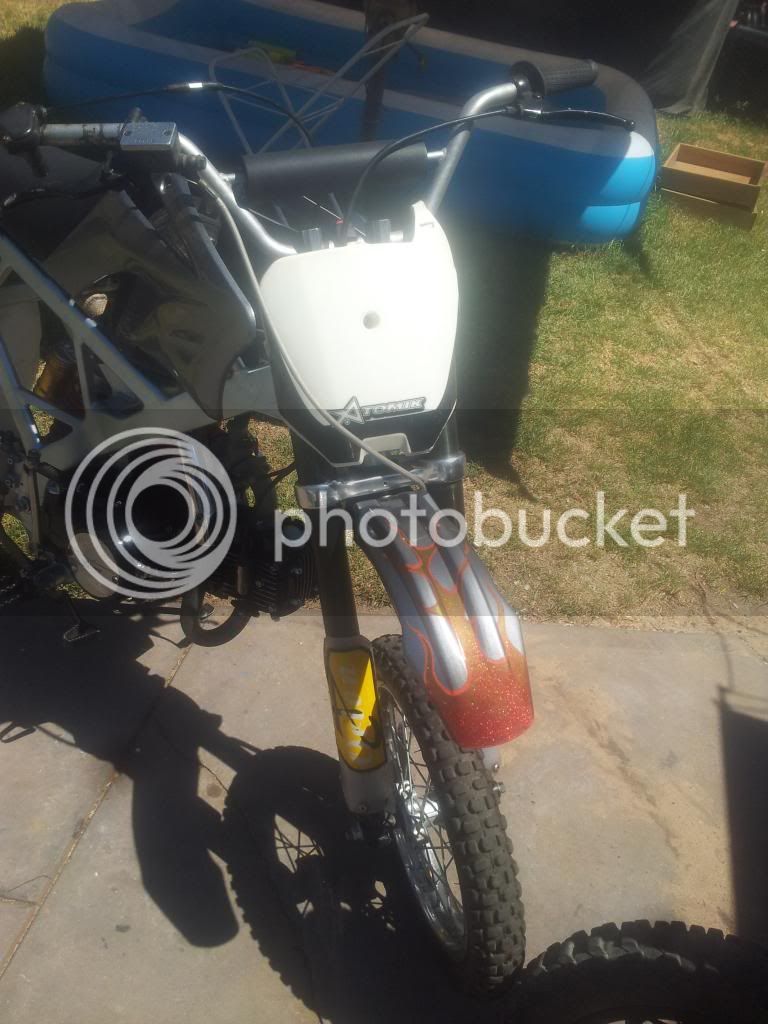
the red is a little too dark imo, and the gold is a bit green too?
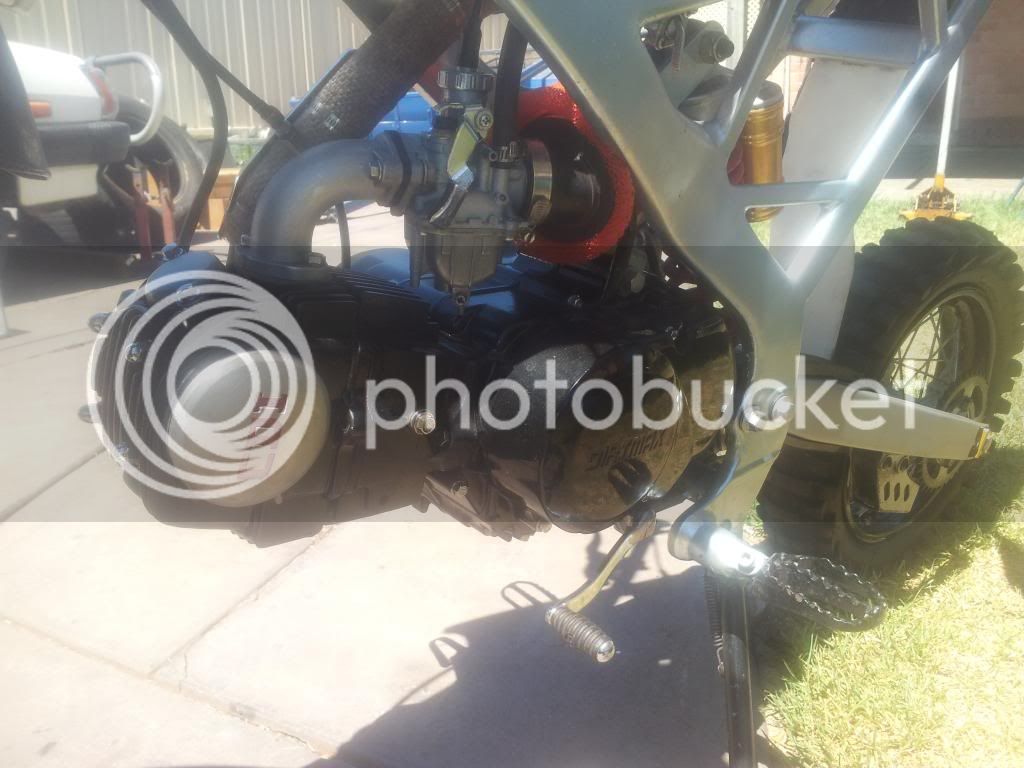
but the bike needed something to tidy/bling it up.


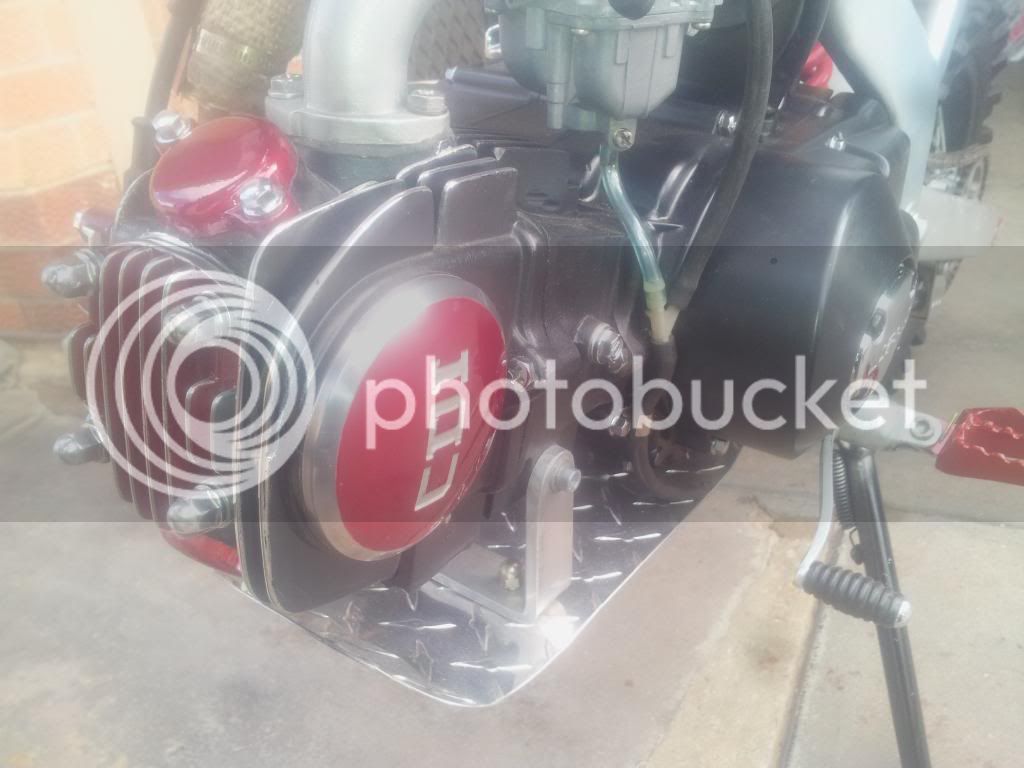
i gave the parts a quick rub back, deburr etc,
i polished the cam cover before masking it with some fine-line masking tape.
once painted in Base and Red, i masked around the CDI letters and painted that silver,
and waited for it to dry, then gave it a light sand to cut the silver off the high parts around the letters, then finally gave it a quick polish and clear coat.

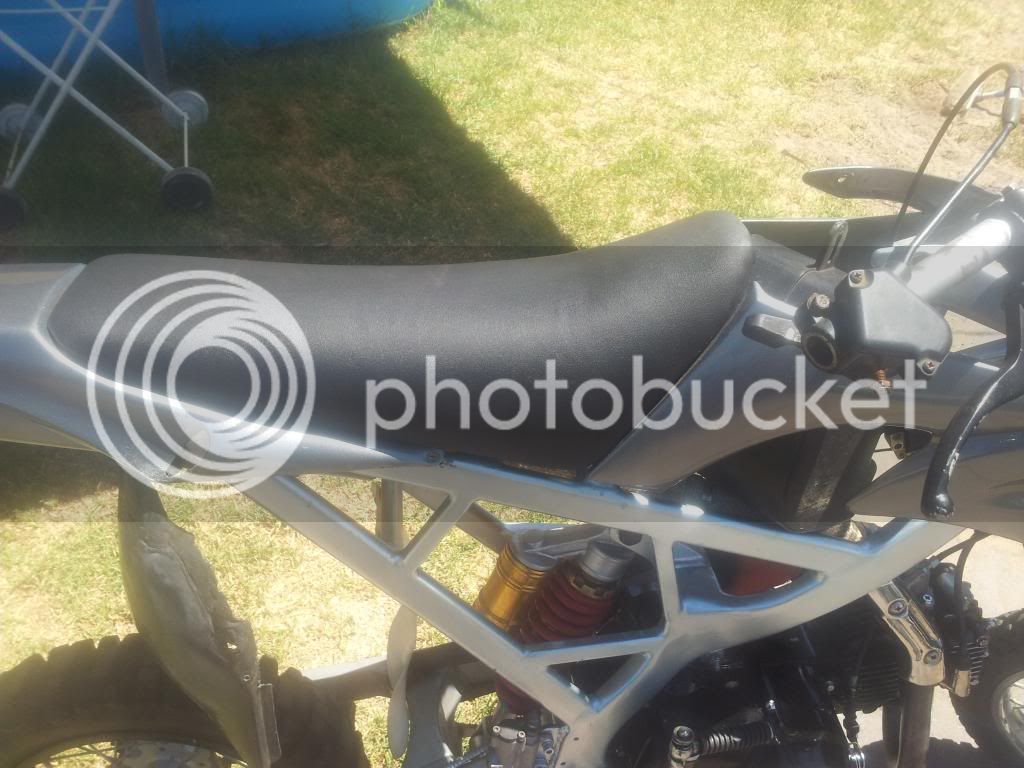
i'm advertising/selling the Orion this week sometime ?
it's been a good bike, no breakages, no hassles with anything really.
would be perfect for someone starting out, or as a bike to leave up at the shack/farm etc, very reliable.
not sure how much to ask?


this is the paint i used


and thanks Hillz ,
I didn't have the spare cash laying around to go out and buy a CRF or TTR. :cheeky-smiley-005:
maybe at some stage i will !!


cheers boys !
 
Cool stuff, deffinately looks the goods. The base that you used, is it self priming? Also what grit paper did you use to "deburr"
 
i gave any sharp edges a file back, then used some 320 W&D, but used it dry.
and yeah most engine enamels will stick to anything, it says to prime bare metal, but 99% of the time you'll get away with it.

cheers hillz,
yeah, i saw a few of those broken bike pics when i was looking through here, before i even it bought it.
 
Last edited:
Also you could incluse a link to this thread in your advertisment when you sell it so people know how much work has gone into it. That is what I am going to do with my kdx250 when I sell it, also going to sell my ds80 soon, I know I know, what am I thinking right? Well the plan is to sell that as well as my old quad I am currently fixing and buying a yz85 or something similar. 6" tall on the little 80 just doesn't work the best:)
 
thanks Russell,
yeah it goes on in 3x stages- coarse metallic silver base coat, then 2x wet coats of colour, then a clear coat or 2 .
the candy colours are translucent, so are see through, the more coats you give it, the darker the colour gets.

and if used to paint cars, then it's a whole different ball game, you cant overlap the paint onto the next panel.
as either side of the door gaps and mudguard gaps etc will be darker than the middle sections of the panels.
candy colours cant really be touched up either, you need to respray the whole panel again,
unless it it a tiny chip and can be brush touched.

a YZ85 hey? i reckon a YZ125 may suit you better ?
my mates 13 yo son has a 2005 YZ85.
 
the 85 is more of a family bike for mates to learn on and my sister to ride, and besides, I have been looking at some 250's. There is a rmz250 (1998) for sale at a wreckers for only $800 he says its for parts but it all looks to be in good shape and on all his other bikes for sale he will say if it has seized or not. I will have to look into it casue if it is only like $500 or so to fix then it is a really nice deal.

Any way, back to the paint the two colour coarts, are they put on at the same time or do you wait till the first coloured coat dry's, wasn,t there a thread on this somewhere, I'lll try a search now instead of hijacking your thread.:)
 

Latest posts

Back
Top