Pitboss re-build

Mini Dirt Bikes & Pit Bikes Forum

Help Support Mini Dirt Bikes & Pit Bikes Forum:

This site may earn a commission from merchant affiliate links, including eBay, Amazon, and others.
Bottom electric start mounted 107cc gaskets lol .. see em every now and then on ebay . email a few china shops they would have them.
 
32mm is the norm. you cant go too big as you need backpressure and velocity, I think its a bit of a balancing act between to get the best overall flow
 
yeah im not so sure a 32mm (30mm ID) pipe is good on a 110.
30mm (28mm ID) would be max i recon, but its also something you have to try.

but then again maybe you wouldnt even notice the difference
 
well i think plusing 2mm ID would be the way to go but iv never had experance with exhausts (witch is why im asking) coz we dont really want to muck around me being 13 and my mate being 16, were not really throwing money around... but we do have alot of tools and time
 
update three...ish

soo a little more happened and jono has some cash :D
we'll probs be getting the folllowing:
gasket set $30ish (still need to find)
Master Cylinder $45 ish
Fork re-build $10 (oil only)
Back shocker $130
Plastics and sticker kit $90
Uni filter $30
Exhaust
ASV replica levers
Paint the frame
make a cradle mount (any ideas)

every one likes photos dont they?

Painted head covers
IMG_3889.jpg


IMG_3888.jpg

started cleaning up the exhaust a bit
from this:
IMG_3893.jpg

to this:
IMG_3894.jpg

and some more engine cases, polishing
IMG_3890.jpg
 
Mate, you can't polish with that drill bit.. It sucks... I know, I have tried. lol. Go to Auto Barn and get a polishing drill bit... The same as they use for car rims.
 
im not sure if there copys actully, my mate wrote it all up and hes acully going to east50's coz its like 600mtrs from his house.... but yer, you can get them on ebay though... not sure how much though

EDIT: yea we need more bits for it thanks for the tipit coming up pre nicly were just stripin the frame in the next 2-3 weeks for painting then taking the head apart and then the other cases... :| this was his idea.. i think it will be a bit complecated seeing as theres about 3 mtrs to work with in his shed... ( mines 12/-7 though :D 
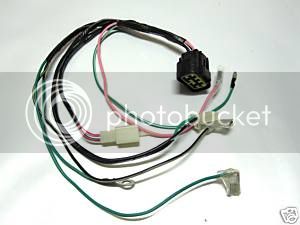
this is where were painting) and we also orderd a chain guide as the one on ther did jack all, we alsooo took the wiring off today and its the biggest mess i've even seen!we'll deffs need another wirering set up... it appers to have two CDI's... haha
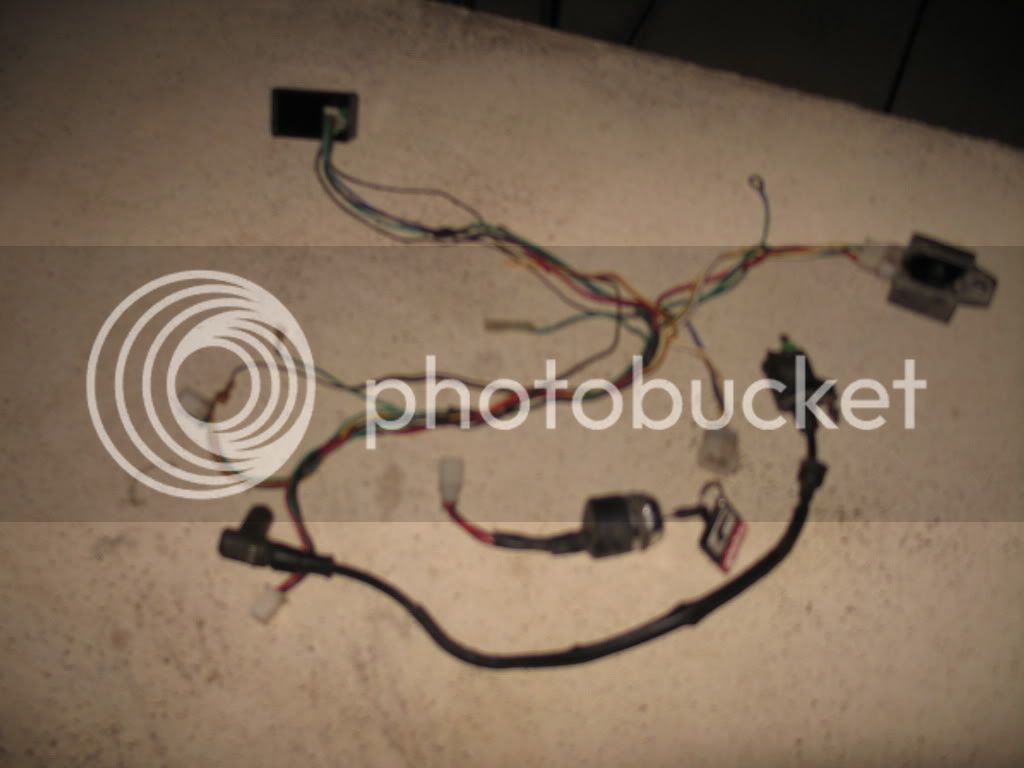
 
Last edited:
two cdis, you'll find that one is a rectifier regulator, this is from when it had the battery setup (can tell that it had a battery setup, by your stator pics and where the starter motor used to be etc). so what i would do is completey remove the rectifier and that will simplify your wire setup. You will then be able to make a nice neat wiring loom setup, with nice neat plugs etc (reason for nice neat plugs etc is so that if you need to work on your bike in the future, you can simply unplug certain components of the loom e.g remove cdi, kill, coil, stator seperately to one another, instead of having everything soldered and done up into one unit) but make sure you have some nice waterproof plugs or make them waterproof
 
no worries mate, id say when they took the electric setup off, theyve just cut everything off that was electric related (hence the messy wiring). You'd be better off making a new wiring loom and get it all nice and neat. but make sure you cut the plug and loom for your cdi from the old loom, and attatch it to your new loom. (may sound obvious, but had a mate who wanted me to make a new loom setup for him but he threw the whole old loom into bin , including plug for cdi, so was pain in the ass for me finding a plug that would fit)
 
Update :)

Wierd wire loom (need new one)
IMG_3902.jpg


Brembo sweetness (bought off ebay)
BqZfVQB2kKGrHqUH-CUEu7ccTqBPBLvjrvSw_351.jpg


Frame plans
FramePlans.jpg


Gear shifter
IMG_3911.jpg


Chain guide (off ebay)
IMG_3912.jpg


kick start
IMG_3913.jpg
 

Latest posts

Back
Top