Cordogs $100 China

Mini Dirt Bikes & Pit Bikes Forum

Help Support Mini Dirt Bikes & Pit Bikes Forum:

This site may earn a commission from merchant affiliate links, including eBay, Amazon, and others.

Cordogs

Well-Known Member
Joined
Jun 24, 2012
Messages
4,538
Reaction score
38
Location
Sunshine Coast Queensland
Thought it was about time I documented one of my cheap China builds and put it on MR.
I've done a few of these in the past and got almost to the point of completion and thought, damn should of taken some photo's?
So here it is! :)
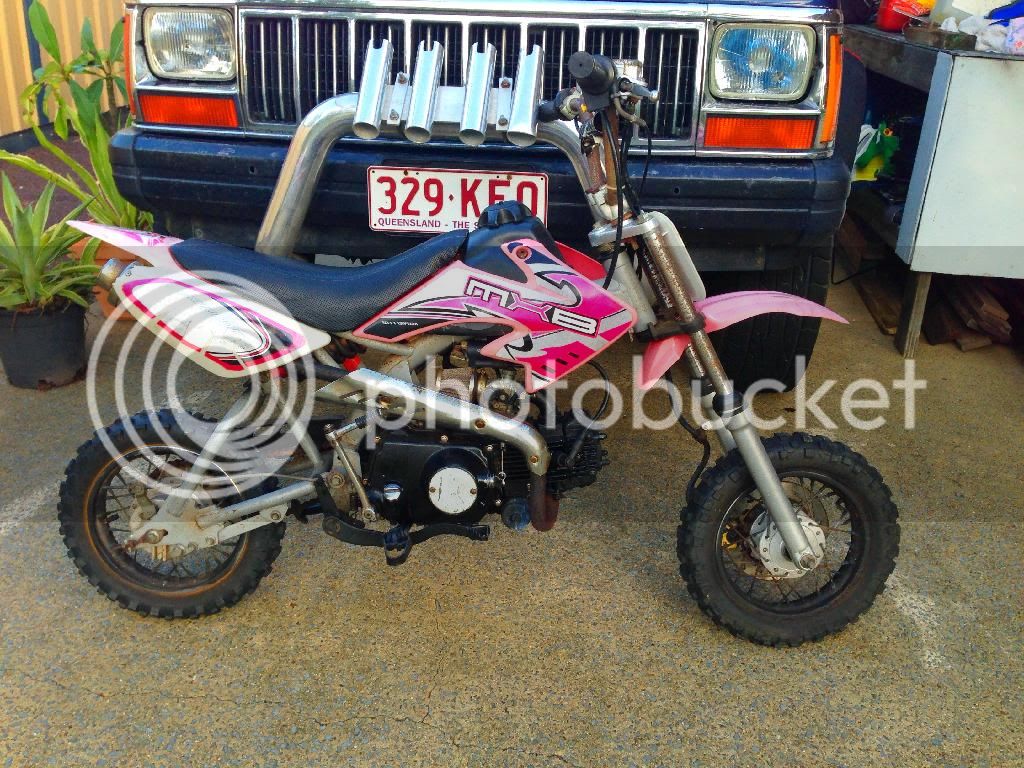


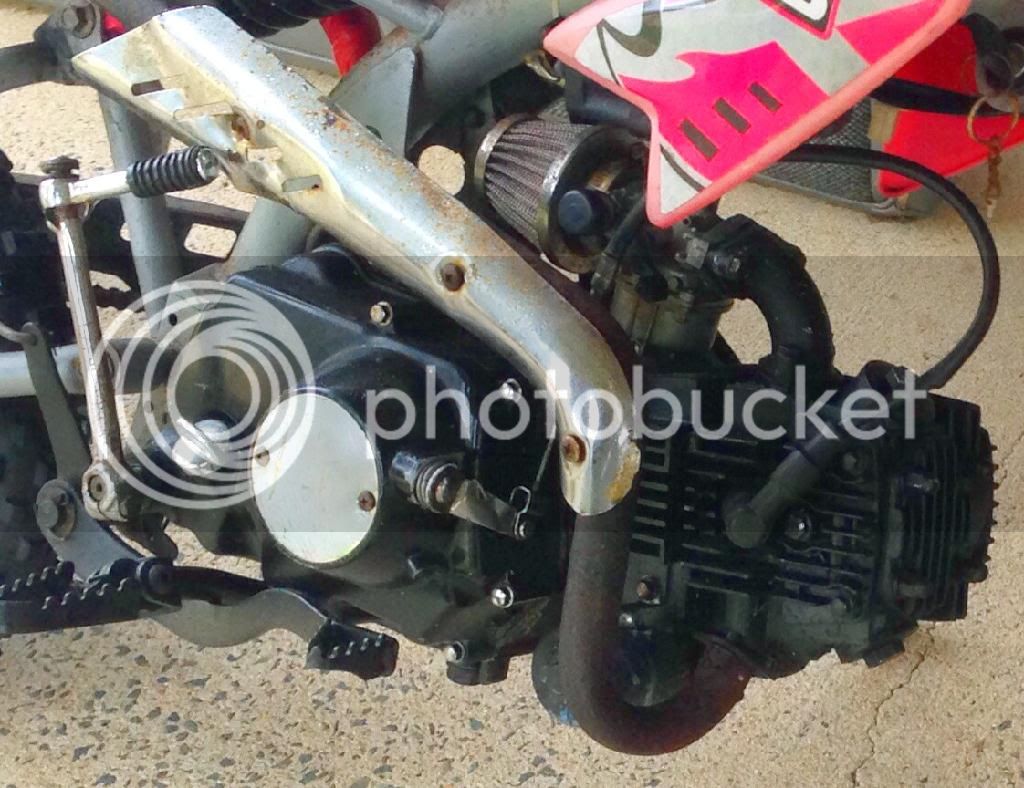
This poor neglected eBay special was rescued by a local bloke, who with some nail polish and a can of black spray paint turned it into the weapon pictured above ^^^
What's the nail polish used for you ask yourself?
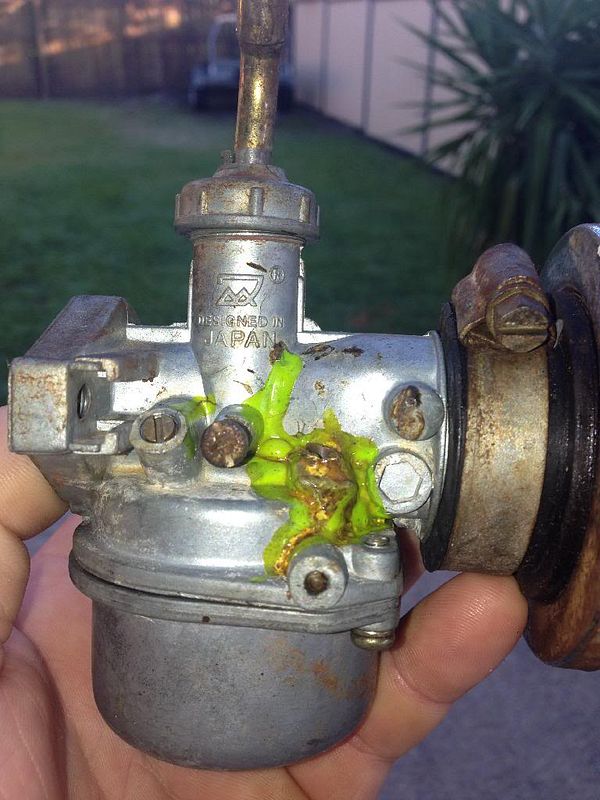


Apparently it's and old trick small engine mechanics use to fix fuel leaks! who'd of known! :) However I decided to splash out and buy a brand new 19mm Mikuni and air filter for $50. Nothing's too good for my little pink China...


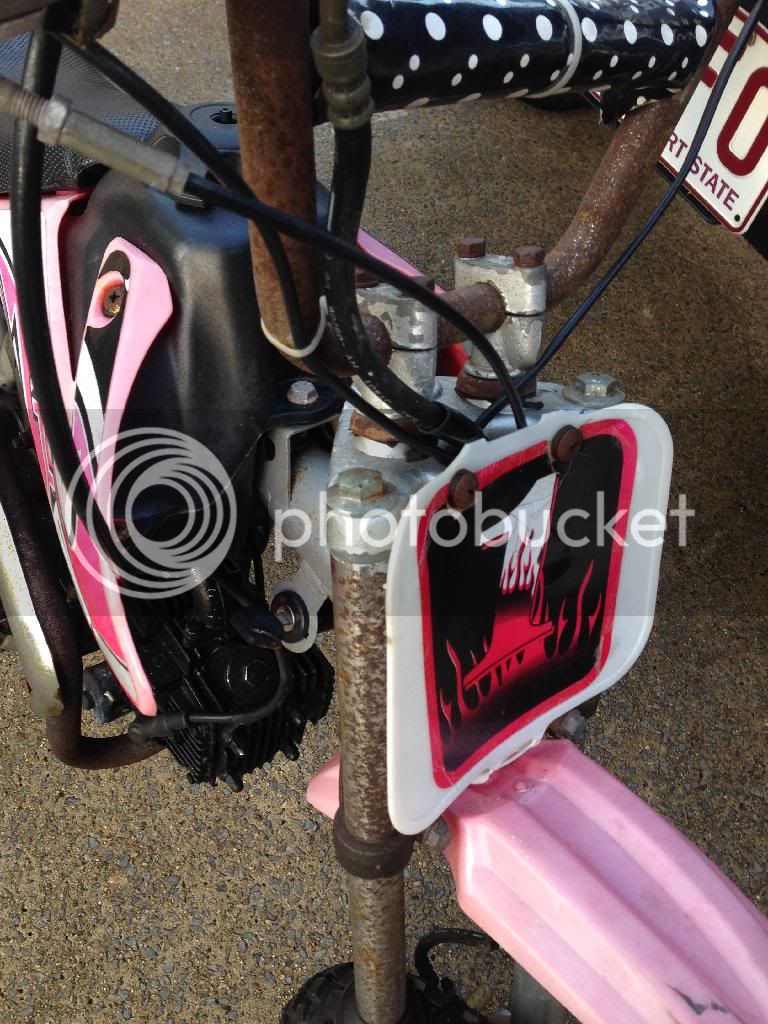
So first things first, I needed to work out what was salvageable and what wasn't. Turns out, not a lot! apart from the frame, foot pegs, chain guard and the seat. Everything else was rusted or perished. The front forks were like joined pogo sticks and the rear shock wouldn't even compress!! I could see the dollar signs starting to stack up pretty quickly, but "alas" I regress.


I always use the estimated sale price of the bike to be my budget. So for this little build I've set my budget for $400 including the initial bike sale cost. I new a rebuild for $300 was going to be a tall order, but I was confident so of I went to see the boys at Small wheels. They hooked me up with a brand new full exhaust, a brand new complete rear drum setup and new ignition lead for $65


Total build cost so far: $115


Already 1/3 of the way through my budget and none of the big ticket items brought I was in need of some freebies! So I rang around got a good mate of mine to sand blast the frame and swing arm and a few other bits n pieces and good old Brendo from here has kindly offered his Motovert forks and a set of pro tapers too! Winning :p

So at this stage of the build the bikes been pulled down, parts have been ordered and frame and bits have been sent away. Now its time for the clean up! :)


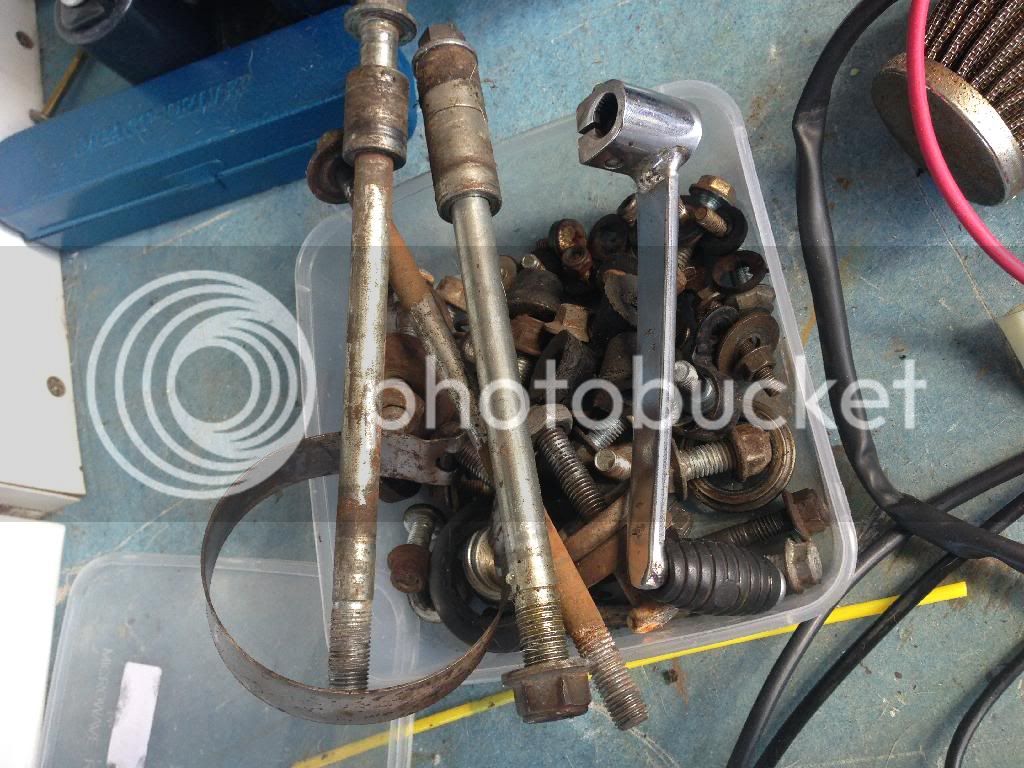
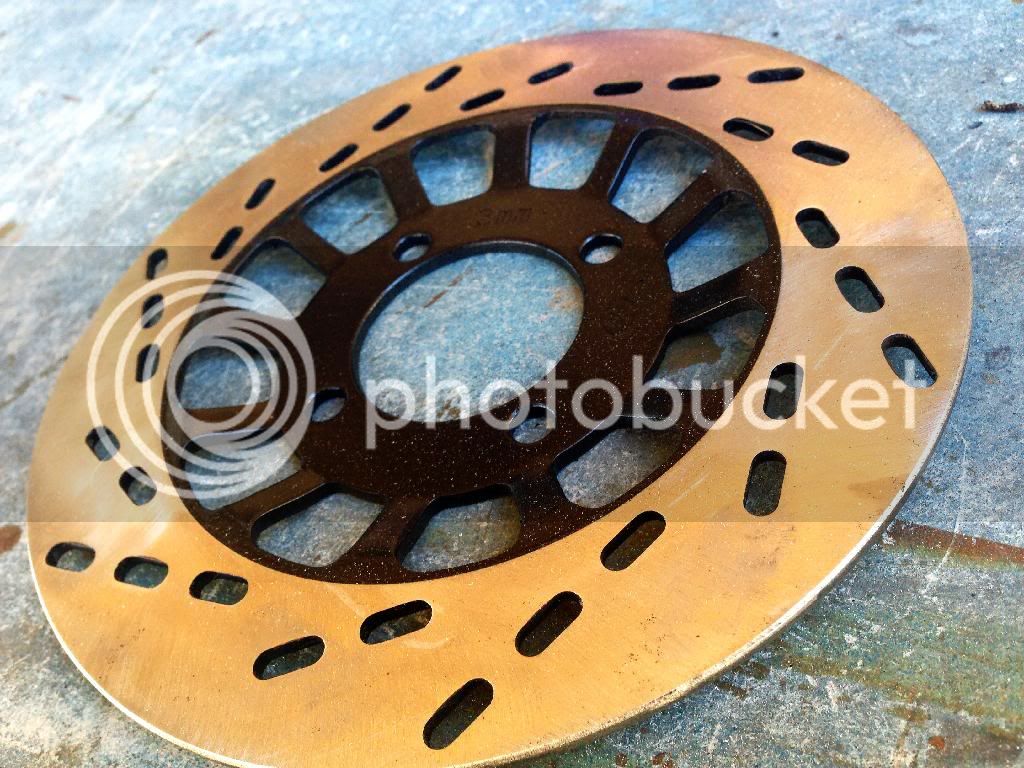
There's oil and black paint everything. So all bolts nuts and washers have been set a side for an acid bath, wire loom has been pulled apart with new connections added and cleaned, the chrome dome nuts on the engine head have had all the black paint rust removed and repolished, engine head has had an acid bath n scrub and has been repainted. The brake disc was in good order but in need of some paint also.



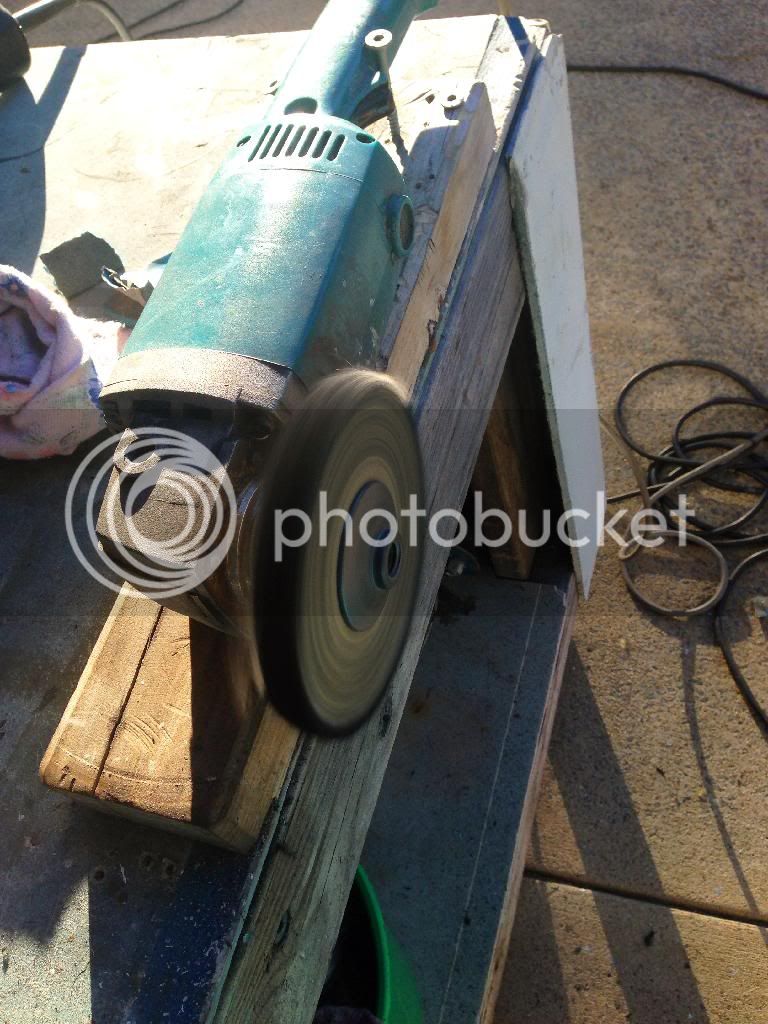
Also I decided to get out the polisher n clean up a few bits, here's a pic of my hi tech setup!


First up, that rude looking manifold!
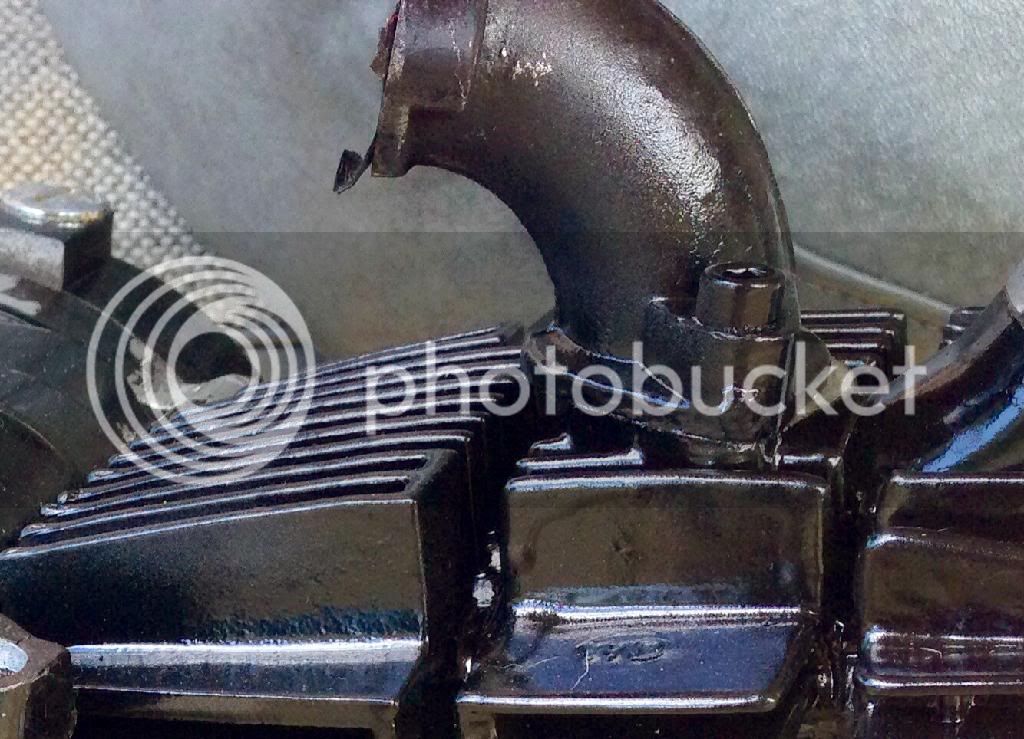


So I sanded it up taking all the casting marks off.
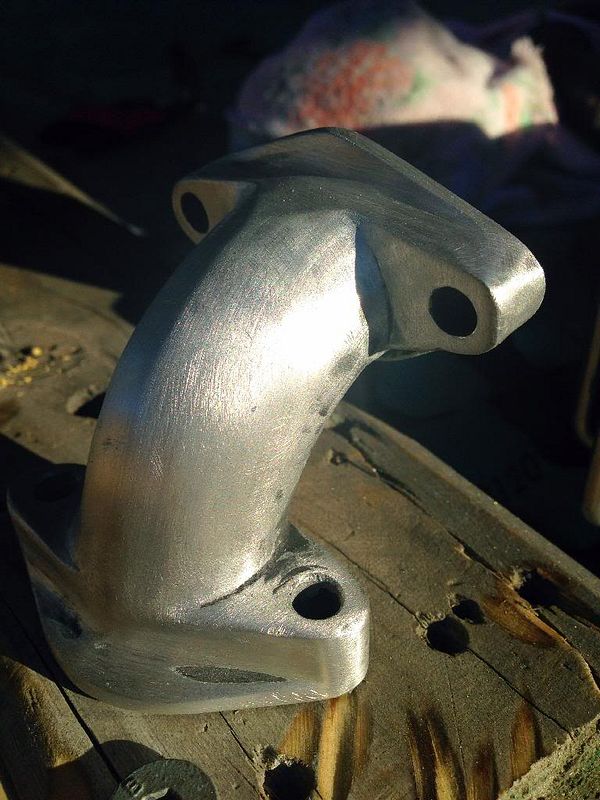


Cut all the sanding out with the cutting sisle.
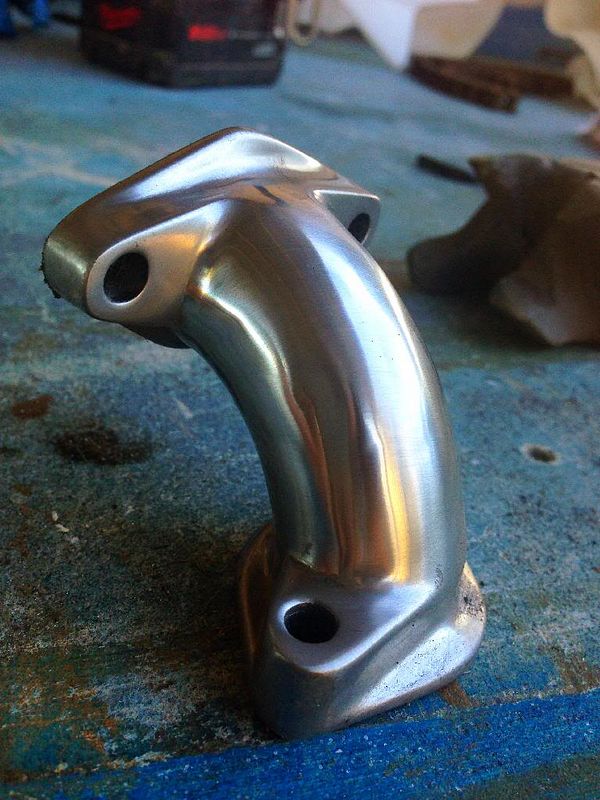


And finally polished out the cutting marks, instant bling! :)
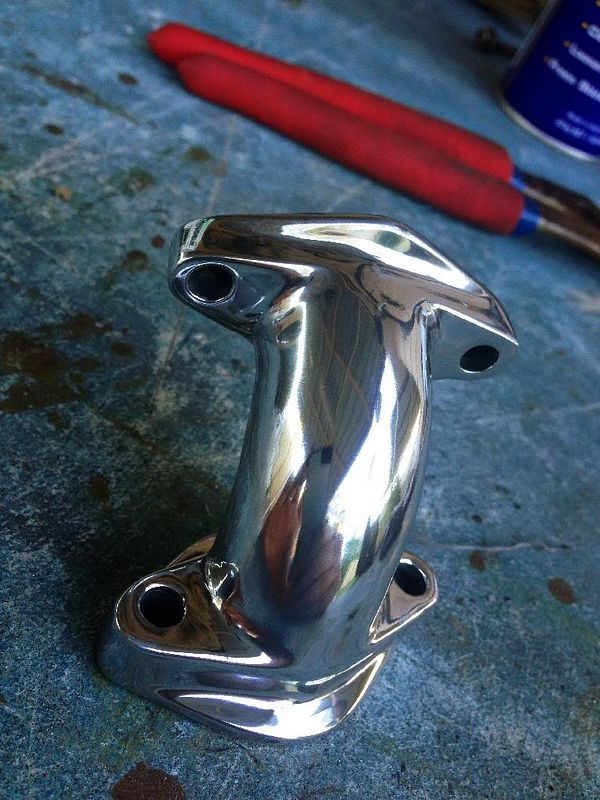


Anyway that's as far as I've got so far! More photo's and info to come. :)
 
Last edited:
+ reps corey!

Good work saving another china from the scrap heap.
I dunno bout you, but i appreciate all the work that goes into a rebuild/resto more than just buying a new bike and blinging it up.
also helps you learn the related quirks that go with your bike too.

It also inspires others to do the same

subscribed to this build

Craig
 
wow that's some good polishing bud!!!
 
EYE POPPING BLING!!!!!!! looking **** hot mate! cant wait to see more on this build!

wow that's some good polishing bud!!!

thats great work mate, the inlet looks awesome cant wait to see the rest of the bike :)


Cheers boys, might not use it yet! :)
Apparently I can get a bit more power out of a slightly smaller intake? Searching for a new one at the moment.


+ reps corey!

Good work saving another china from the scrap heap.
I dunno bout you, but i appreciate all the work that goes into a rebuild/resto more than just buying a new bike and blinging it up.
also helps you learn the related quirks that go with your bike too.

It also inspires others to do the same

subscribed to this build

Craig


Yeah there's definitely a different satisfaction in a resto, and these bikes are super cheap to do as well. The only issue is they're a dime a dozen, so you need to be careful not to spend to much. ;)


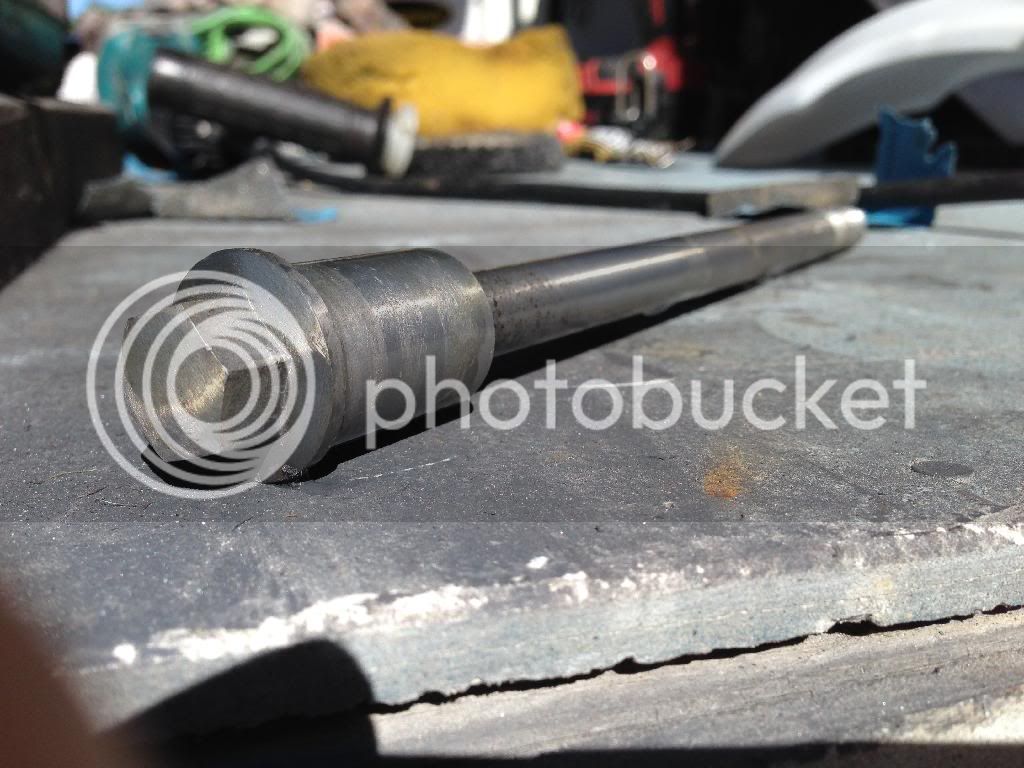
So I got the acid out of the shed this arvie and attacked those bolts and nuts! As you can see by this picture and the other one above ^^ they're in pretty average condition.


But good old acid makes short work of em! :)


Cause I was bored and had a few hours to burn, I decided to hit them with the cutting mop too! Whilst they're not perfect they certainly cleaned up a lot better than what they were.


I want to see more photos of that grinder set up mate!!! I seriously need to get on that one....my angle grinder hasnt even been used on a bike yet!! Last I used it was to make up some acrylic garden lights for a customer of mine. What kind of acid did you use also? I think I'm going to have to spend a little time doing some of this for the 2008 PitPro...seems like the 150 will be going into that now, build is on hold for the moment....so keep the photos coming! Learning a lot! :thumbup:
 
some clear engine enamel on the polished bolts might make the shine last a bit longer.
 
looking good!! yeah need some clear coat on em... to stop that pesky rust from coming back :p
dont mind me but what would a cutting mop look like? and would bunnings have it? lets just say.. i like shiny things :p
 
I want to see more photos of that grinder set up mate!!! I seriously need to get on that one....my angle grinder hasnt even been used on a bike yet!! Last I used it was to make up some acrylic garden lights for a customer of mine. What kind of acid did you use also? I think I'm going to have to spend a little time doing some of this for the 2008 PitPro...seems like the 150 will be going into that now, build is on hold for the moment....so keep the photos coming! Learning a lot! :thumbup:

Sorry bud I put it back in the shed, its just a 75mm bolt (I think?) with the same thread pattern as the handle counter sunk into a piece of stud I screwed to my work bench. Then I just wind the buff onto the thread and chuck a couple of batten screws either side of the handle to stop it moving round.

some clear engine enamel on the polished bolts might make the shine last a bit longer.

That's not in the budget mate. :) Na just a bit of WD after each wash should keep em good, not planning to hold onto it forever.

looking good!! yeah need some clear coat on em... to stop that pesky rust from coming back :p
dont mind me but what would a cutting mop look like? and would bunnings have it? lets just say.. i like shiny things :p

Yeah dude, they should have some in the tool shop. They're actually called sisles, mops just shop slang. You would be better of finding an abrasives shop. That way they can give you the right mop for the job, most of the time you can get away with cutting compound on a polishing mop rather than getting an actual cutting mop as they can be very aggressive. You'll also need to remove the spindle binding which is a bit of pain in the ass! A grinder and a big screw usually sorts it out but what ever works for ya! ;)
 
loco, you can get a basic set from bunnings for $43, and you can use it in a drill
Josco 7 Piece Drill Brush Polishing Kit I/N 6320425 | Bunnings Warehouse
would be ok for starters, but will stress out your drill a bit too

you can also buy a tapered spindle kit for your 8" bench grinder too, like these-
Josco 7 Piece Drill Brush Polishing Kit I/N 6320425 | Bunnings Warehouse
then buy the Sisal mops and polish seperately, i like the 2" wide mops but they are about $35 odd each
the polish is about a stick, i use the green, white and blue, each has a different use


Corey don't you love the new Sisal mops when you first start polishing with them, that fluffy stuff gets every where
 
Personally I don't like using bench grinders there too under powered unless your just touching stuff up IMO. A Makita sander polisher is your best bet, you can use them all day everyday, they're both powerful (well enough to cut n polish) and portable. Best thing they've come down massively in price in the last 5 years, so not too expensive now either.

Also that white mop is not the correct mop to polish out the yellow, that's a fine polish sisle with a medium cut sisle, it'll polish out the cut marks! Eventually. :) . If you do buy it, I would attack that cutting mop with a flat heat screw driver or blunt chisel, put it on your grinder/drill run it flat out and jam the screwdriver into it to soften it up. Like Craig said earlier **** is going to go everywhere! :)

Yeah mate its an unfortunate truth to polishing, fluff and wax. Hence why I was happy to give it away! :)
 
Last edited:
yeah i use it for finish polishing, it does cut out 320 grit scratchs still,
i have a stitched mop for cutting, but that makes you filthy with the wax and alloy etc.


i have a 3 phase pedestal mounted polisher here, but don't have 3ph power
it looks a bit like this one-

imagehandler.ashx


my variable speed 1200w Makita Sander Polisher is about 14 years old now,
i've only replaced 2 sets of brushes and a couple of bearings, it cost me $230 back in 2000
they are around $370 now
first thing i did was fit a normal handle to it though.
Sydney Tools - Makita 1200W 180mm Sander Polisher - 9227CB
 
Will have to get a picture of my old setup for you Craig! :)

Twin linishers and twin polishers side by side with industrial vacuum setups!
 
Look out here comes the polisher setup thread!! Lol

Sent from my WT19i using Tapatalk
 
Gotten as far as I can so far dude, just waiting for my frame n swinger to come back from the sandblasters!

How's your little project coming? You better be racing with me!
 
for sure mate it will be a blast racing the 10'' class

just got a motor for it and bolted it in just a few little things now and she is good to go
 
Wow awesome mate. It's great to see this fine piece of engineering masterpiece getting such a huge response on here. I love what you've done with the rusty patina up front. Keep posting dozens of pics of each nut n bolt you polish mate.
Two thumbs up.!!
 

Latest posts

Back
Top