my china Dune Buggy, 110cc build/modify

Mini Dirt Bikes & Pit Bikes Forum

Help Support Mini Dirt Bikes & Pit Bikes Forum:

This site may earn a commission from merchant affiliate links, including eBay, Amazon, and others.
you have spent some time and effort building that beast up. Its looking great. Well done mate.
 
i need to finish it off in the next couple of weeks, then take it back up the farm.

just got a txt on my phone,
a mate offering me another bike, a 1983 IT250 with an IT465 motor in it.
damn, i need to sell some stuff, i want it, lol
 
Does the motor give enough charge to keep th battery going to run them lights??

The old 465 was a machine. Rattled every nut and bolt loose every ride.
 
yeah standard lighting/charge coil on them is enough to run 60+ watts
i am only running 58w though them atm.
i want to get another pair of the Led MR16s 9watt, in warm white.
they are more of a natural daylight colour.
that will drop the total wattage being used down to 36w, too

we dont use it at night time that much, it's too cold in the winter time anyway.
 
a few more updated pictures,

the front end is being remade/modified, revision 4.0

166.jpg


165.jpg


20121005_112526.jpg


20121005_152451.jpg


20121005_152505.jpg


192.jpg


193.jpg


new shock mounts done

167.jpg


rear frame work redone wider etc.
battery and fuel tank remounted.

170.jpg


171.jpg


172.jpg


173.jpg


174.jpg


175.jpg


seat rails remade, adjustable, may revise this again later.

176.jpg


new mounts made for the eye level brake light and indicators,

178.jpg


181.jpg


183-1.jpg


motor top mount

184.jpg


adjustable height shock mounts

187-1.jpg


starter motor remote solenoid, ex Ford Falcon

188.jpg
 
I like the custom made cover. It looks fantastic!
 
where can i buy one of these from it looks heaps of fun
 
I like the custom made cover. It looks fantastic!
thanks,
the corflute roof?
that was to help keep the sun off and out of your eyes etc, then i customised it a bit more with the spoiler and pod filter mount.
and what dune buggy doesnt need some flames too? lol
 
here are a few more updated pics too,


the mountain bike RST 750lb rear shocks mounted up to help out the stocky china ones,
it corners a lot flatter now with this setup, and hasnt bottomed out yet either.

IMG0031A.jpg


rear frame section reworked and painted, new battery mount finished, swingarm strengthened underneath

IMG0030A.jpg


another pic of the battery mount, with a H/D 60amp fuse and wiring, also added a rear starter motor button next to it, this is goood for troubleshooting the motor etc,
you dont need to be at both ends of the buggy to try and start it.

IMG0029A.jpg


after 3 days of thrashing it, bit of red dust
the rear engine mount broke the factory china steel mounts again, broke through both tubes just below the bolt/mount point.
so i cut a bit of 3mm thick steel strap and temporarily screw it back together to get it through the last day up there
im not sure if you can see it too well here though.

20130127_192436.jpg


more dust, getting ready to pressure clean it

20130127_192424.jpg


my 2 boys in action, ripping up my minibike track, lol

20130127_190325.jpg


20130127_190328.jpg


20130127_190341.jpg


it is a bit quicker than me on the bike through the corners too, but on the straights things were a bit different,

20130127_184832.jpg


JakeampCj.jpg


20130127_190415.jpg


here are the rear subframe engine mounts all replaced/repaired now

IMG0028A.jpg


IMG0027A.jpg


IMG0026A.jpg


i just need to make a mount to fit the muffler again

cheers, craig
 
Last edited:
dam! some good fabbing skills there :) good to see mods done properly! decent mods too ;)

other than a shifting box, these dont need anymore than a 110! well, maybe when its gotta lug two runts around it does...

the flogging we gave my mates one! at least four motors later... still pretty stock, still pretty ugly. hammered it into the ground :D and never got past third usually...

i hate how the motors on the swingarm. worst thing with china buggies. unsprung weight. yucky. not easy to cure either...
 
Wow craig, she has come along way mate, i really like the twin shock setup on the rear, is the buggy hard to start or any bogging with the snorkel up thru the roof or does it get adequate supply of air mate.
 
thanks guys,
yeah the manual/semi auto conversion i was speaking of at the beginning of this thread might not be happening anymore.
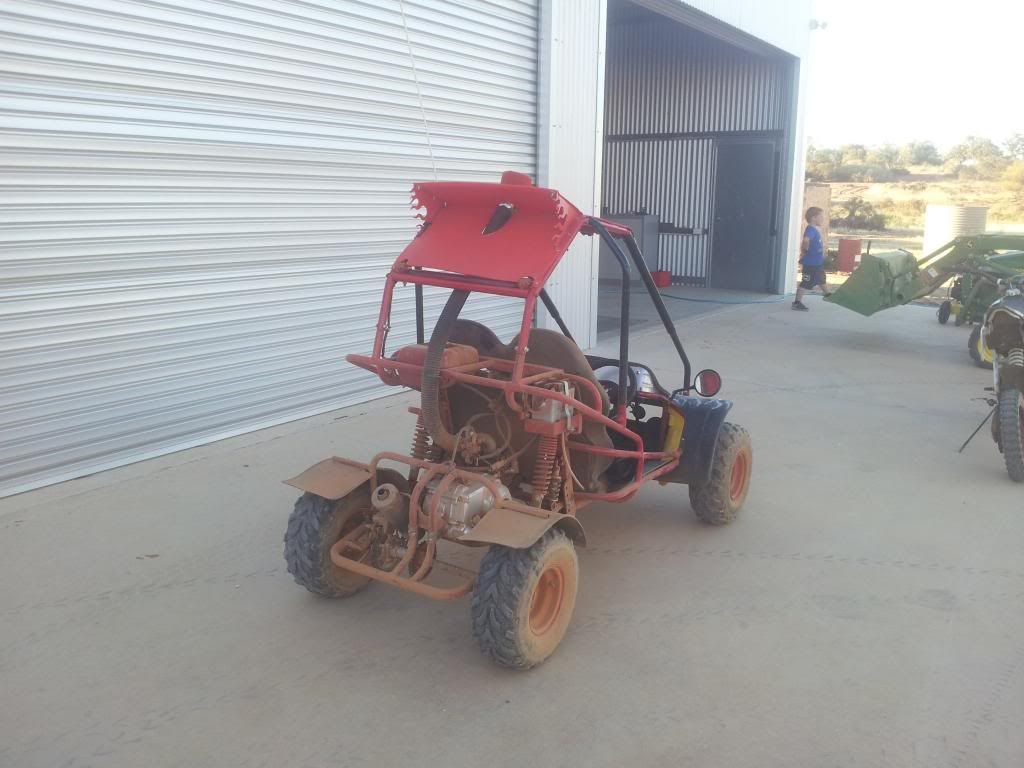
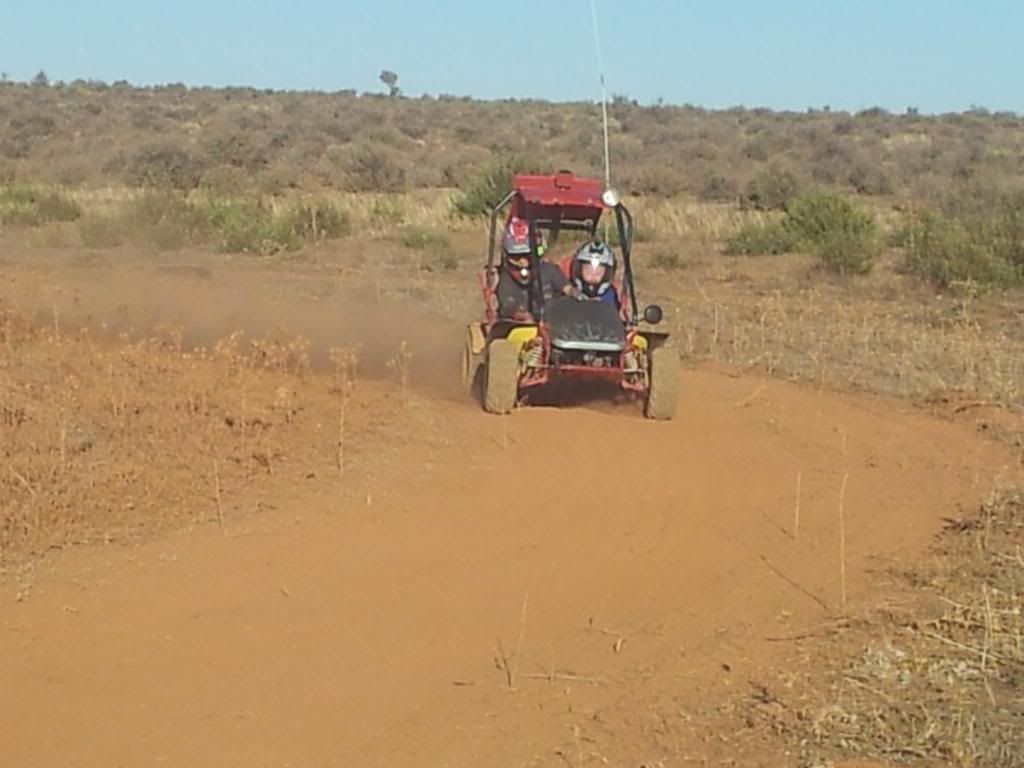
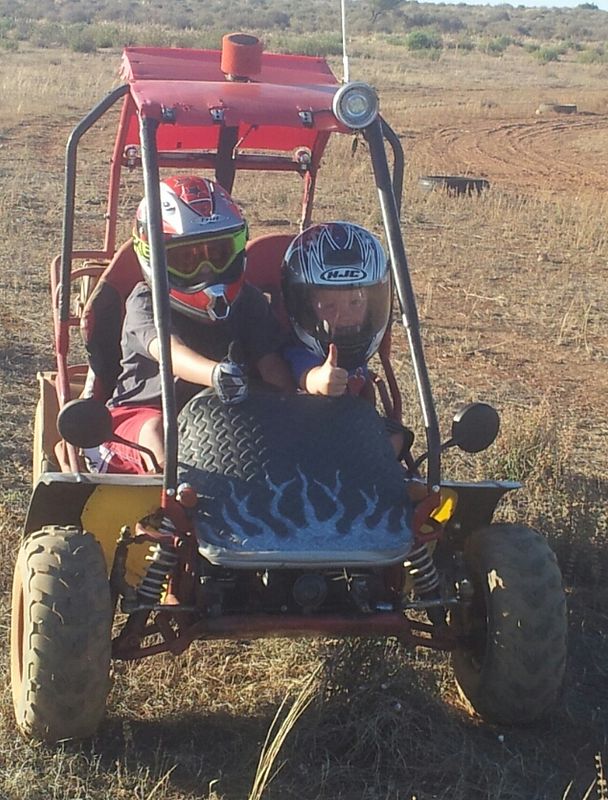
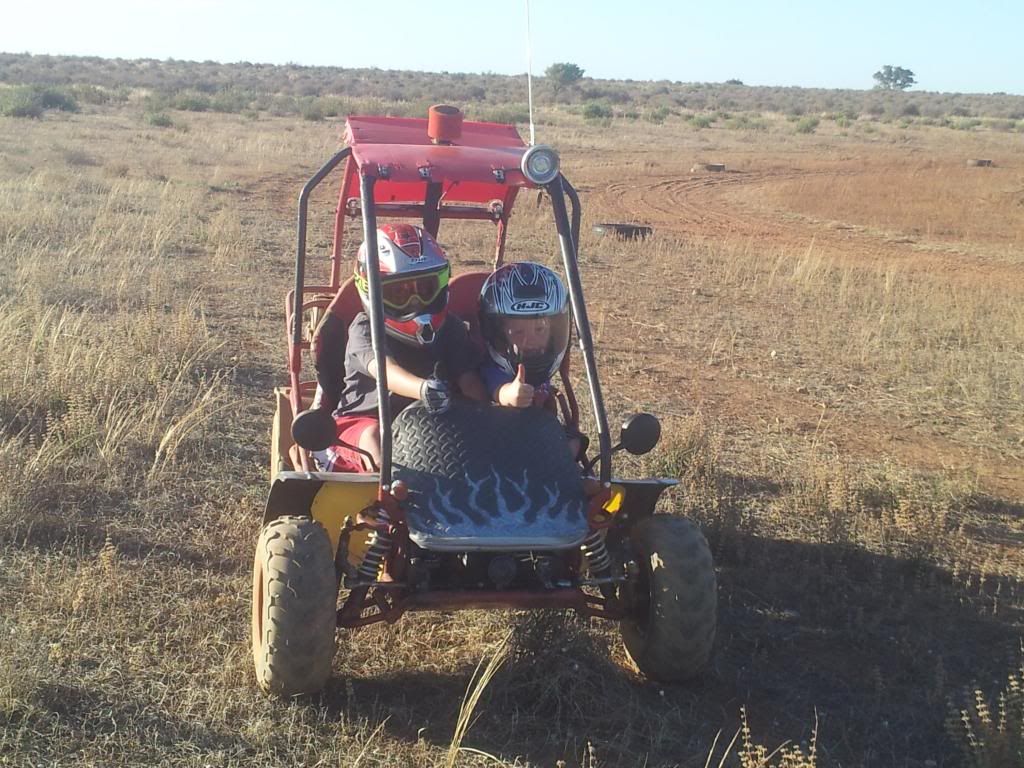
the buggy still gets up to about 70 with me and my eldest in it.
the only thing that has happened to the motor was the semi auto clutch wore out.
the plates had no friction material left on them.
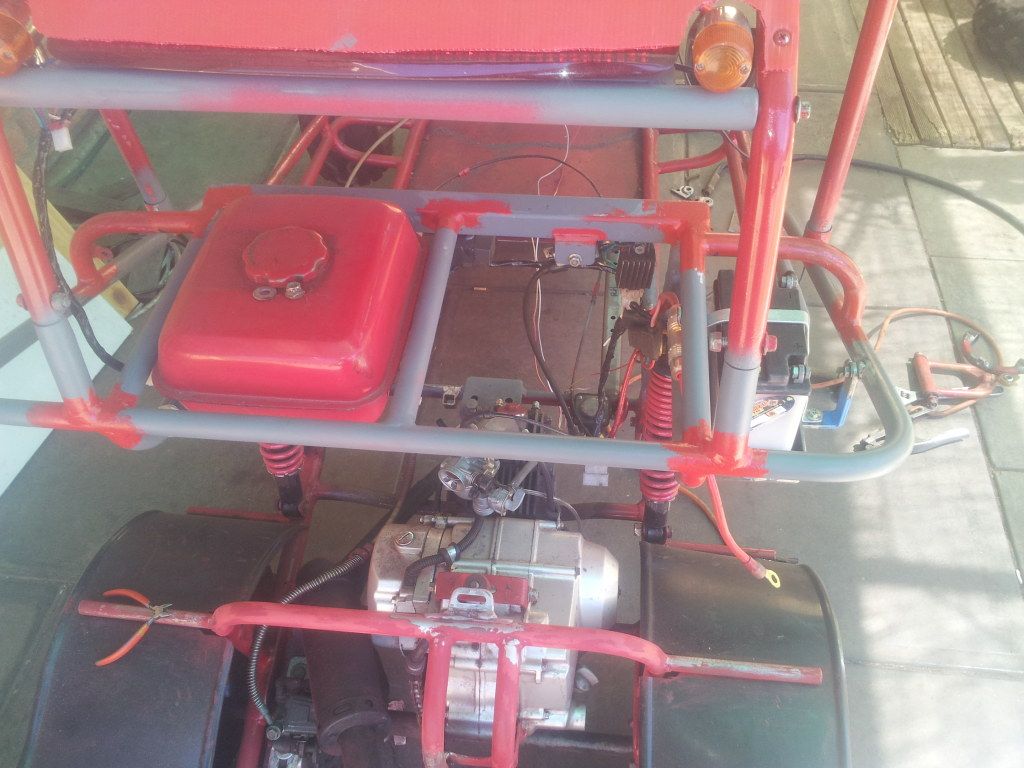
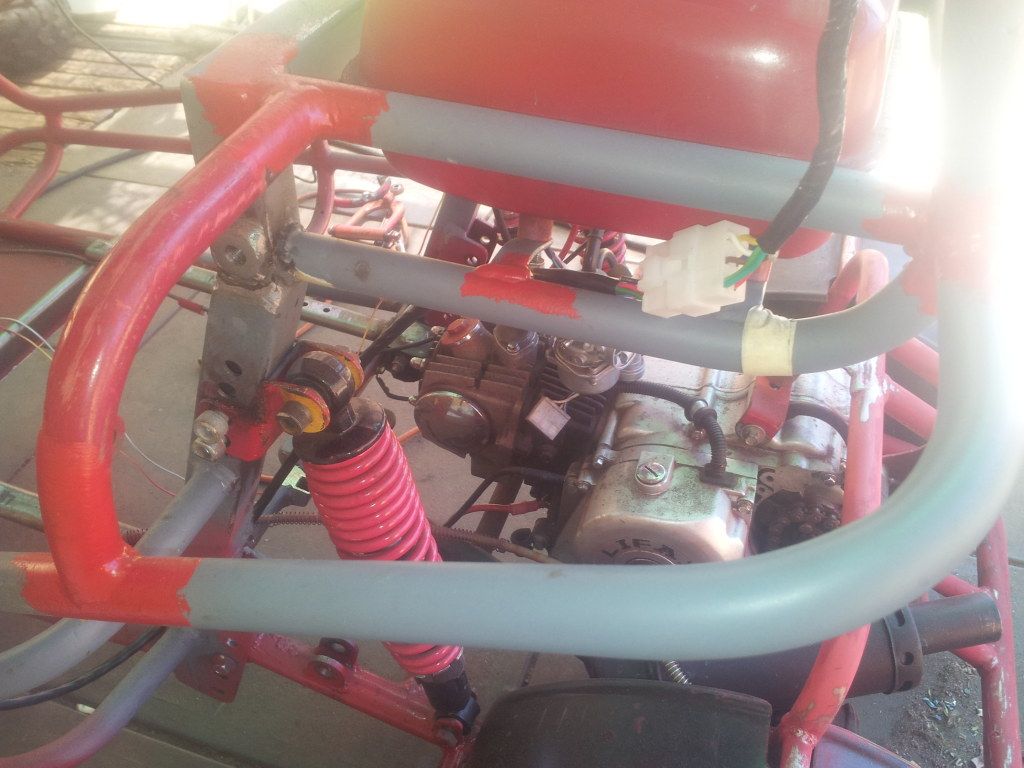
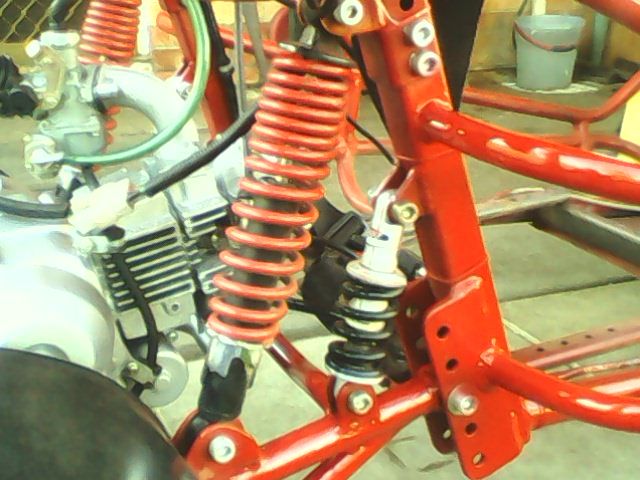
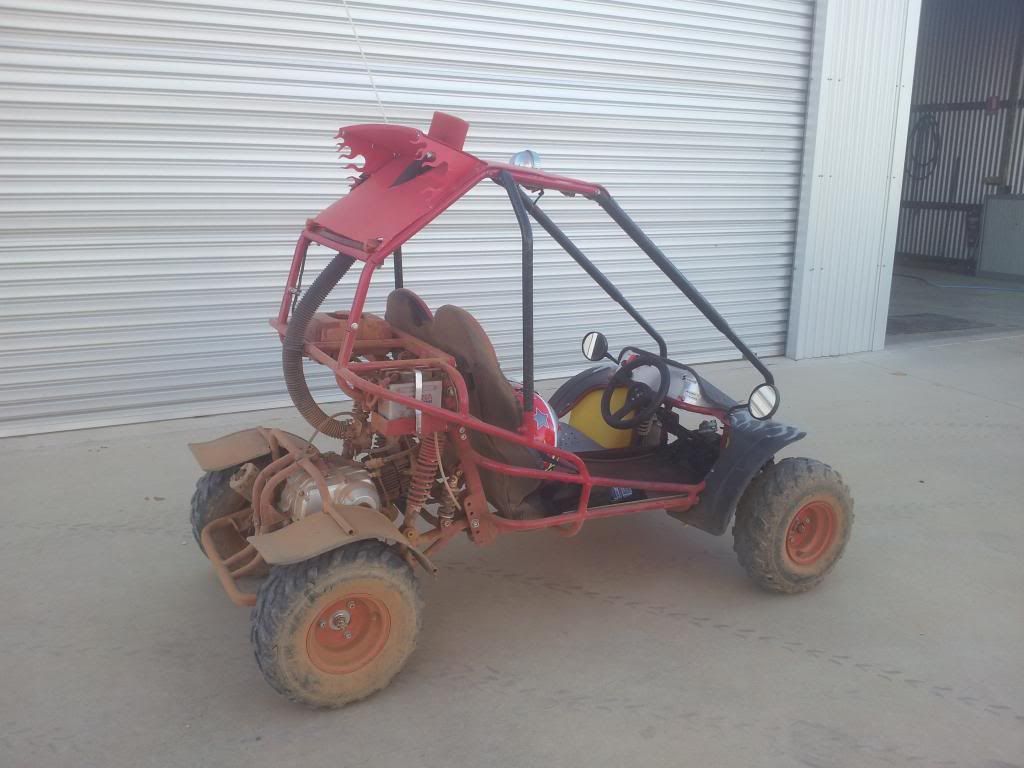
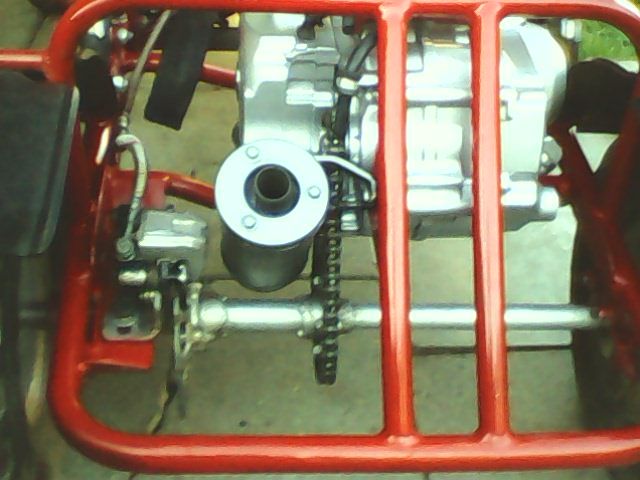
i replaced the semi auto clutch with a full auto clutch, the type with 3 shoes that get thrown out to the flywheel as the rpm increases.
this new clutch has held out really well.
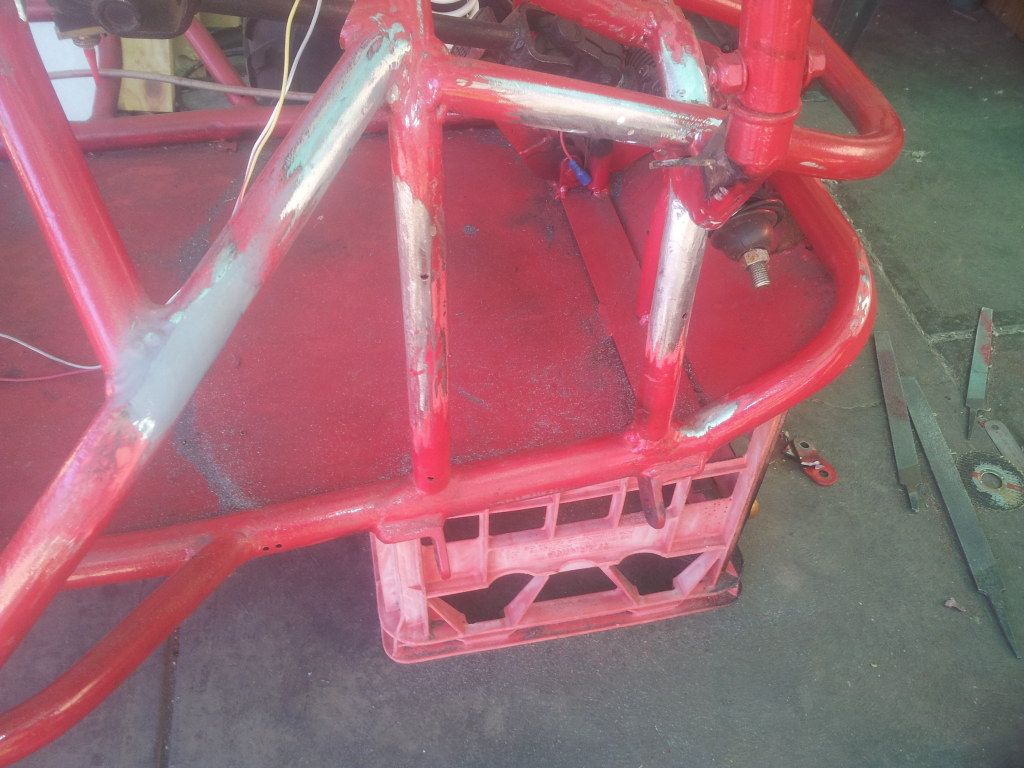
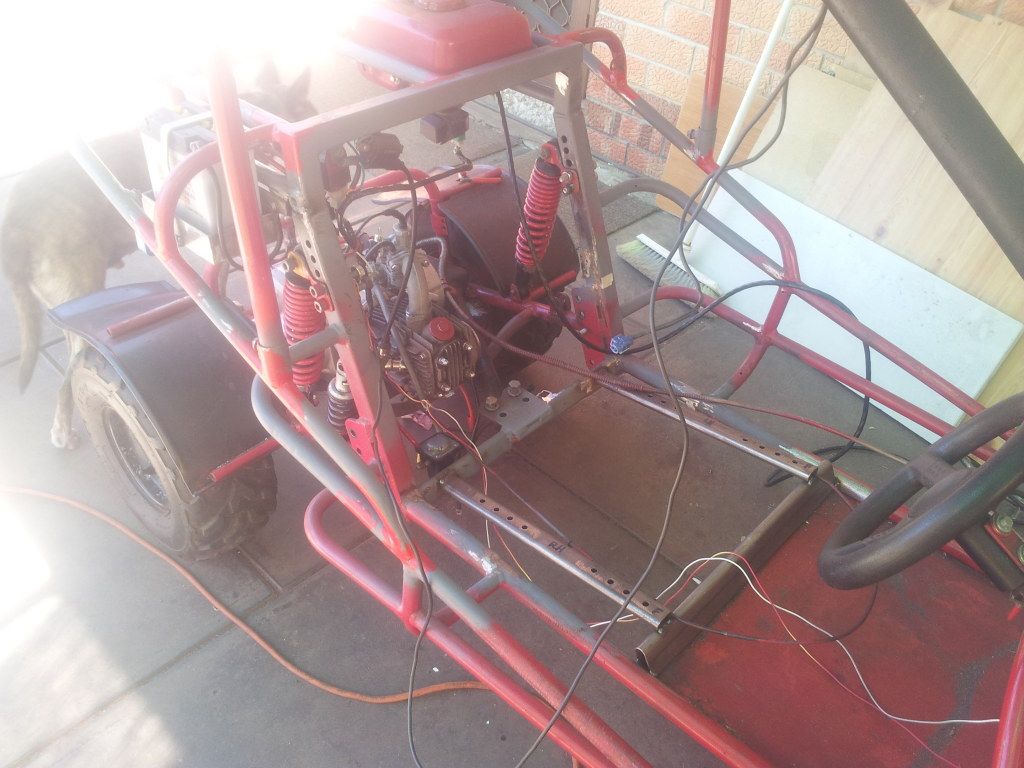
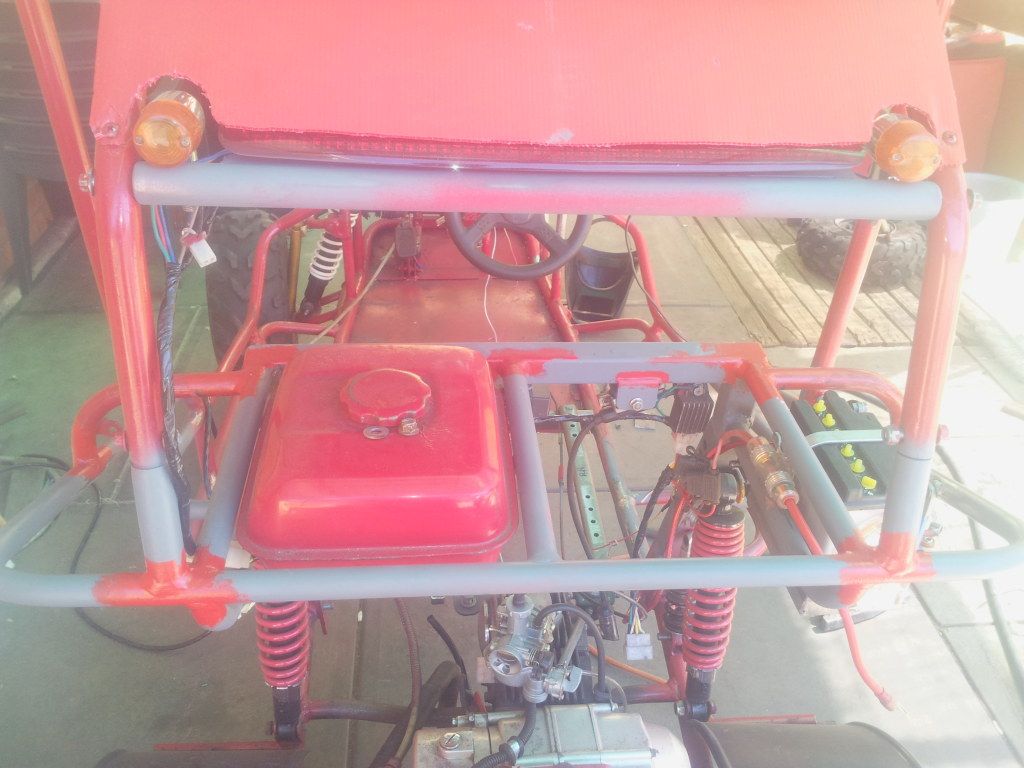
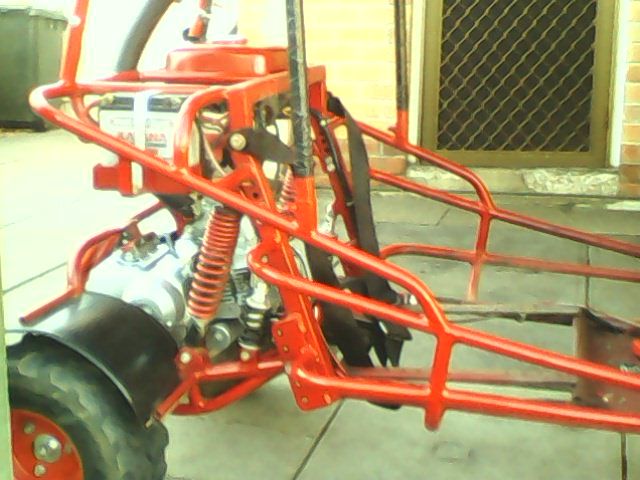
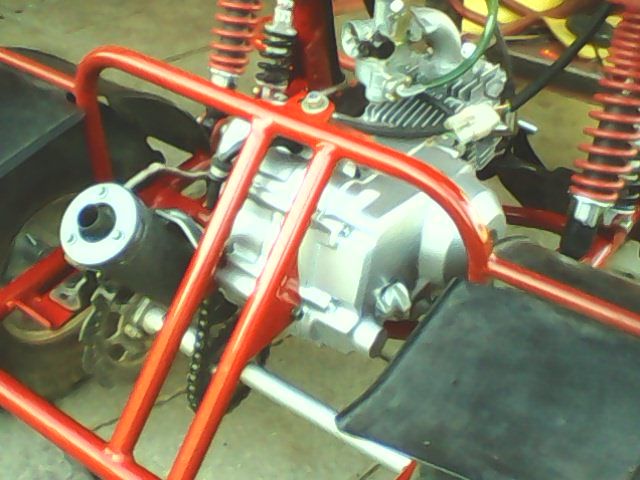
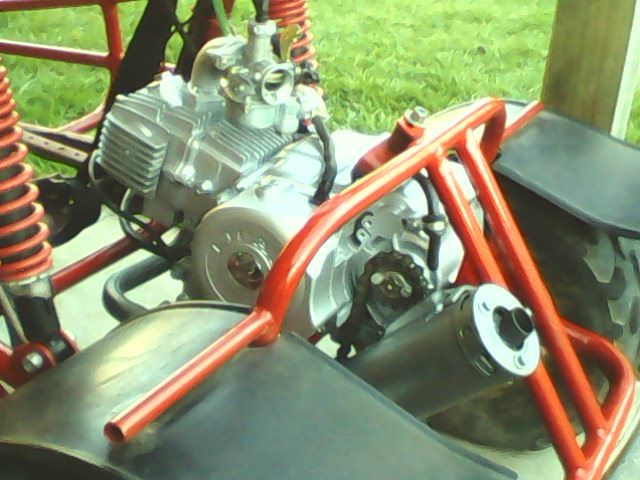
the way the motor is mounted isnt ideal, i agree there, but it keeps the rear tyres on the ground though.

i have seen a decent setup that'd be perfect for a swap into a buggy like this
but it'd need a bit of custom work to mount the motor to the back of the frame, then setup an independant rear end on it.
it would have a couple of driveshafts with cv joints etc, and run an inboard disc brake too, so more ground clearance.
get a nice yx160 motor or similar and mount a forward/neutral/reverse gearbox off the back
they seem cheap enough ?
http://www.ebay.com.au/itm/250CC-GE...Go_Kart_Parts_Accessories&hash=item20b9ec34aa


mick,
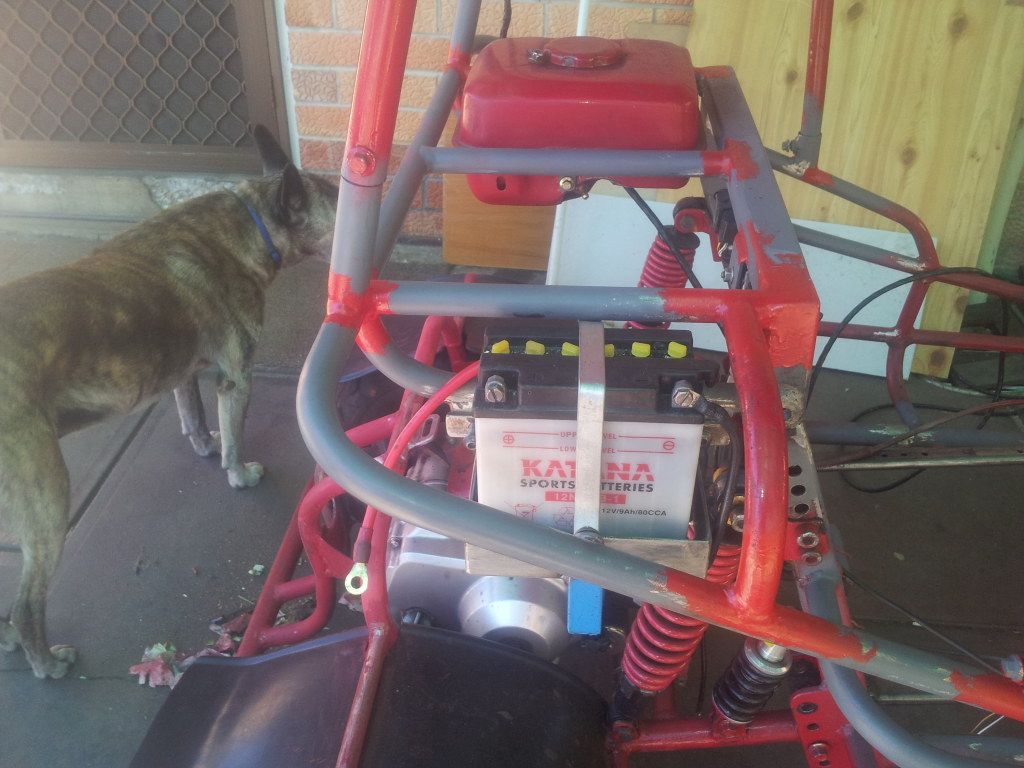
it takes maybe 15-20 seconds to fire up first thing in the morning,
then it starts within a couple of seconds for the rest of the day.
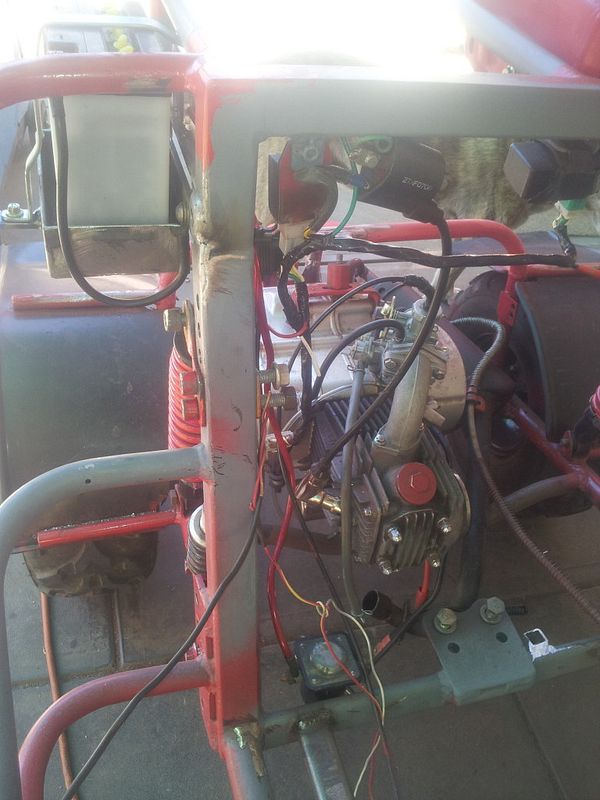
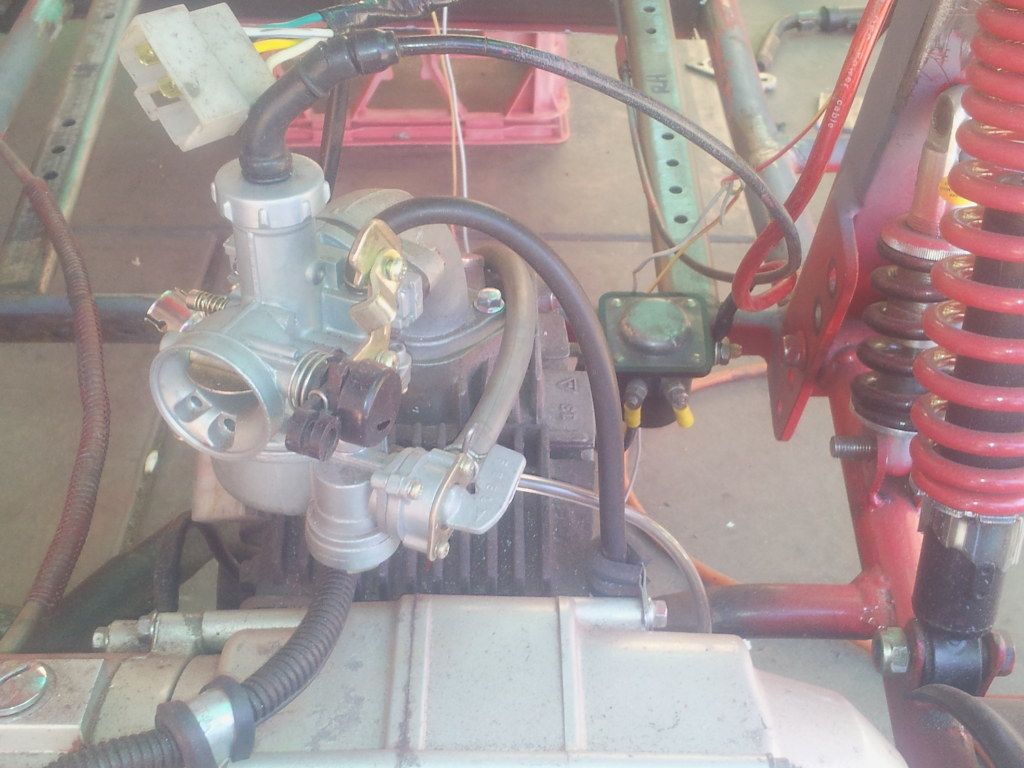
i didnt notice any difference when i fitted the snorkel, except the airfilter now stays clean.
it goes pretty hard at WOT, plenty of cool fresh air, and it's pretty responsive of the line too.
the carby has only been tuned with the standard jetting too, i havent even had the fuel bowl off to see what jets it takes.
i do know the main jet needs to go up a size or 2, as the clip is sitting on the bottom slot of the needle.


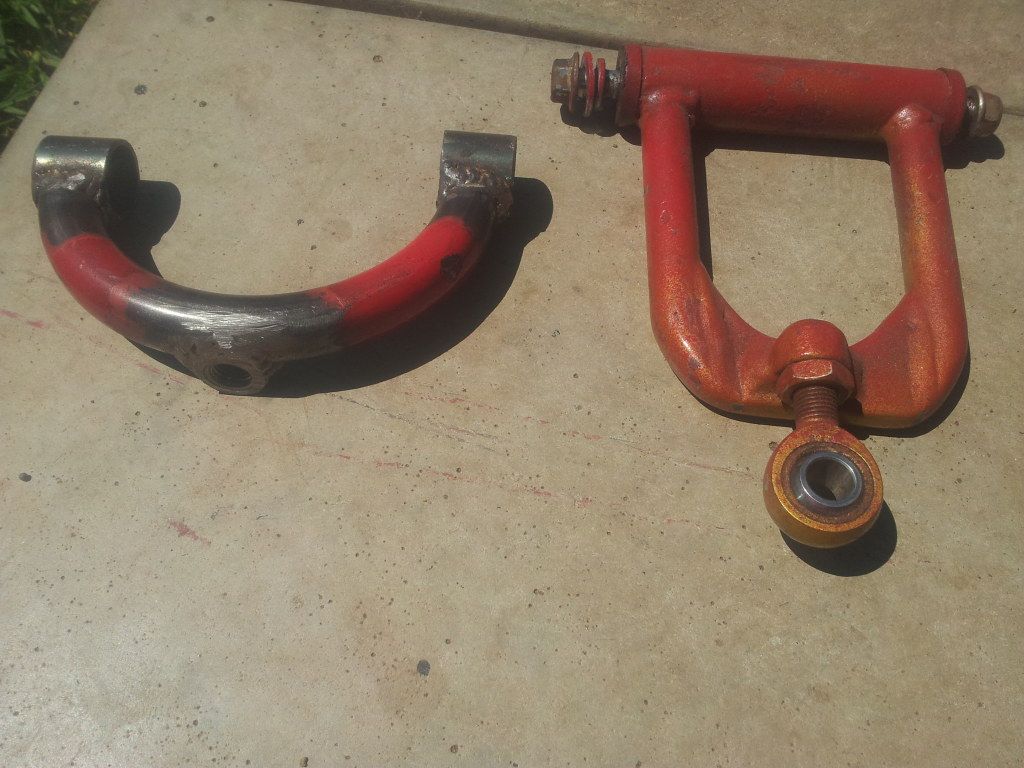
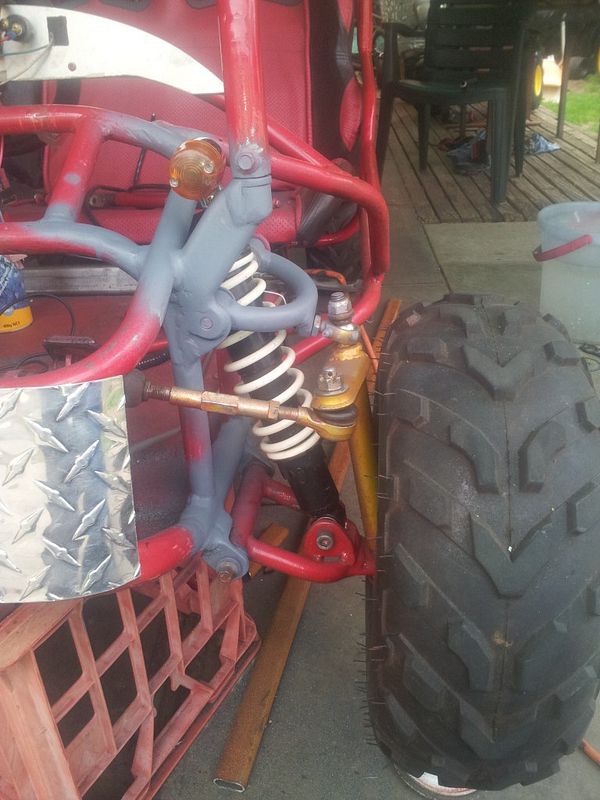
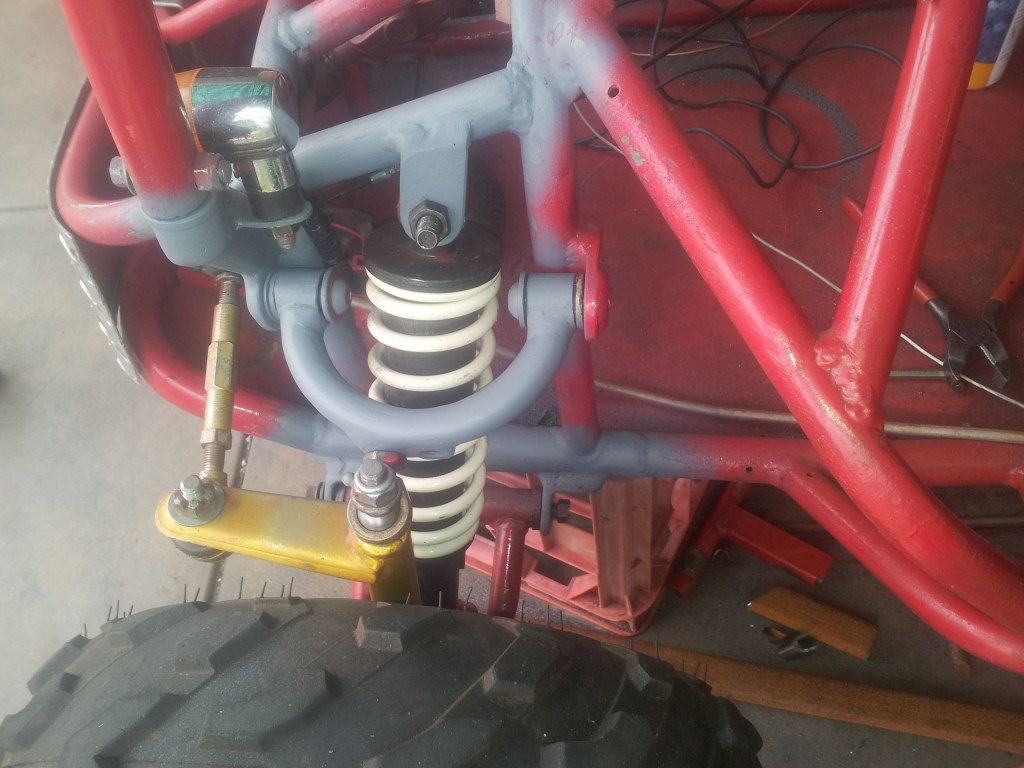
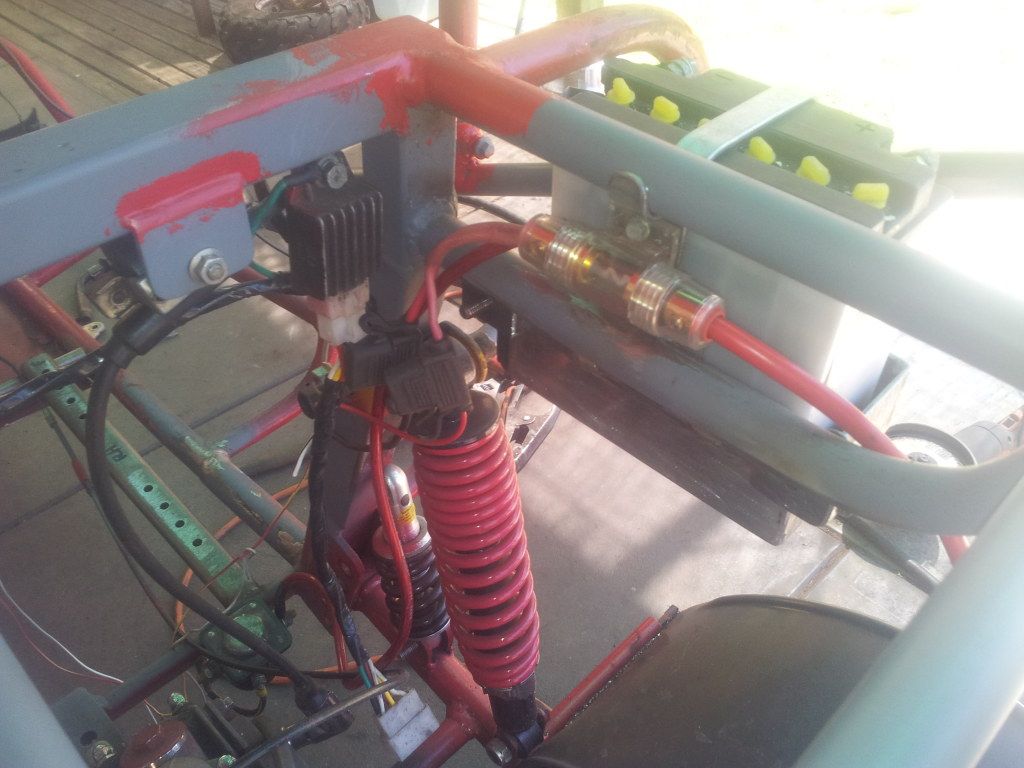
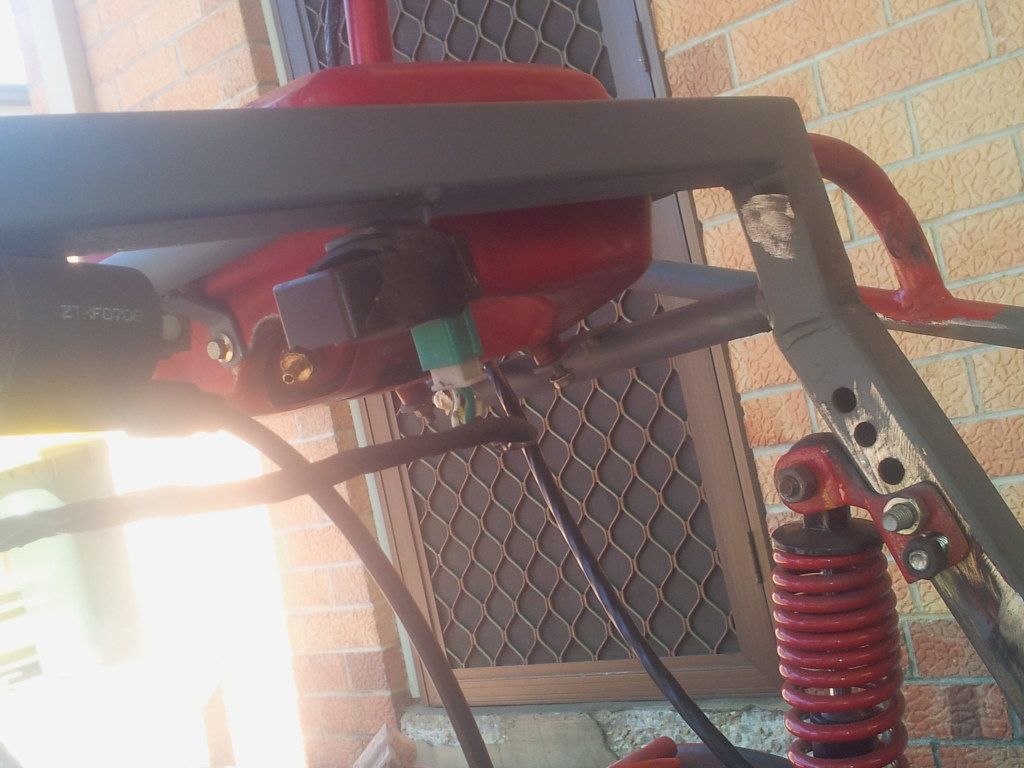
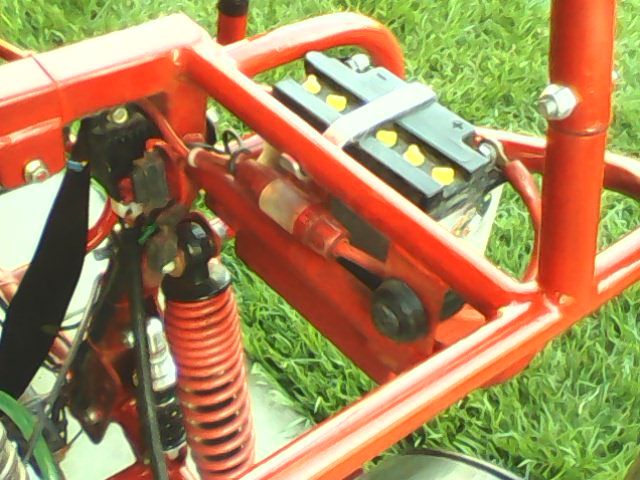
the used/worn heim joints that i used for the upper ball joints have started to clunk a bit lately,
so i have ordered some Ultra High Performance/Ultra High Strength ,PTFE/Kevlar Lined 7/16 male Heim joints
from McGill Motorsports in the UK, and the proper High Misalignment spacers to suit.
the spacers i have in there now are custom ones i turned up in my drill press.
the new parts cost me under $50 for the 2 heim joints and the 4 spacers,including delivery,
where as if i were to buy them locally, im looking at around $75 for a lesser quality heim joint, and that is for each one here too, then the extra for the spacers too

1heimjoint.jpg


1misalignment.jpg
 
Last edited:
Good stuff craig, shes def a custom mate, the three shoe clutch is a good setup and dont see them much at all as they were an older setup in the days, but in saying that the nowadays stock semi clutches i see heaps of and replace heaps of, one today had absolutely zero plate on one of the combined steel and clutch plates. The steel very often tends to become discoloured and rusty coloured, prob the junk material they use, wouldnt hurt getting a stock honda semi clutch as the honda boys would ever rarely change a clutch id imagine. The jeep clutch was very strange, as i would be WOT in third it would then scream as loud as say ten fanbelts squealing, changed it over and havent had that prob again touchwood.
 
I gotta say this is the sickest buggy build I have seen in a long time.

You certainly know your way around the tools. Very good quality work.

I would be keeping in the back of my mind when your boys get a bit older slotting in a 160HO. ;)

Man how sick would be with a 184 and V2!!!! Aaaaahhhhh that would be so much fun.

Appreciate you taking the time to post so many pics for us all to drool at. :)
 

Latest posts

Back
Top