Newby! and New Purchase today.

Mini Dirt Bikes & Pit Bikes Forum

Help Support Mini Dirt Bikes & Pit Bikes Forum:

This site may earn a commission from merchant affiliate links, including eBay, Amazon, and others.
Thanks FMX_22

Hey mate I'll try get to the post shop In The next few days for you

Ta mate. Appreciate it. The bits I am chasing at the moment

*) E-start magneto puller! Even just to borrow!
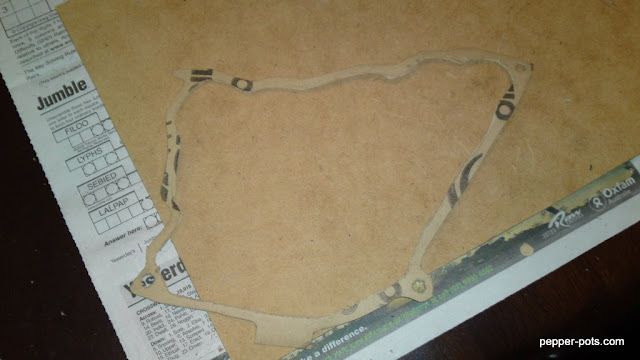
*) Sprocket cover - that's the most urgent - it's totally stuffed.
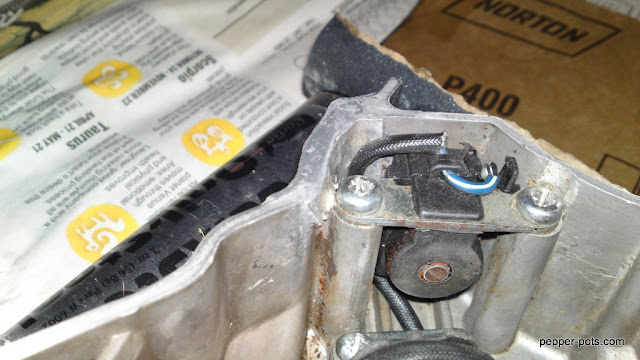
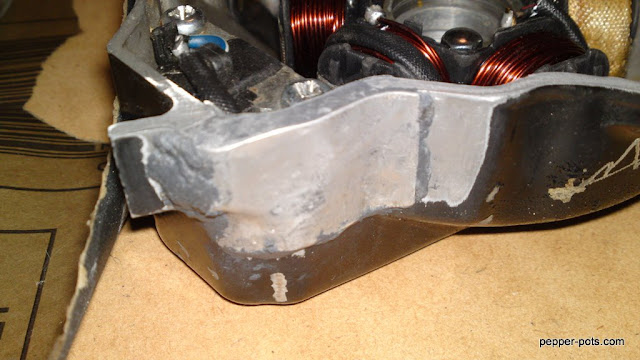
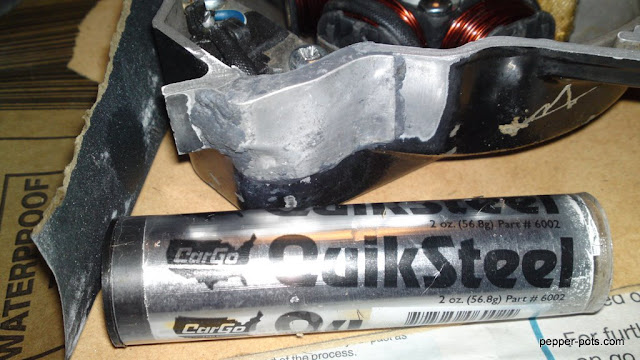
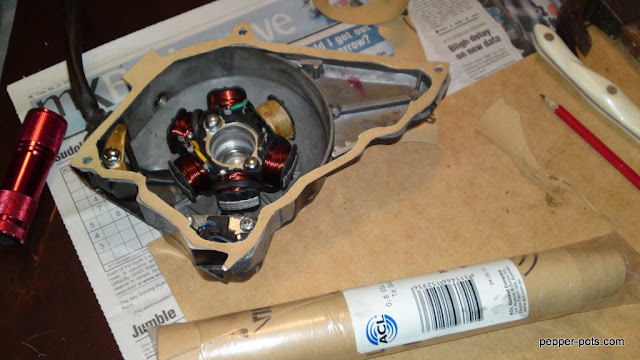
*) internal magneto housing - the bit that's really badly cracked - I COULD manufacture a new bit for it but don't want to if I don't have to.
*) brake lever

the rest I can live with. I can get it going as is - just a matter of how long I want it all to last. :)

Oh - don't forget to PM me your bank account details. I'll send you some $$ reimbursement for your kindness!
 
Thanks Sean_01 for the link!!

- I'll contact those guys & DHZ as well see if I can't just get the right tool.

FYI - I've talked with my son after yesterday's efforts.

We resolve:

First - get it back together.
Next - Re-solder the stuffed electrical harness (most wires broken)
Wash down the rest of the badly spraypainted bike
(the previous guy painted over everything - wires, cables, spiderwebs, dirt, oil smudges, everything).

It's all coming off with a bit of a scrub anyway - so it will look a bit nicer & probably handle better once all the moving bits are re-greased properly.

Next - Manufacture a 'temporary' solution to the hole in the magneto housing with some aluminum flashing (Have a big sheet from building supplies).

Next - re-assemble all and get it moving.

Then all the parts should arrive in the mail and we can get it tricked up!!
 
just to add on to what i said earler in this thread
i see what you guys get out of what he's doing just what if if doesn't go i hope it does what if it doesn't then all that hard work and effort is sort of wasted yes good time is spent with his son and hes learning stuff but i just think that its not that good of bike to be wasting time on orion have always been trouble and i think they always will be
 
Well that's true orions never had the best name but aslong as his kid is happy with it and we have another minirider in aus does it really matter what u have to say????
 
  • Like
Reactions: TDR
yeh its all cool man just making things right since everyone got anoyyed when i first commented oh and btw if things dont work out with the bike you could always buy i new engine you'll pick up a good lifan for about $300 off of dhz tell em your a member of mr and they'll give you a discount
 
Today's efforts

Hi there.

Updates today:

1) Soldered up the broken wires in the wiring harness, including the broken wires to the coil. Tested OK!

Taped these up into nice looking & sturdy wiring harness, to ziptie to the frame later.

Carefully labelled each of the connectors, Coil, Switch, SOL for solenoid etc.


2) fixed outer magneto cover hole:

First - I sanded down the hole and surrounds to accept the 'quiksteel Epoxy Putty' (can also buy JB Weld) - it's a two part metal glue that can withstand up to 600 degrees. It can be sanded, and tapped to accept screws.

I've used it previously to glue on a nut so I could put a screw onto something where I couldn't weld it (to an alloy). Amazing stuff.

Anyway - here's some pictures.

Before:


1) cut two pieces of aluminum builders flashing (1mm thick) and carefully hammer into shape around the hole with a small ball-peen hammer.

2) sand the heck out of those pieces & the surrounds of the hole

3) wash it with metho

4) once it's dried, cut A lump of quicksteel, mixing the black inner core & grey outer putty together thoroughly, spread over the inner patch & glue in place

03012011366.JPG

5) spread the glue over the outer patch & glue in place

03012011364.JPG


6) mash the remaining into the gap between the two patches to create the new casing wall.

7) carefully trim off any excess & smooth down the edge to match the profile of the casing.
03012011365.JPG


While I was at it - I carefully traced out a new gasket for the magneto cover and cut this out with a sharp knife.

03012011368.JPG


03012011367.JPG


Next steps:

Put the cover back on the magneto. re-test for spark.

Fill with oil.

Attach petrol, throttle & exhaust.

Start Engine.

remove outer Magneto cover

Remove magneto (once I get the tool from ebay)

Fix inner magneto cover.

Wash & re-fit the parts to the frame.

(Note, may need new roller bearings for swing arm - totally seized up. Currently soaking in WD to loosen these up. If I can get them moving I'll pack with grease & re-fit.)

Fit new plastics etc, air filter etc. from ebay.

Getting there!
Ciao.
 
Thanks Mattbombers.

if troy doesnt, i have an e-start magneto case kickin in the garage

Hey Matt - was that an INNER magneto case, or an OUTER magneto case? I've fixed the outer one (just a small chip out of the case)

The inner one is more brutally chipped. Possibly repairable but would prefer new one there.

Cheers.
a/c
 
Look what arrived today! New Plastics. Bits and bobs yet to come including magneto puller.

This weekend looks like fun!
04012011369.JPG
 
Update

Hi there.

After complete disassembly, we spent a full day working on the bike

First we refilled the forks (I put 125 ml of oil in - is that right?)

Then we reassembled the steering (after re-greasing the steering bearings)

Then I put the swing arm back on - after re-greasing the swing arm roller bearings.
(Note - these are stuffed, so plenty of grease used there)

We put front & back wheel on.

All this time I was teaching my young apprentice about grease, oil, nuts & bolts. Don't use vice grips, use the proper spanner.

Lastly we bolted the engine back in. I'm still yet to fix the magneto case, but I can fix that on-board.

We re-sprayed the tank (it was covered in silver over-spray) after giving it a degrease & wipe down with metho, we primed it, and painted it matt black again.

Fed the wiring harness through the frame, and made a new earthing point under the tank onto the frame with a tek screw.

By this stage it was growing late and my wife was calling us for dinner. I told her five minutes, and asked my young apprentice if he would like to get it started. Big grin.

Out we went.

A bit of a kick and we heard some pops. On with the exhaust.

Out with the aerostart - and then Hey presto!

It runs a bit rough - could do with a bit of a tune, new sparks, tappets adjusting etc.

Muffler was covered in grease from fingers, so smoked up a charm, and the muffler was simply shoved on.

All my boys were so excited - running around and cheering!

YouTube - Got it Running!
 
Last edited:
Edit - just searched on fork oil - 200mls looks better. I'll top them up a bit later with another 75ml each. It does sag a bit with the motor & kid on it.
 
yep top work mate...

with the forks its basically what suits the rider.. if they werent leaking before you measure what you removed and start from there..
 
yep top work mate...

with the forks its basically what suits the rider.. if they werent leaking before you measure what you removed and start from there..

Yeah, that's a mistake. I emptied them out, and just as I finished tipping the 2nd one out - I thought.. I should have measured that!!
 
ummm, i have both, i got a couple e start engines i could rip apart for ya, cover post (max is like 10 bucks from goldy to brisbane) and il send ya what ever you need
 
Updates: Got the plastics on!
08012011381.JPG


and
08012011382.JPG


Also got a very generous offer from mattbombers. Totally appreciate that! Looking forward to checking that mailbox. Good luck with the race plans!
 
Last edited:

Latest posts

Back
Top